Lesson Modules
Teaching Tips:
Materials:
- Access to water (to fill containers)
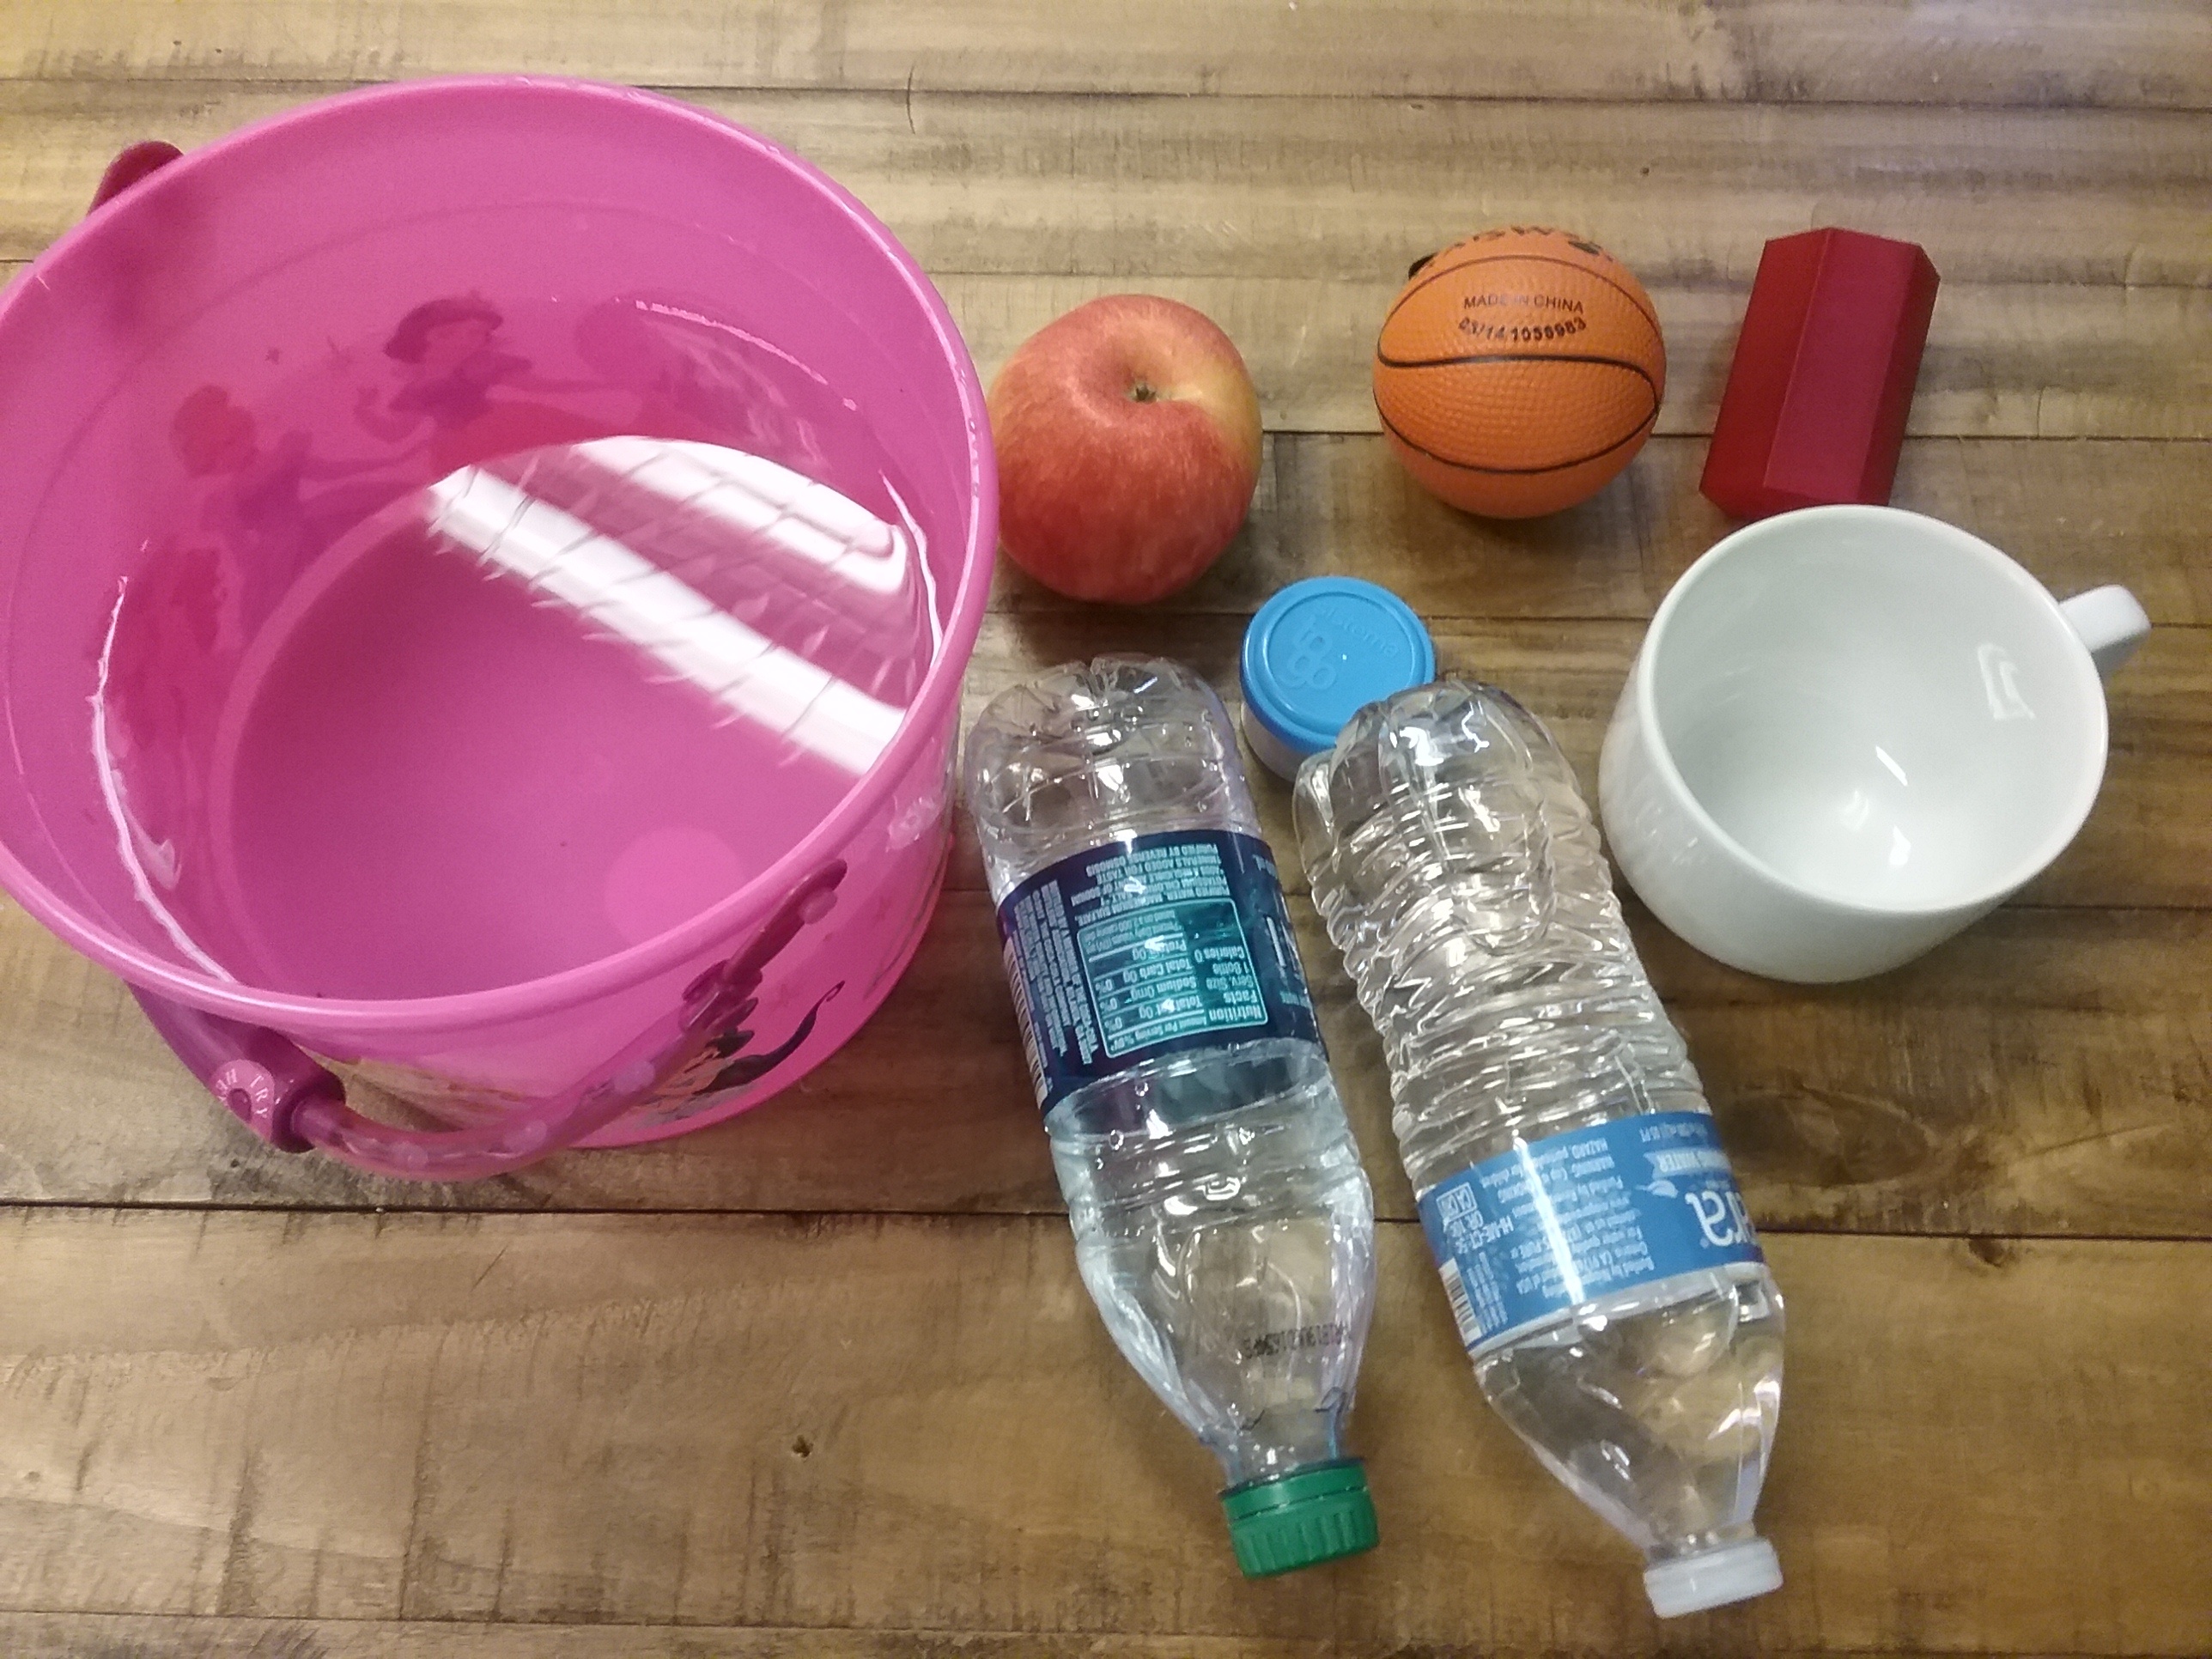
- Various objects which differ in…
- Weight
- Hollow/solid
- Mass
- Shape
- Ex: plastic cup, ceramic mug, golf ball, ping pong ball
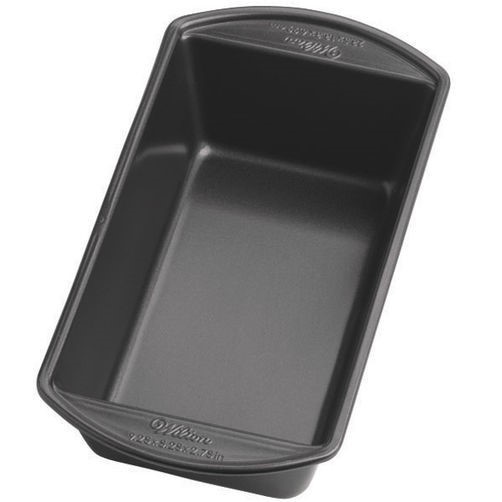
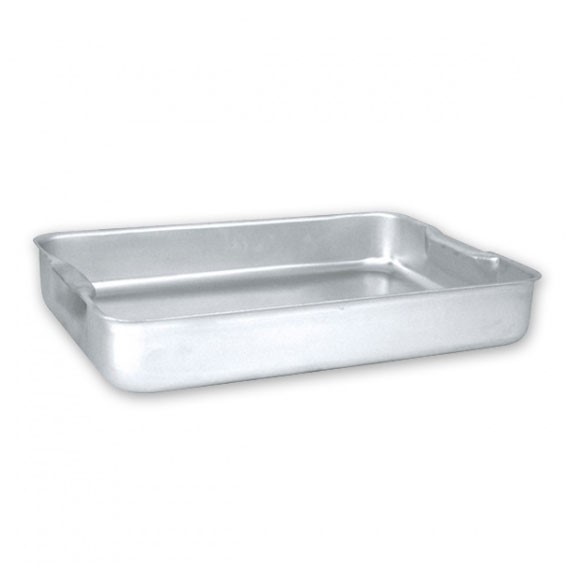
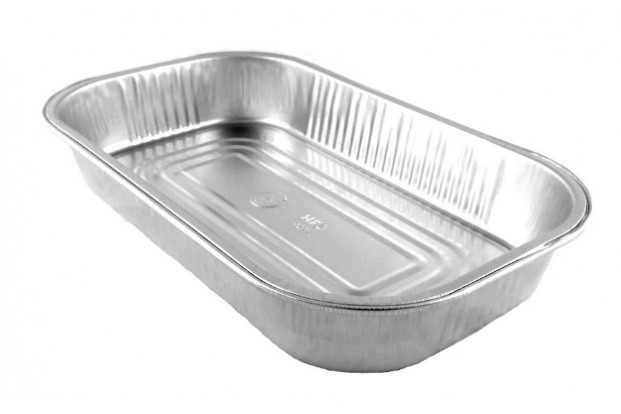
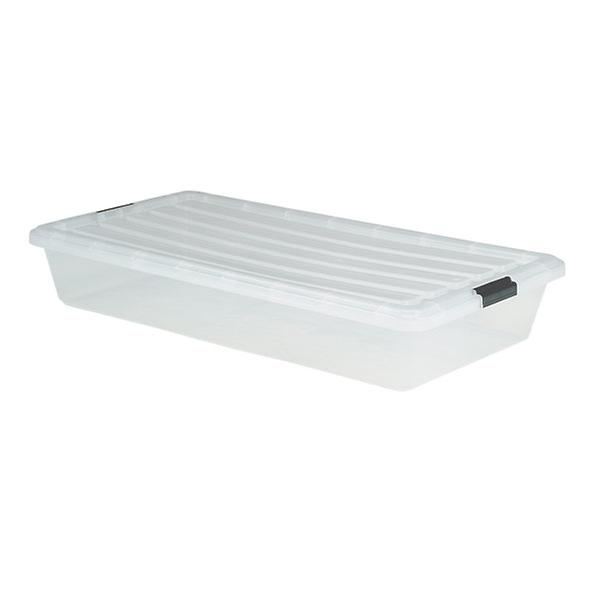
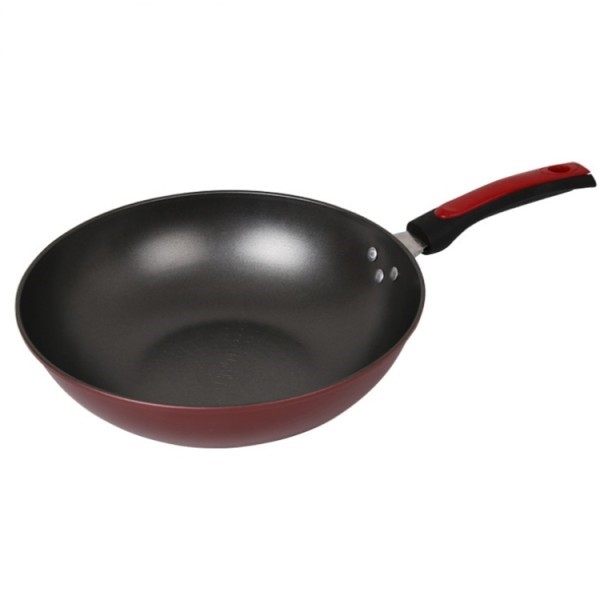
- At least 1 container
It does not matter as much what type of container you use, as long as you can fill it with water and it would be safe to simulate waves by rocking it back and forth. The more you have the better as students can use it during their designing process. Here are some examples of types of conatiners you can use for this.
 |  |  |  |  |
Preparation:
|  |
3D printing takes a long time. Even a small project can take around an hour, so if you are printing multiple students’ projects you need to plan ahead about when you can start printing and when it will be finished.
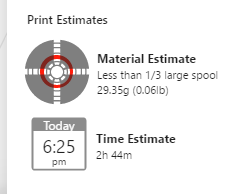
| Project on Tinker Cad | Project in MakerBot Print | Print Estimates for MakerBot Replicator 2 | End Size Marker is for scale |
 | 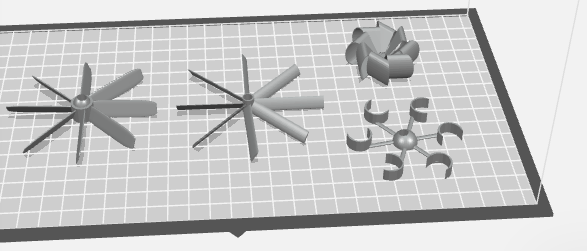 | 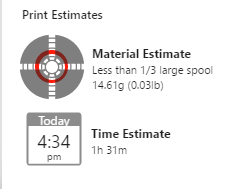 | 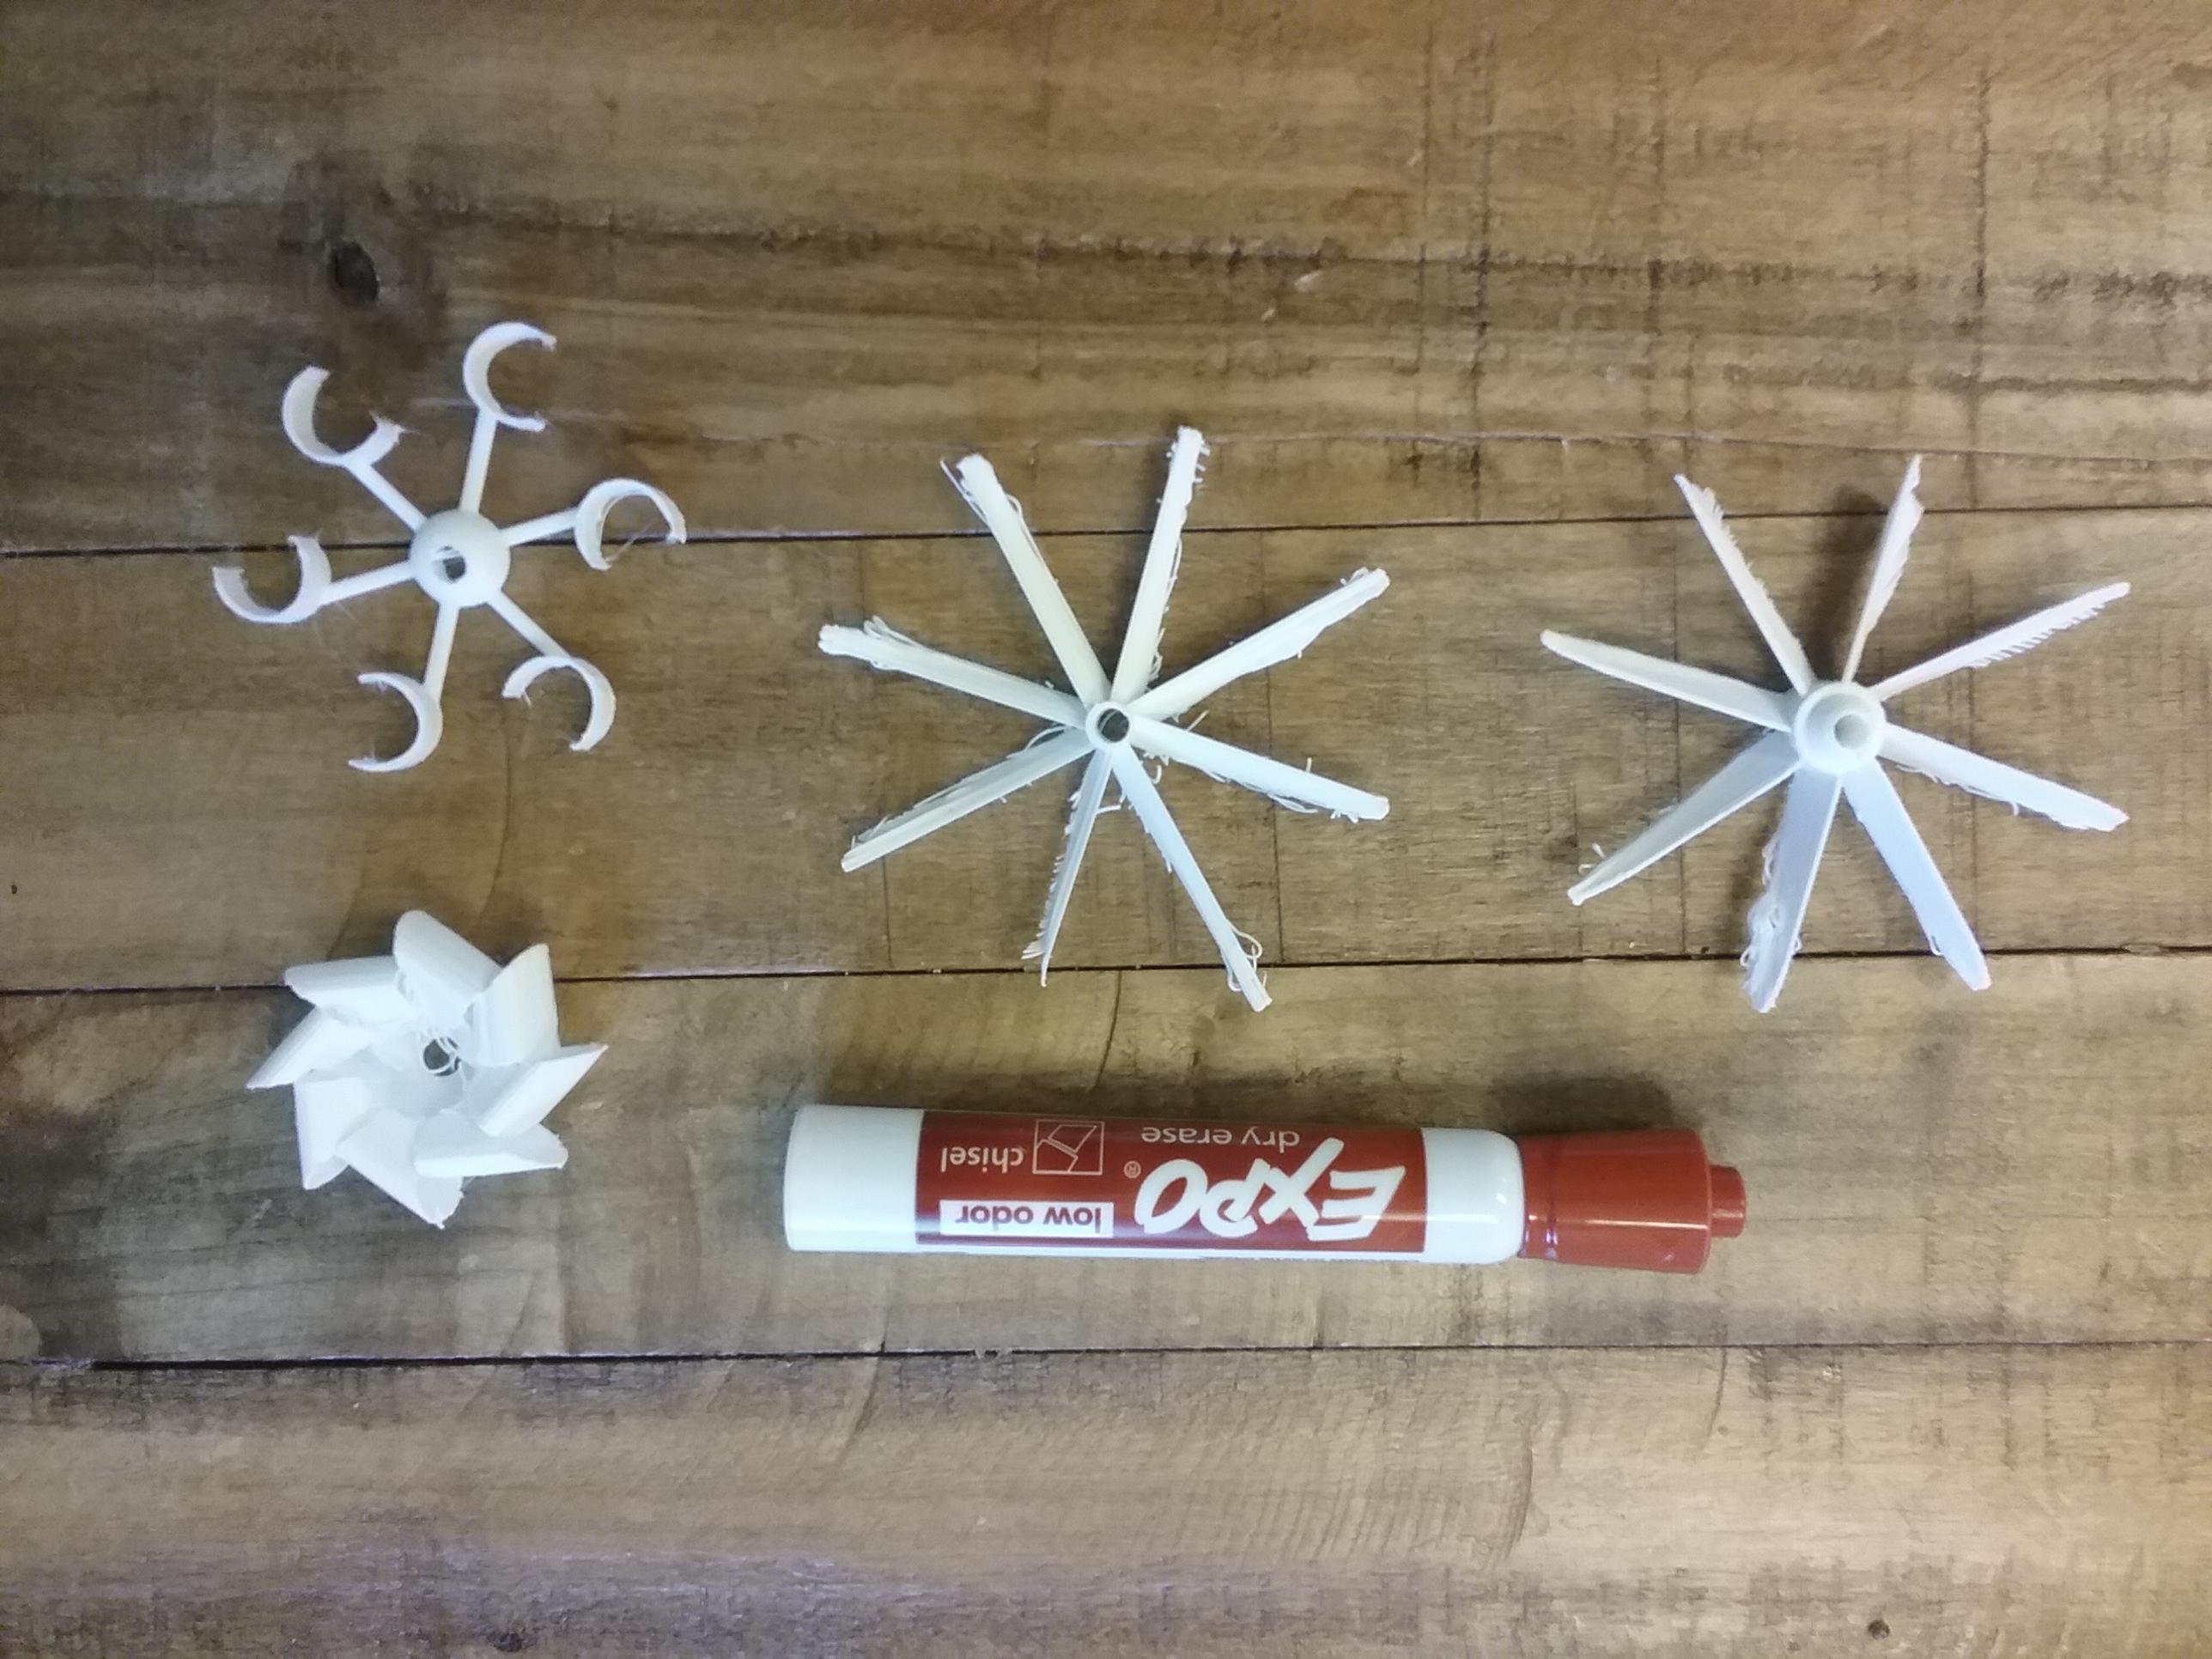 |
 | 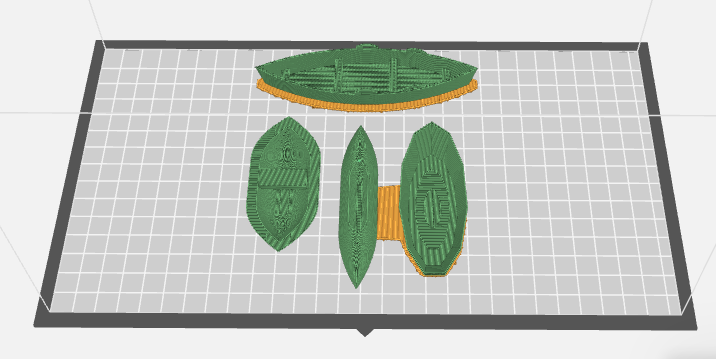 |  | 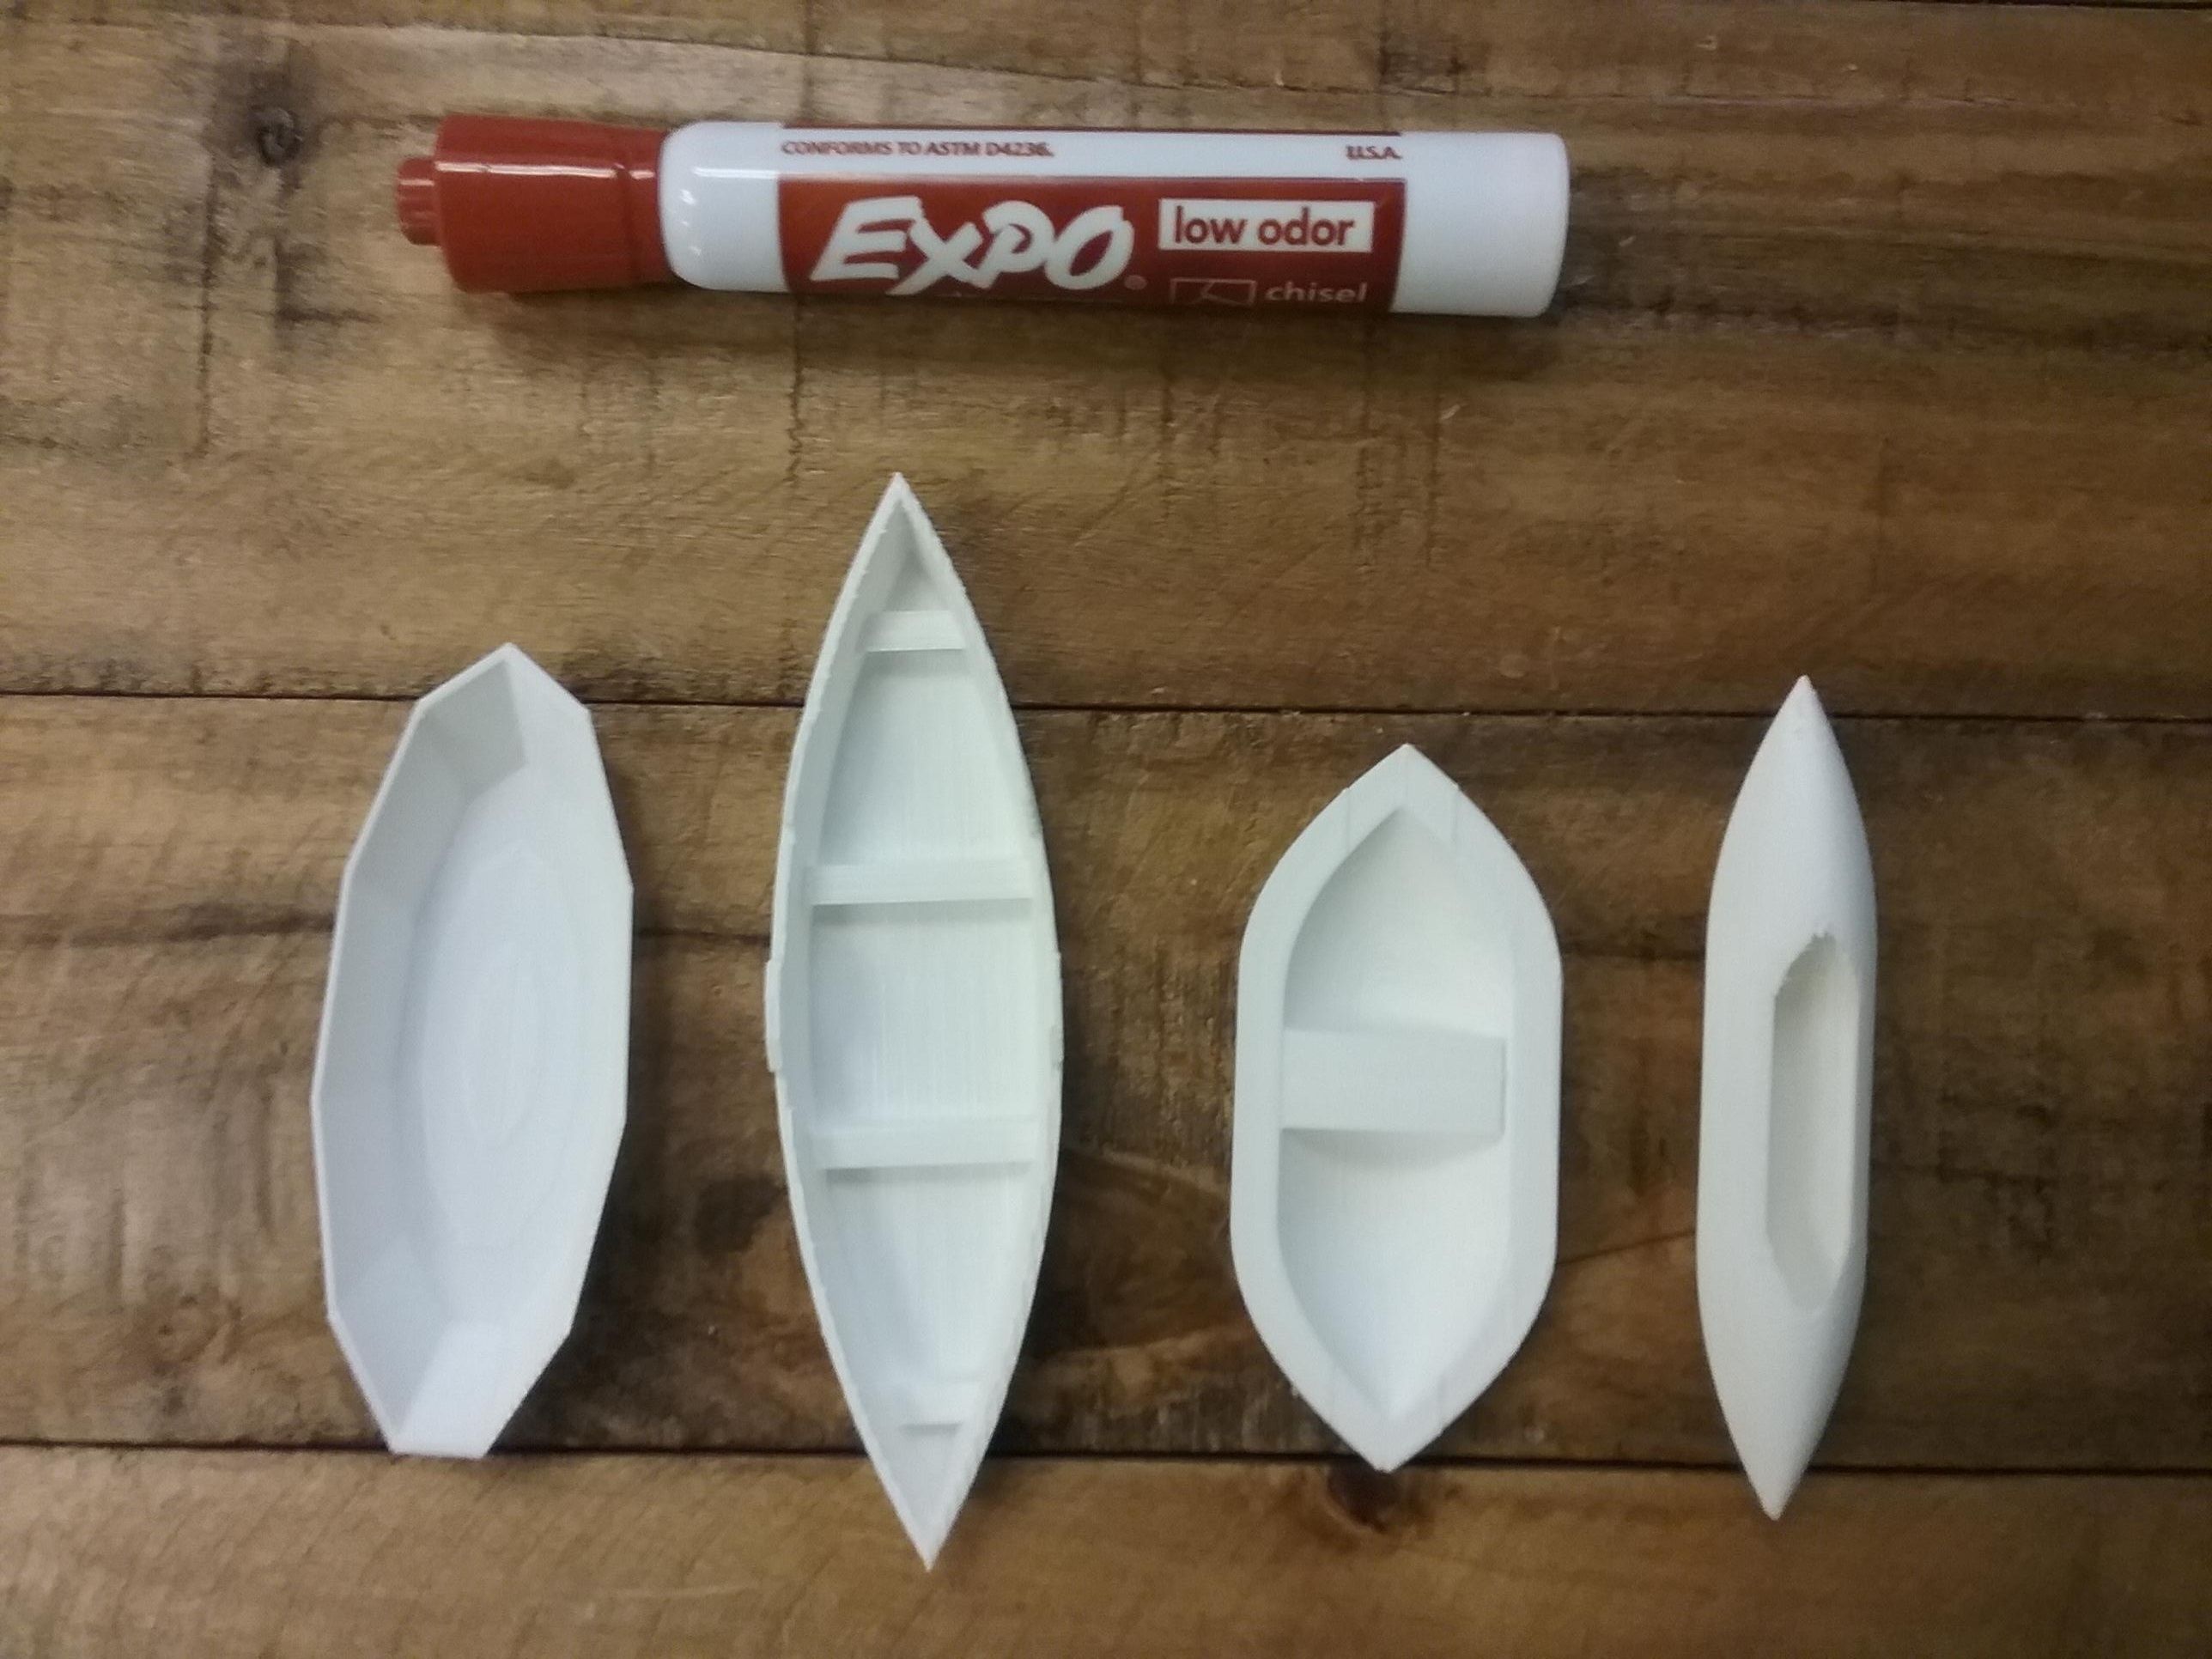 |
Options for printing:
- Print on your own 3D printers: Be thoughtful about if you want someone in the room as the 3D printing is occurring and when that would be. You can be printing during class, after school, etc.
- Printing for homework: If you have a 3D printing lab on campus, you may want to make students responsible for getting their design printed.
- Print mini versions: Do not have students actually test their end projects, but print smaller scaled versions of their project so they can have a physical copy of what they designed
- Print and test later: Students complete designs but do not test them until later. For example: Monday, Tuesday, Wednesday: Wind Turbines Lesson. By the end of class on Wednesday the students complete their final design. You begin printing the final wind turbine designs while the students begin the next lesson (Buoyant Boats). Then once all the students’ designs from the previous lesson (Wind Turbines) are printed the testing can occur.
- Use connectors to print one piece at a time: Students can print individual parts of their final design with connectors. You would need to very carefully track the pieces and this may not be the best option depending on the project (ex: For the buoyancy boat project it would make the boat not air tight)
- Send prints: There are many places that you can pay to send your print to. They will take on the task of having the prints ready for you.
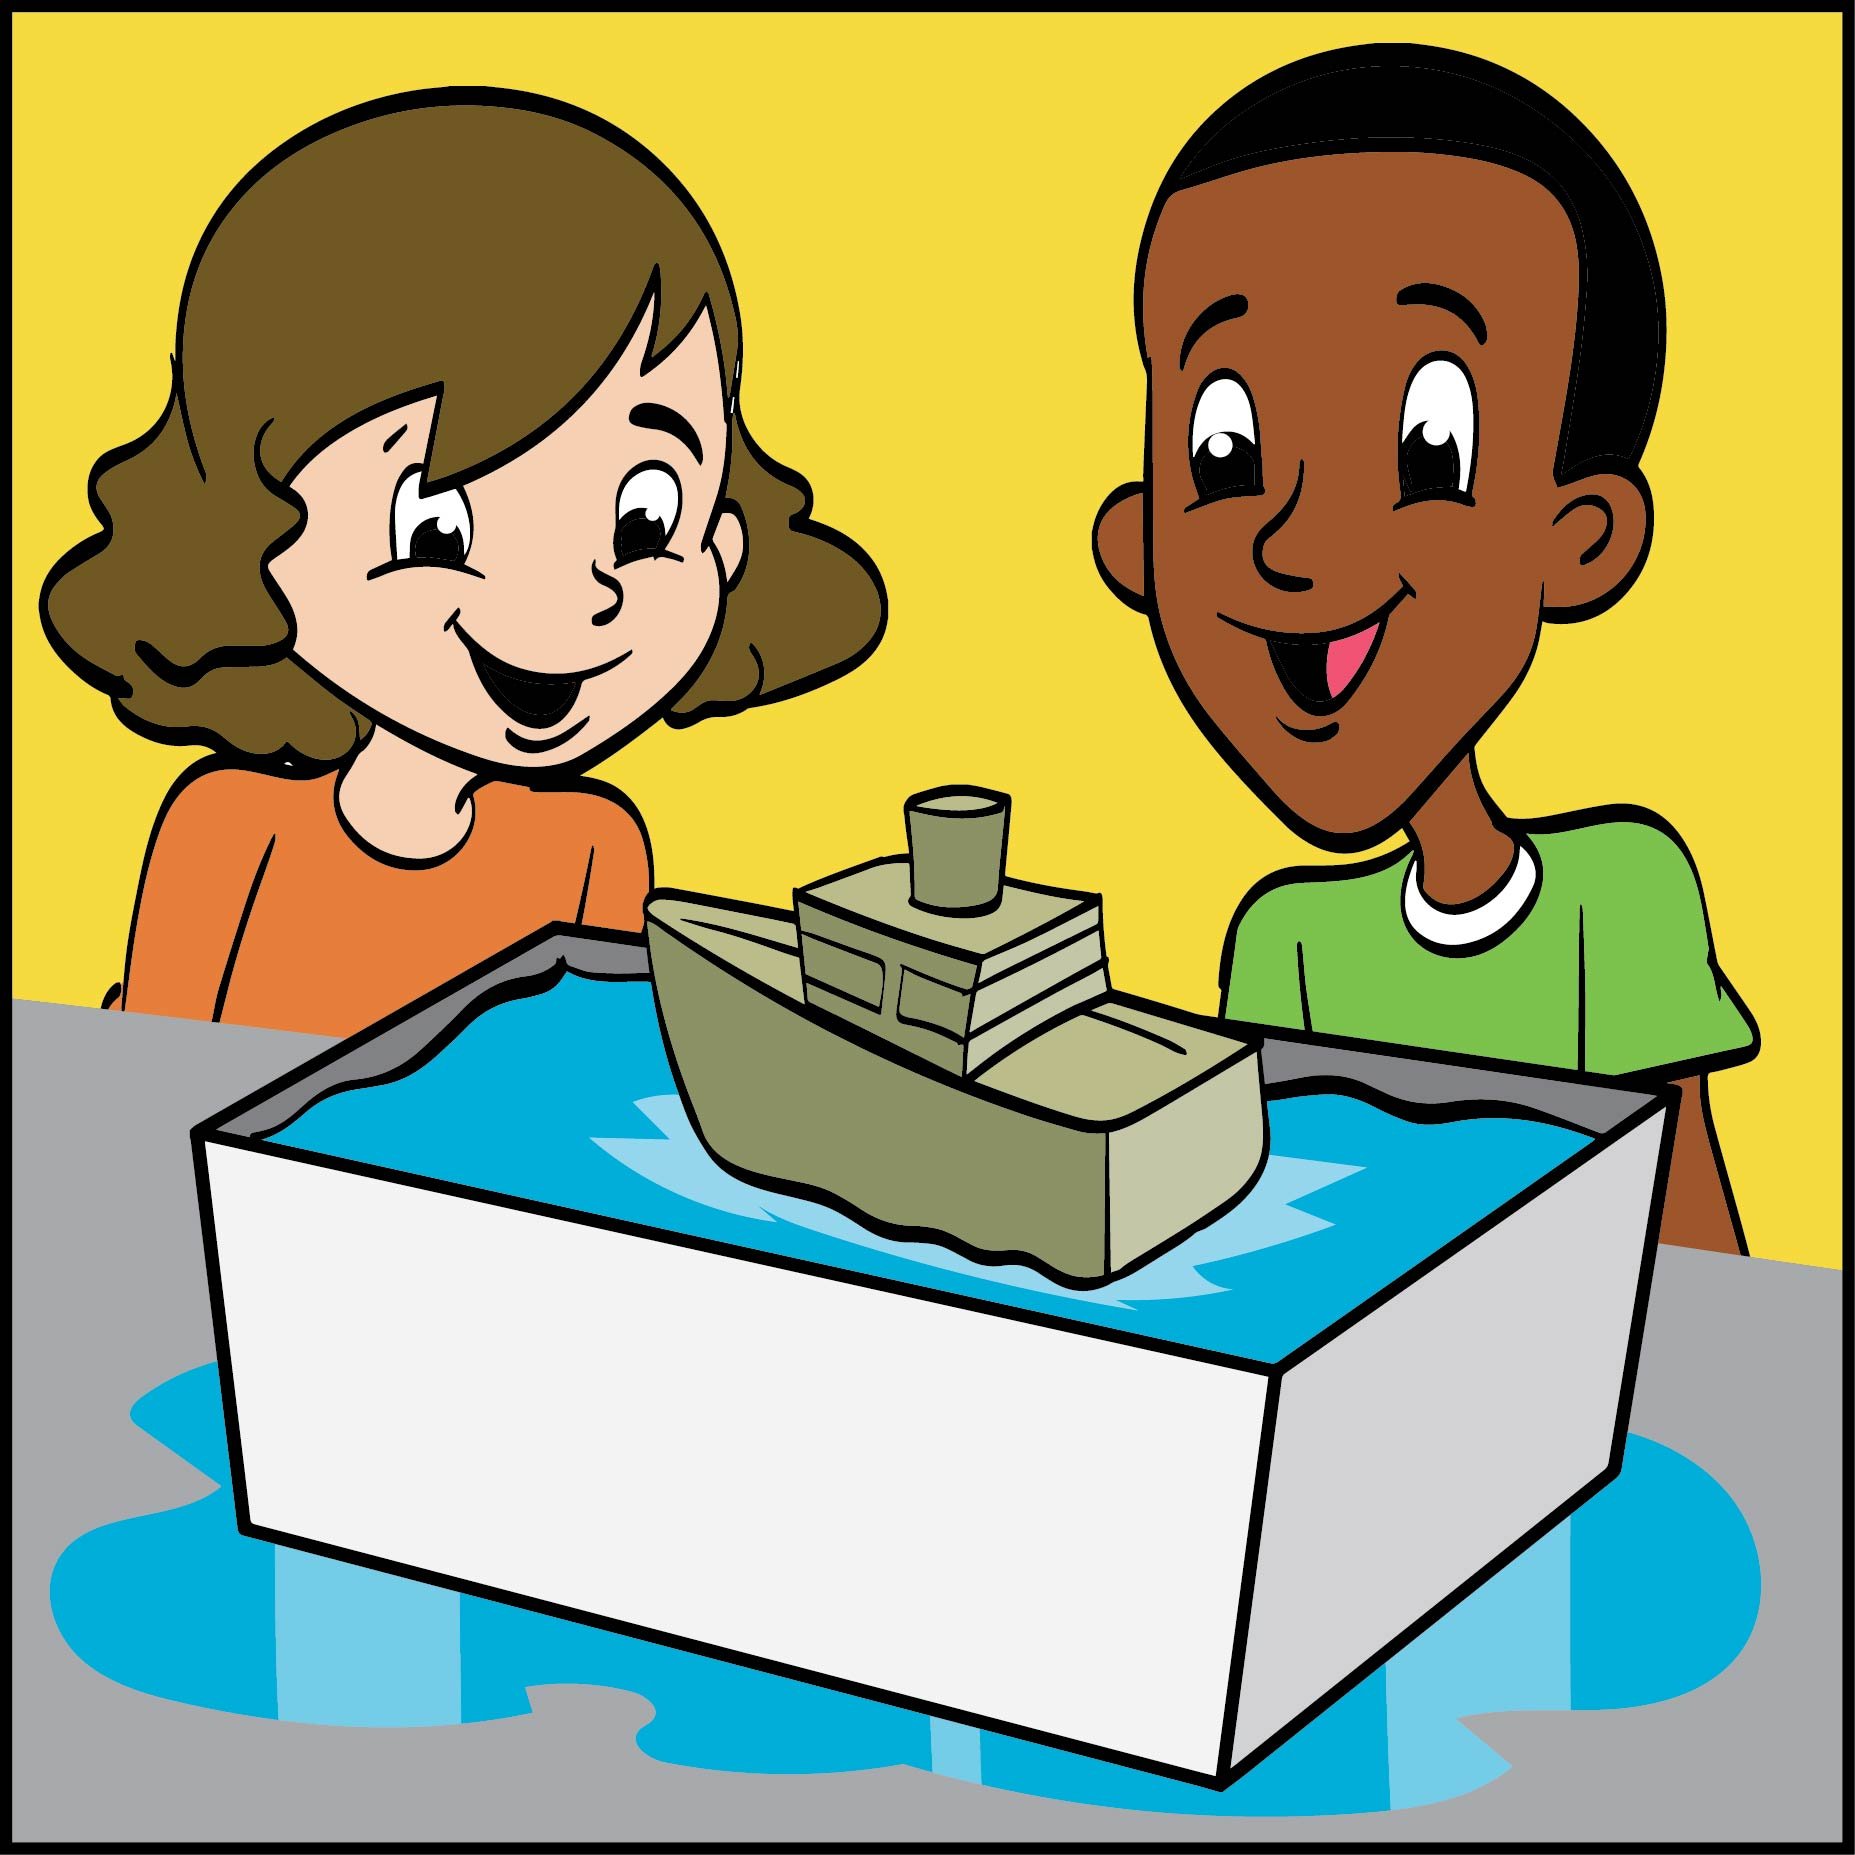
Observation activity:
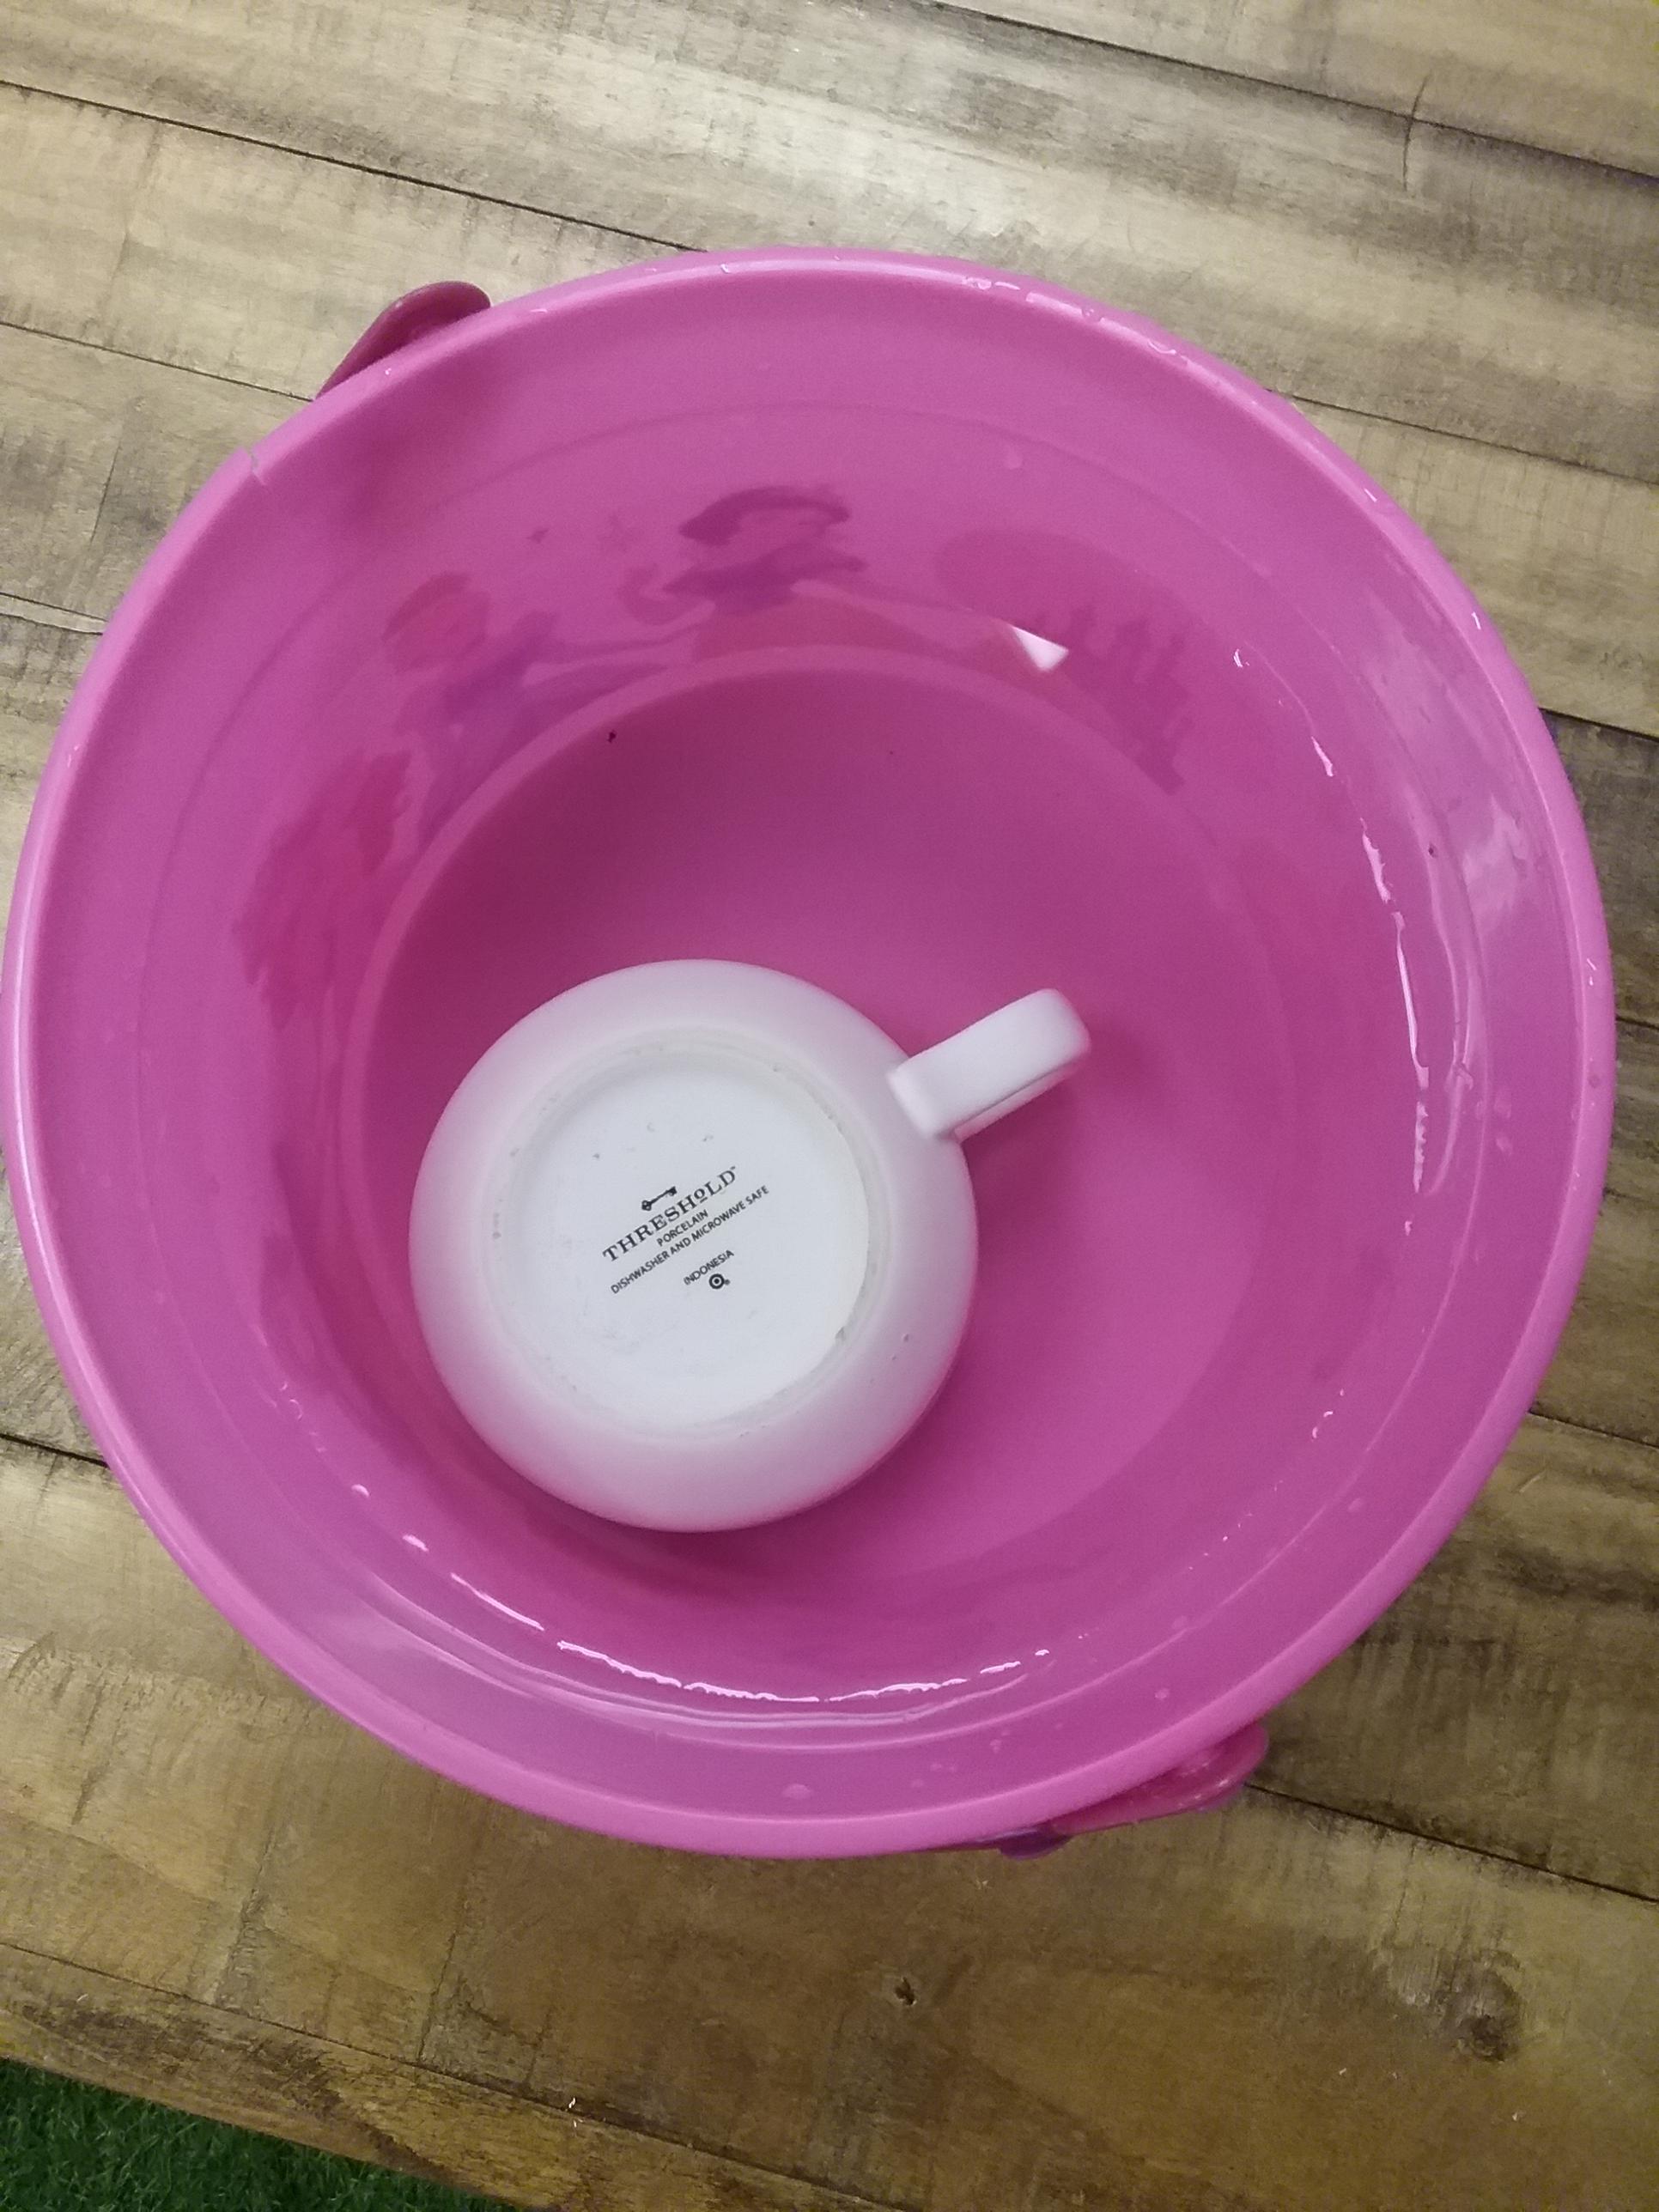
Students will be observing the buoyancy of objects.
- Show them the objects they will be observing the buoyancy of (ex: cups, balls, etc.).
- Pass the objects around so that students can feel them.
- Have the students predict which object(s) will float and which won’t.
- Begin putting the objects into the water (up to you if you want to do them one at a time or all at once)
- Make sure that you specifically take objects (such as the cup) and change its position (right side up, sideways, upsidedown).
| 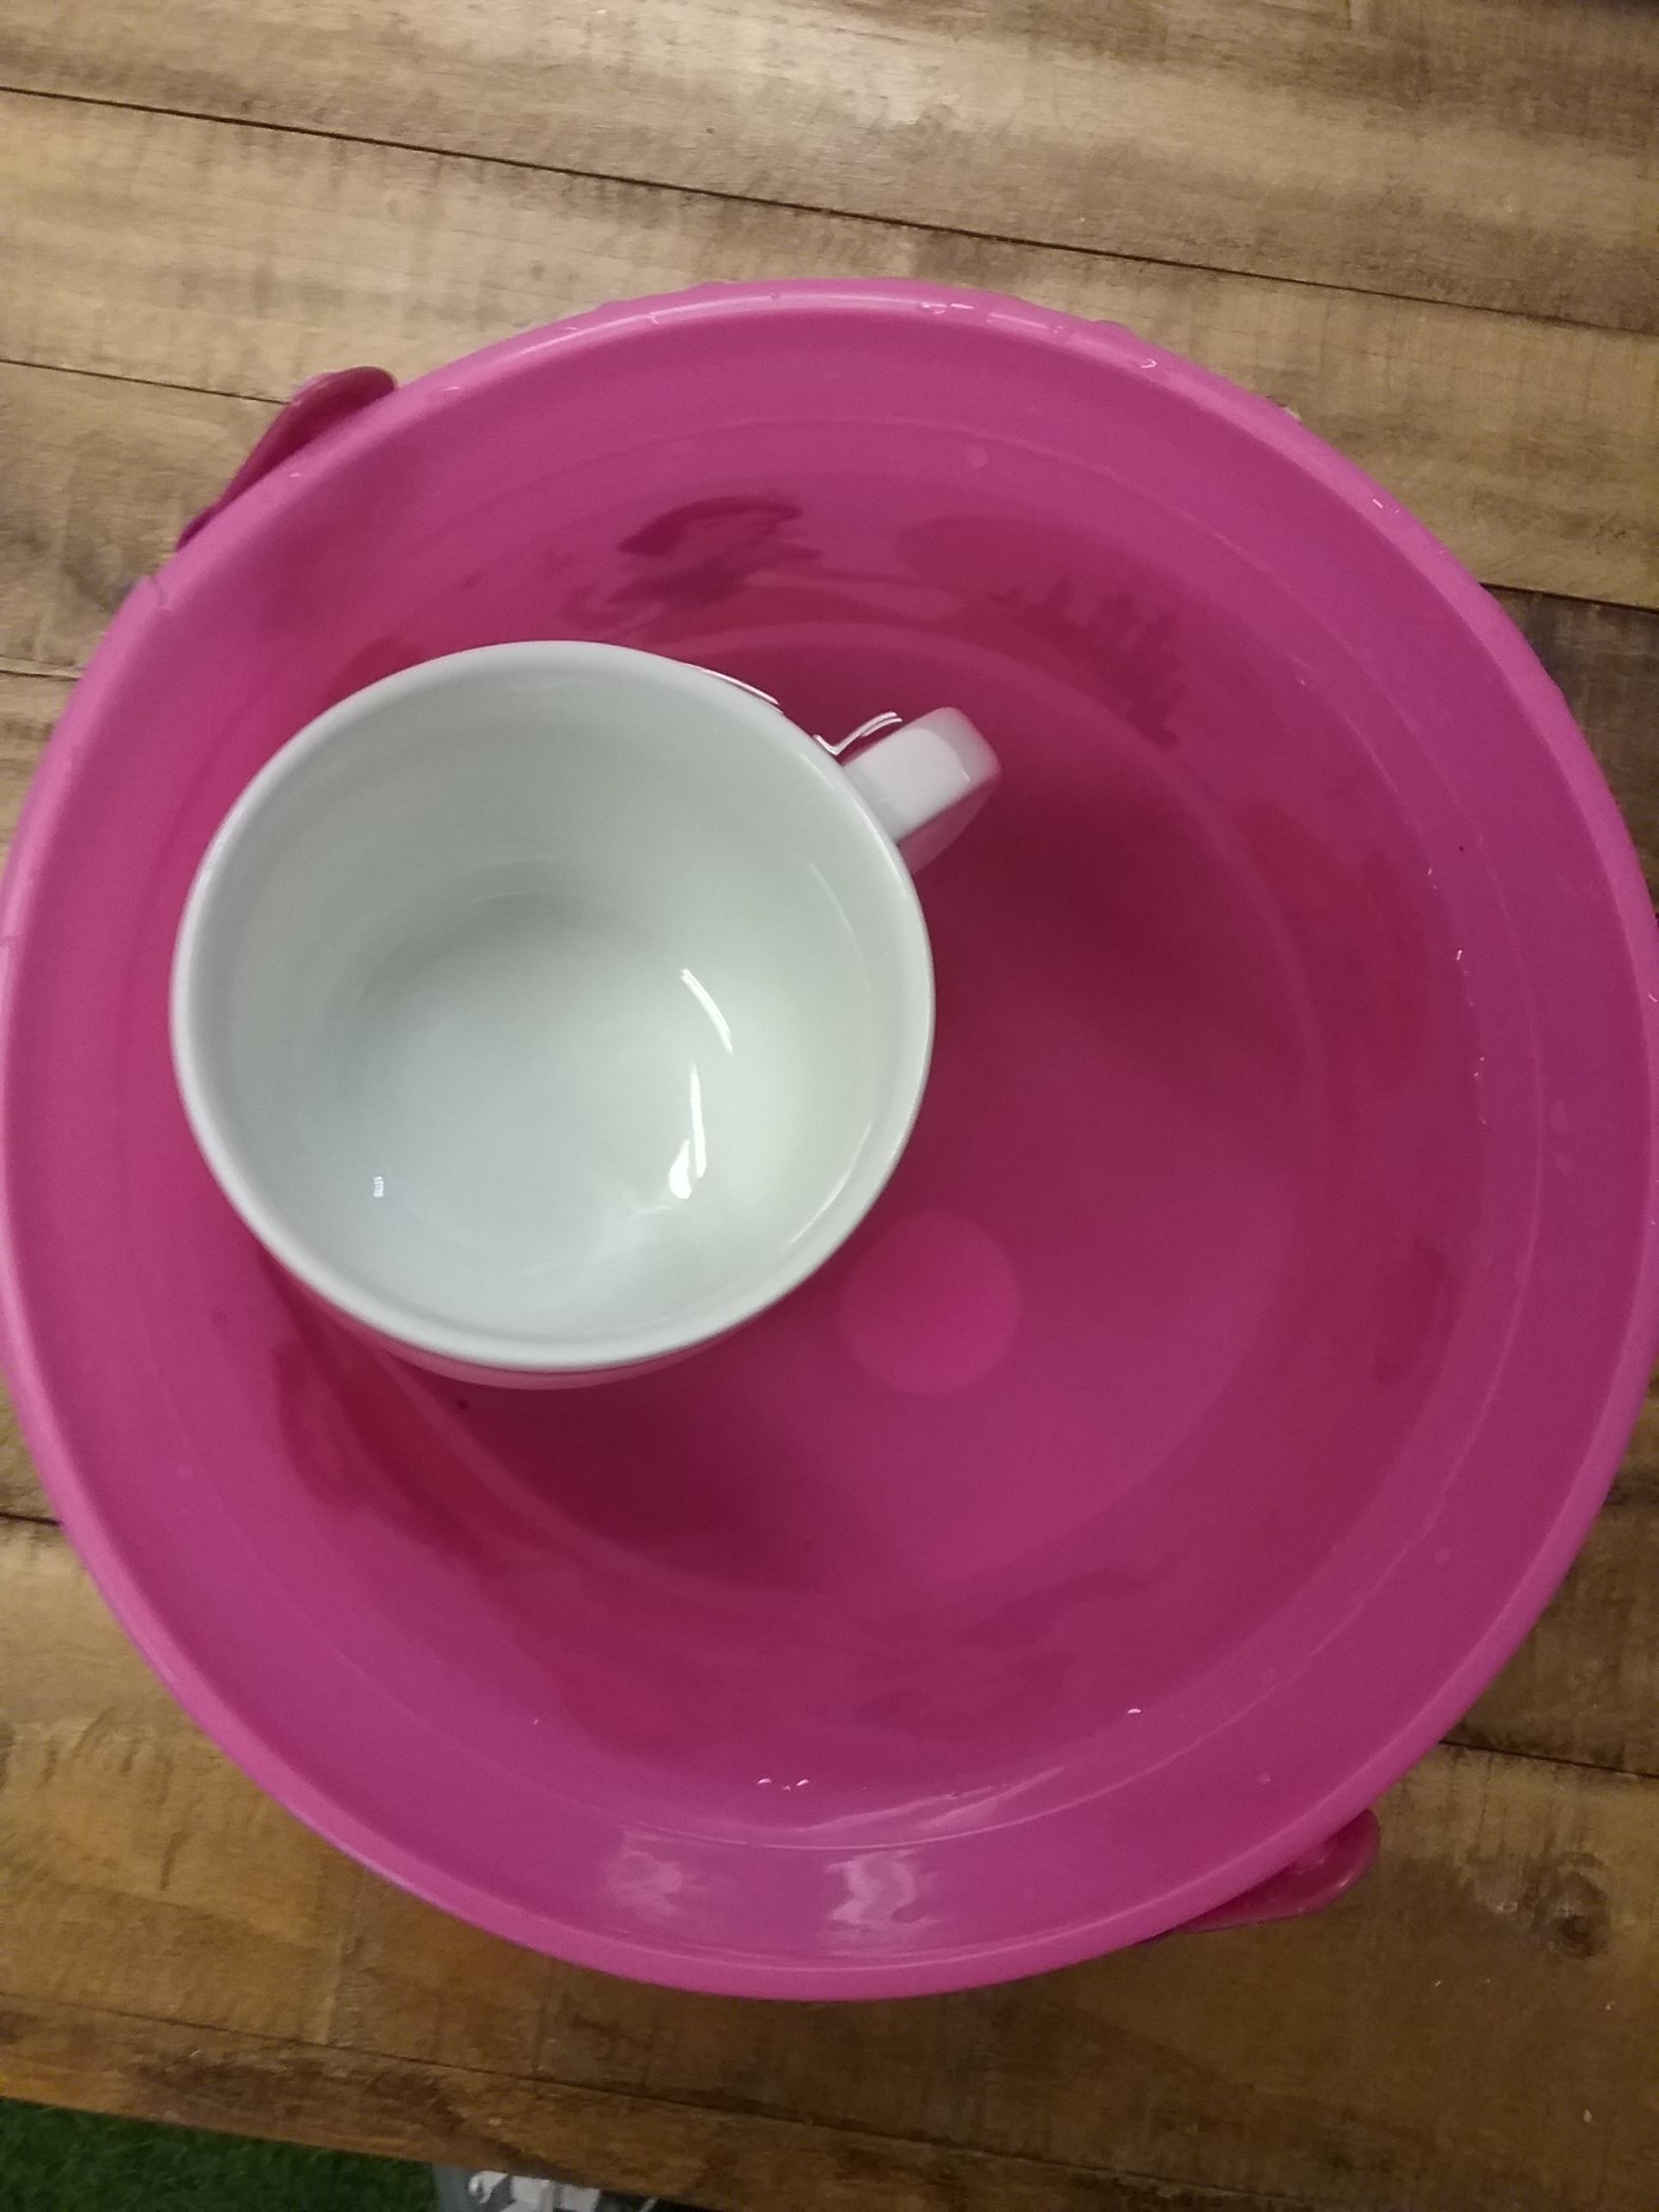 | 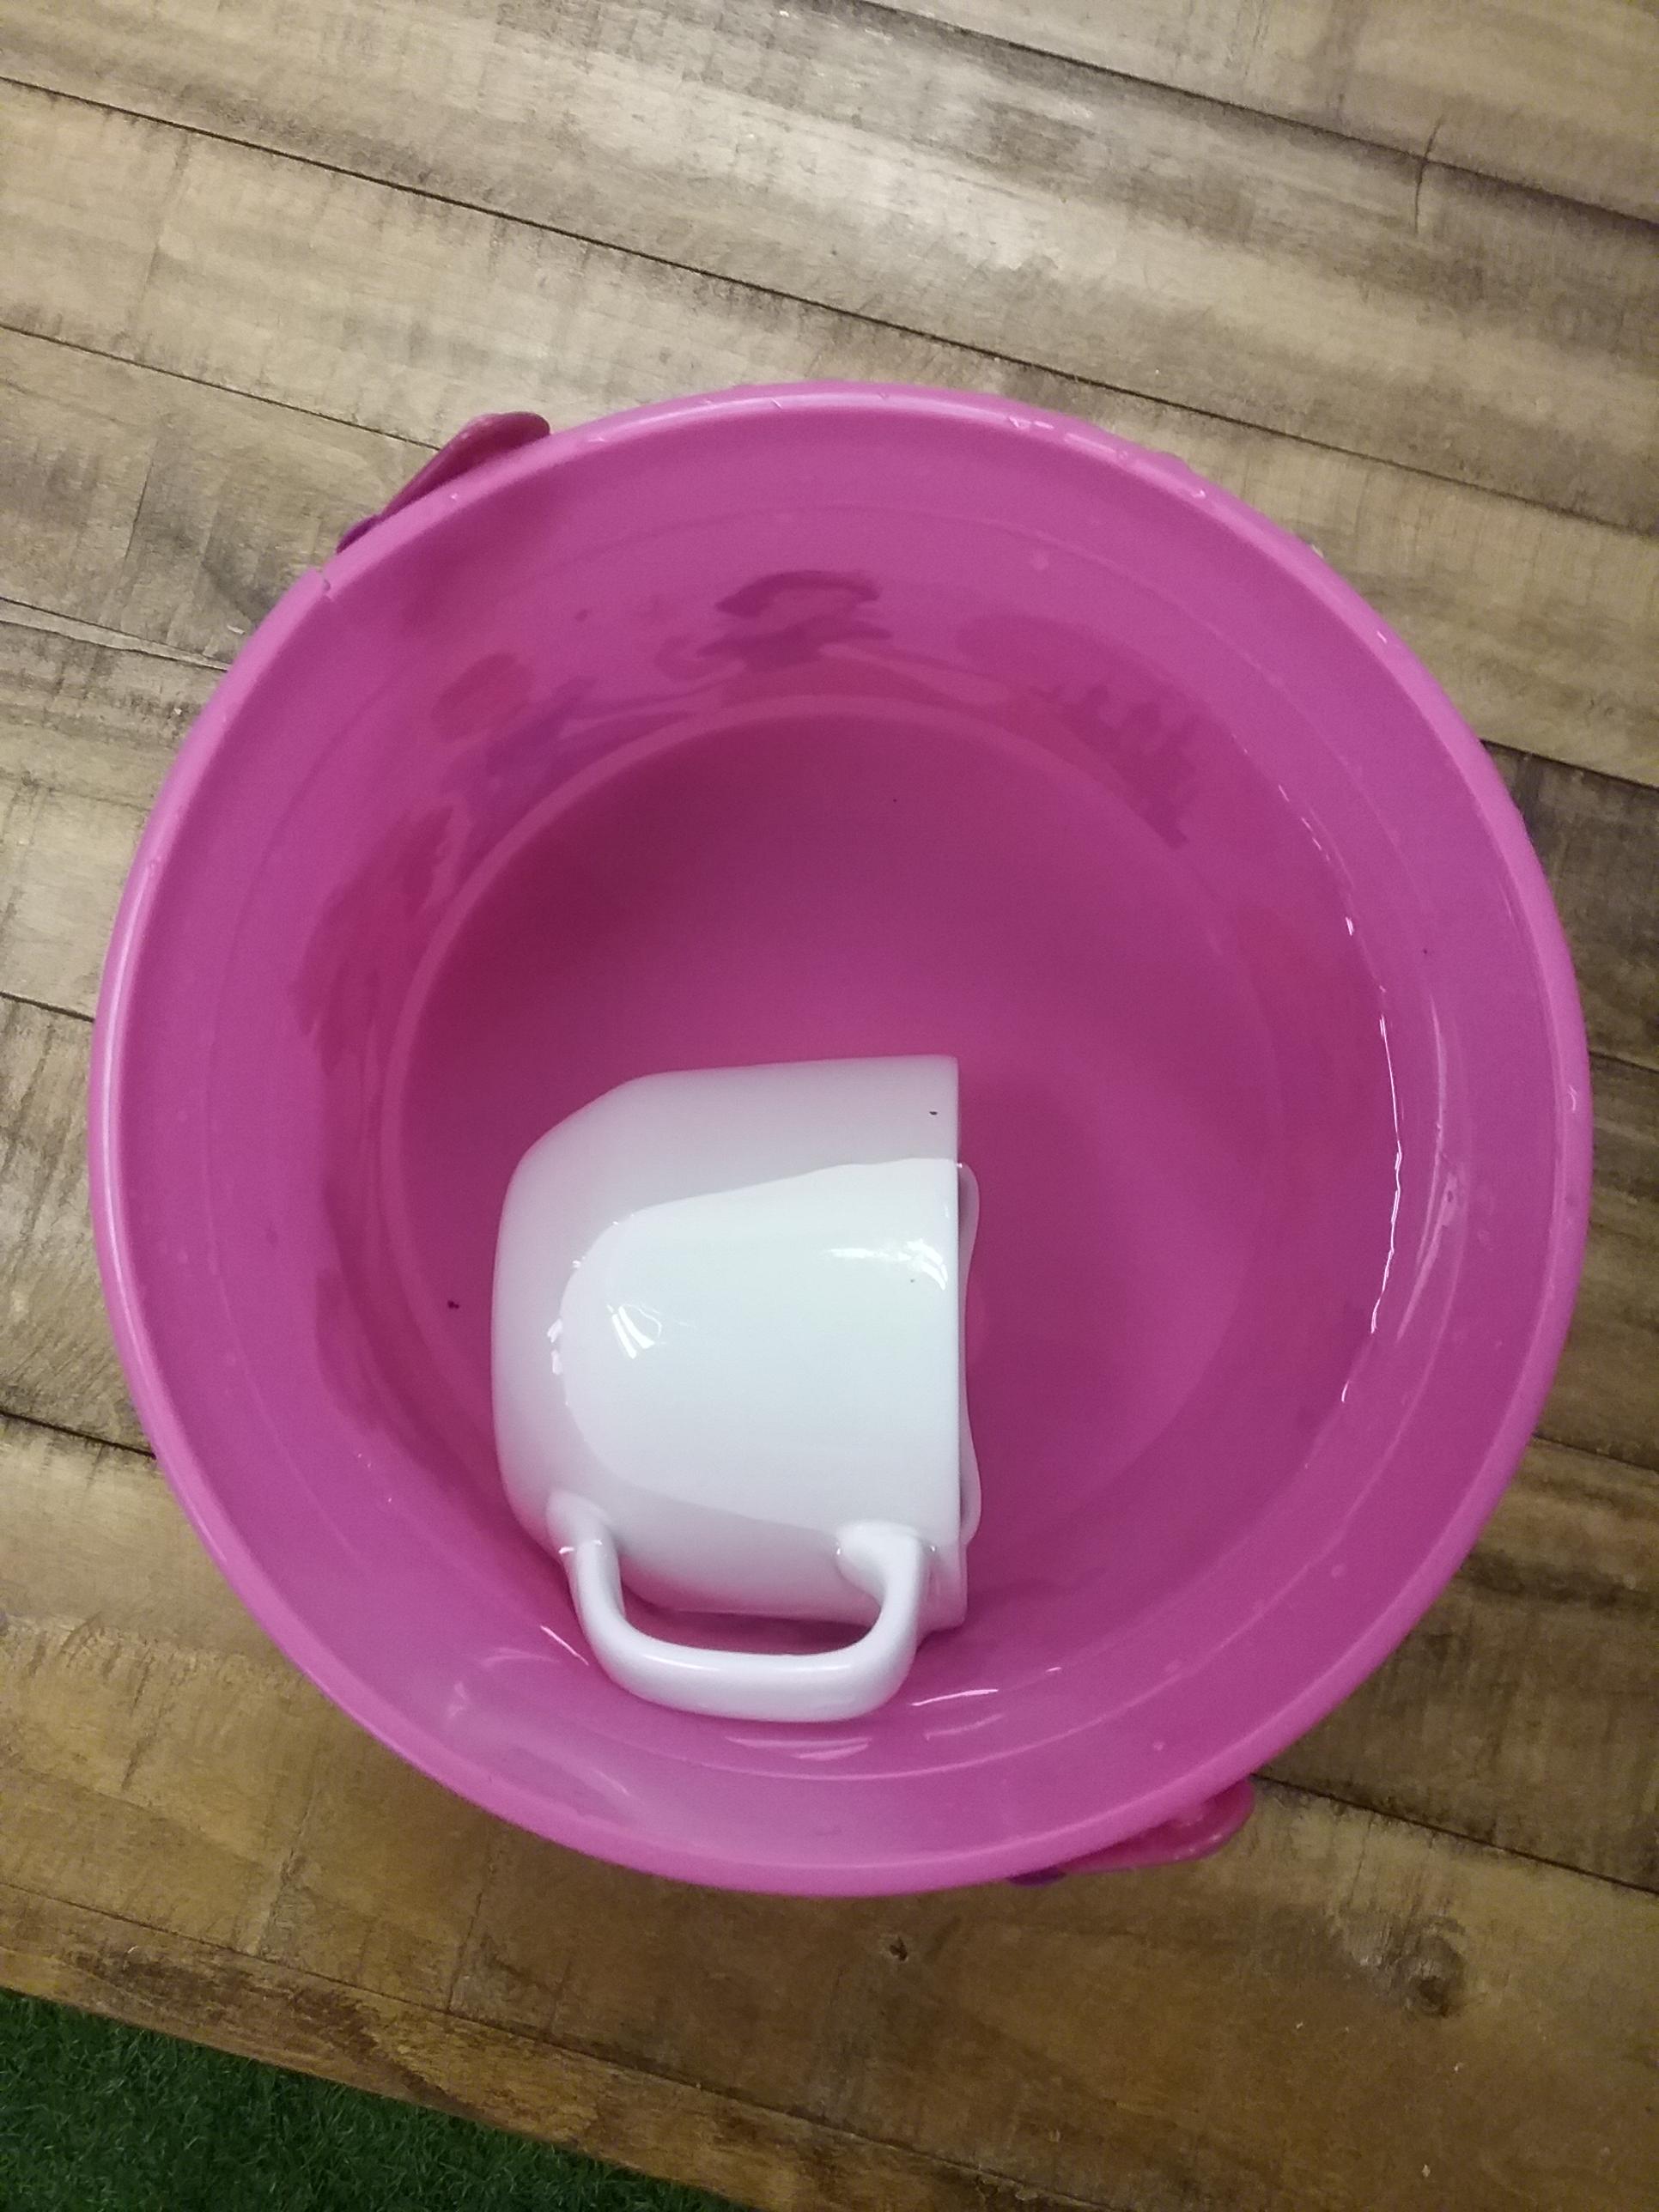 |  |
Have students go to their computers and answer the question (What patterns did you observe during the experiment? Ex: I observed that the objects were more/less likely to float when…) Once all of the students have submitted their responses have a class discussion about what they observed.
Teaching Tips:
1) Present the goal
2) Have students watch the video
3) Review the definitions from the video
Teaching Tips:
During the design time, walk around and prompt your students with questions to help deepen their learning and thinking process. Some examples of questions are:
- Why did you make that design decision?
- How do you predict that design decision will affect the buyoncy?
- How did our observation experiment inform your design decision?
If students are struggling to bring the concepts taught in the explore module (buoyancy, archimedes principle, etc.) remind them to review the resources on the act module in this lesson.
If possible, create a testing space for students during this time. Students can have access to the objects from the observation activity. This way when the students are collaborating and discussing their design with their group they can test their theories.
Once students have finalized their designs, have them answer the question "Explain your design and how you think your design will work." on their computers. Once all the students have submitted their responses, facilitate a class discussion about their design choices.
Build a boat that would…1) Carry a large amount of weight2) Carry a large amount of material3) Not capsize under waves4) Use the least amount of materialAll the information we learned in the last module (buoyancy, archimedes principle, etc.) are availabe on the student's module Act. Please use it as a reference. |

Teaching Tips:
Testing
Build a boat that would…
| Goal Criteria | Way to Test |
| carry a large amount of weight | You can use either the washers or coins (ex: quarters, pennies). Students can track how much weight their boat was able to carry while still floating |
| Not capsize under waves | Make waves by tilting the container back and forth. This can be more difficult in terms of testing as you will not be able to standardize the movements (human error). A suggestion would be to have one person (teacher or student) who would be impartial to be in charge of moving the container in order to have more accurate testing variables. |
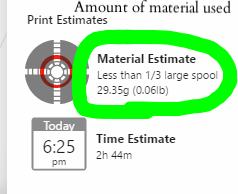
| Use the least amount of material | When uploading your designs to the 3D printing software, it should give you data on the amount of material used. You will likely be printing multiple projects at a time so make sure you are logging the student's individual projects as opposed to as a whole.
|
In terms of using the criteria – there are multiple options.
- Do not focus on a total score – but just on analyzing how well the design performed for each criteria. Additionally you could focus on the designs that performed the best for each criteria individually and facilitate a discussion around that. Ex: What common design features do you think helped these boats successfully carry a large amount of weight? Why do you think those design features helped the boat carry heavier weight?
- Award points to each group for each criteria (there are multiple ways to award/score how successful the boat was in each criteria). You may even have a discussion with your students about how to award points (suggest you do this BEFORE students test to decrease their bias). It could be an interesting discussion about which criteria are more/less important and why.
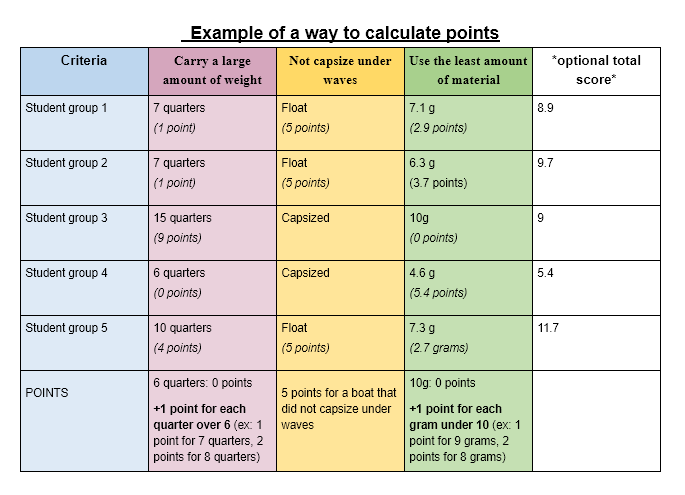
Here is an example of how to score.
| HERE is a link to a Googledoc scoring document.https://docs.google.com/document/d/1KH0kR5-iVSdZ3h76HZAVzpTaVQJwL_vGoMGH2Lsji3Y/copyHERE is a link to a Word scoring document.https://www.robotlab.com/hubfs/Education.Robotlab.com/Engineering%20Design%20with%203D%20printing/Boat/criteria%20boat.docx |
Have students answer the following 2 questions on their computers. Once all the students have finished answering the questions have a class discussion about their answers.
- How effective do you think your design was and why?
- If you could revise your design, how would you change it and why?