Lesson Modules
Teaching Tips:
Materials for lesson:
- Print at least 1 wind turbine stand BEFORE students print their final wind turbine blades
- at least 1 blowdryer (would be benficial for each group of students to have a blow dryer for testing)
- 1 tea bag
- tape
- different types of paper (as many as possible)
- lined paper
- printer paper
- heavier construction paper
- index card
- etc.
- scissors
- washers ---->
Preparation:
- Prepare a testing area for the observation activity. You (or a student) will be blowing air through a blowdryer at paper while the students observe the effect. Make sure you have a space that would lend itself to that activity.
- Prepare a testing area for the final testing. It should include...
- a 3D printed wind turbine stand (link)
- washers to level the rod
OBSERVATION ACTIVITY:
Students will be observing how air movement affects the movement of different types of paper in different configurations.
Suggestions for experiments:
Lay papers flat
Point hair dryer directly at the short edge | 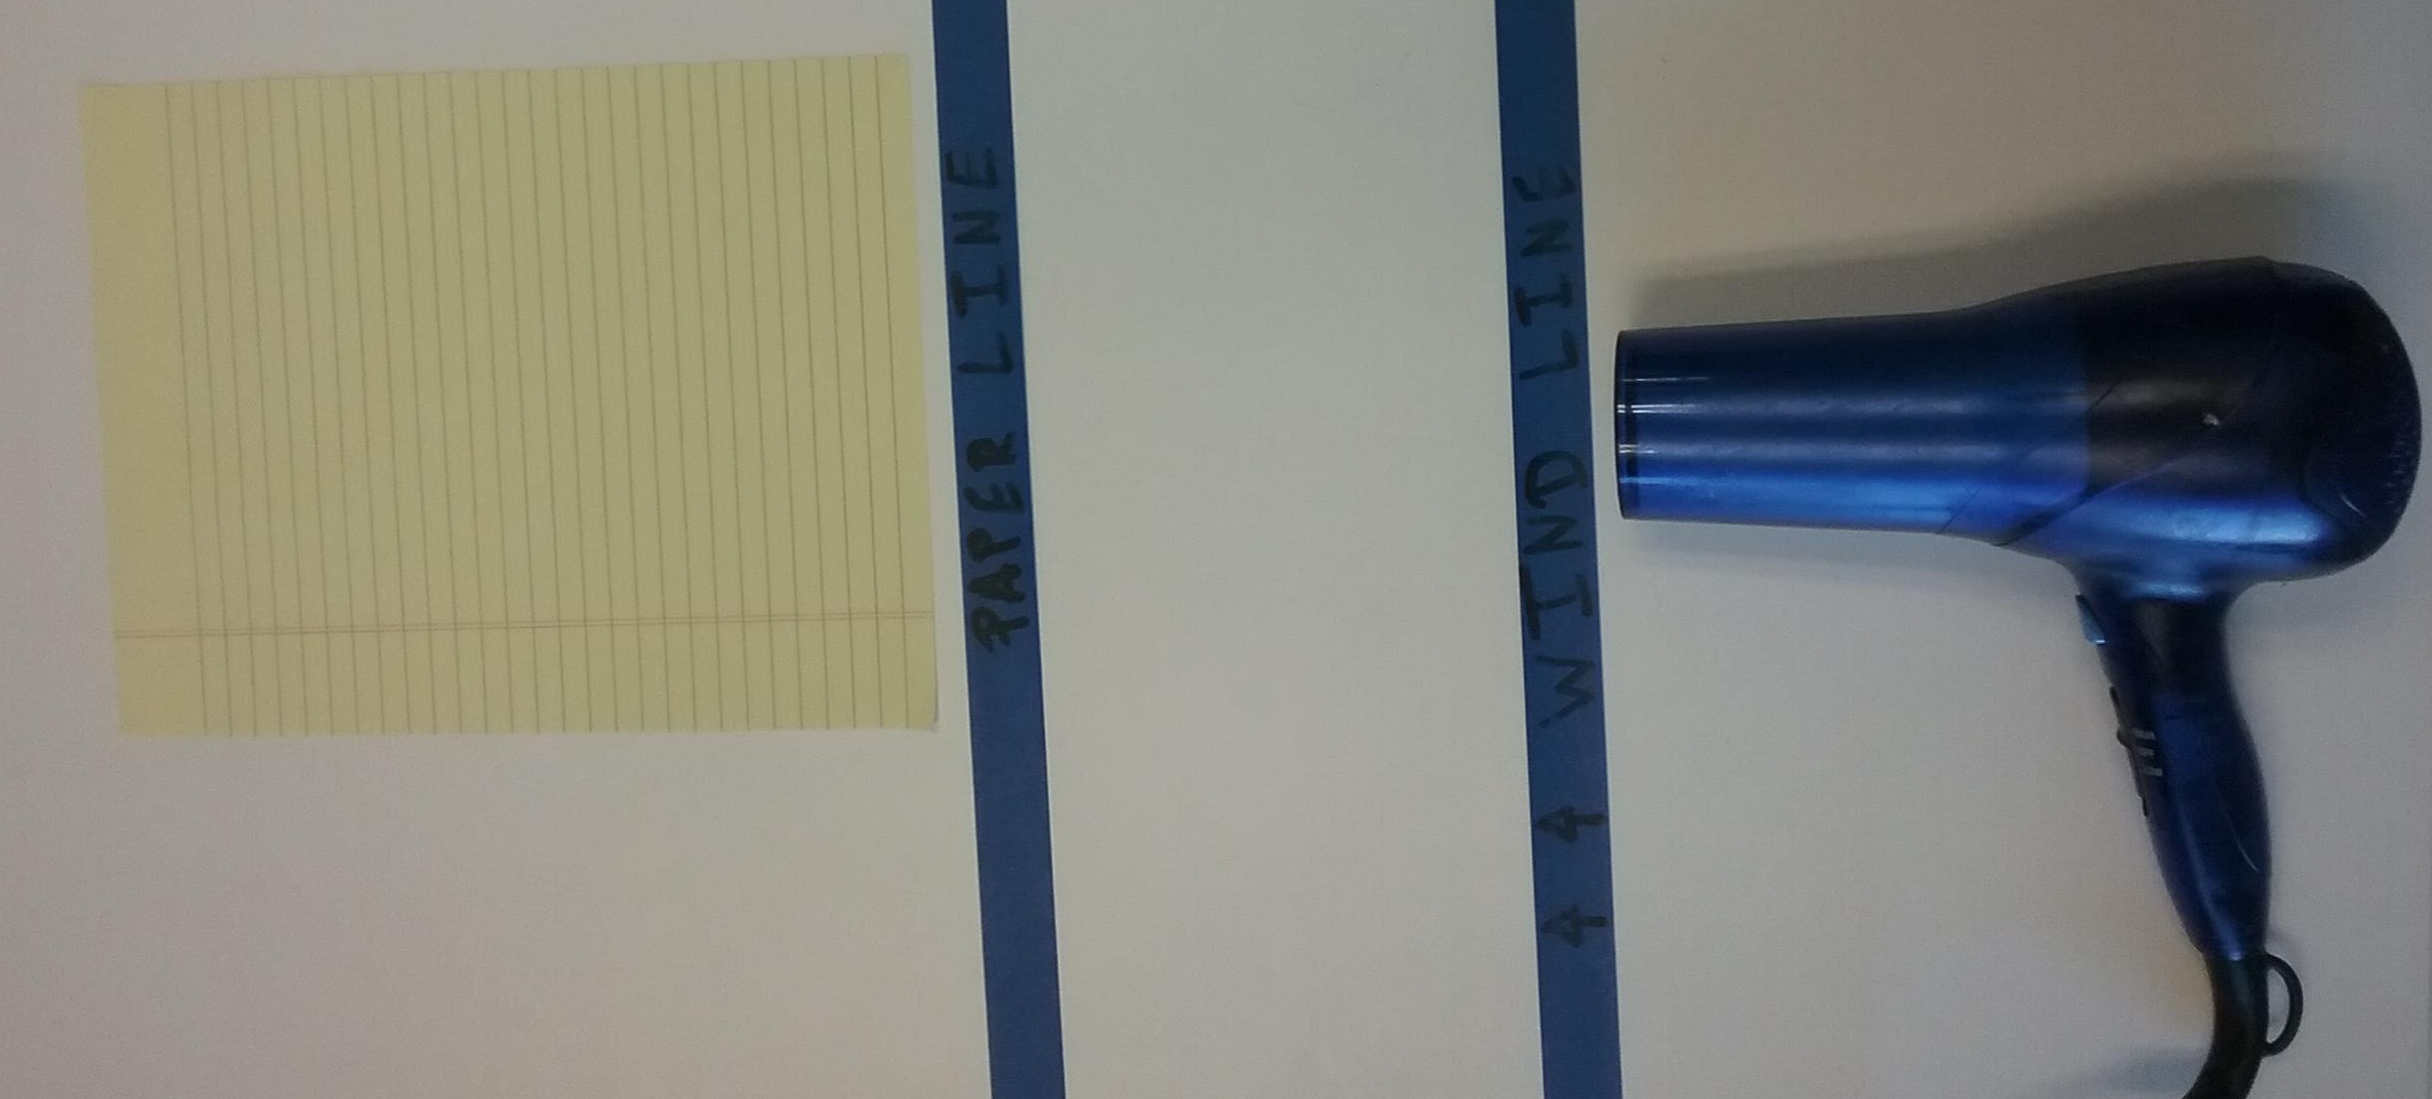 |
Point hair dryer directly at the long edge | 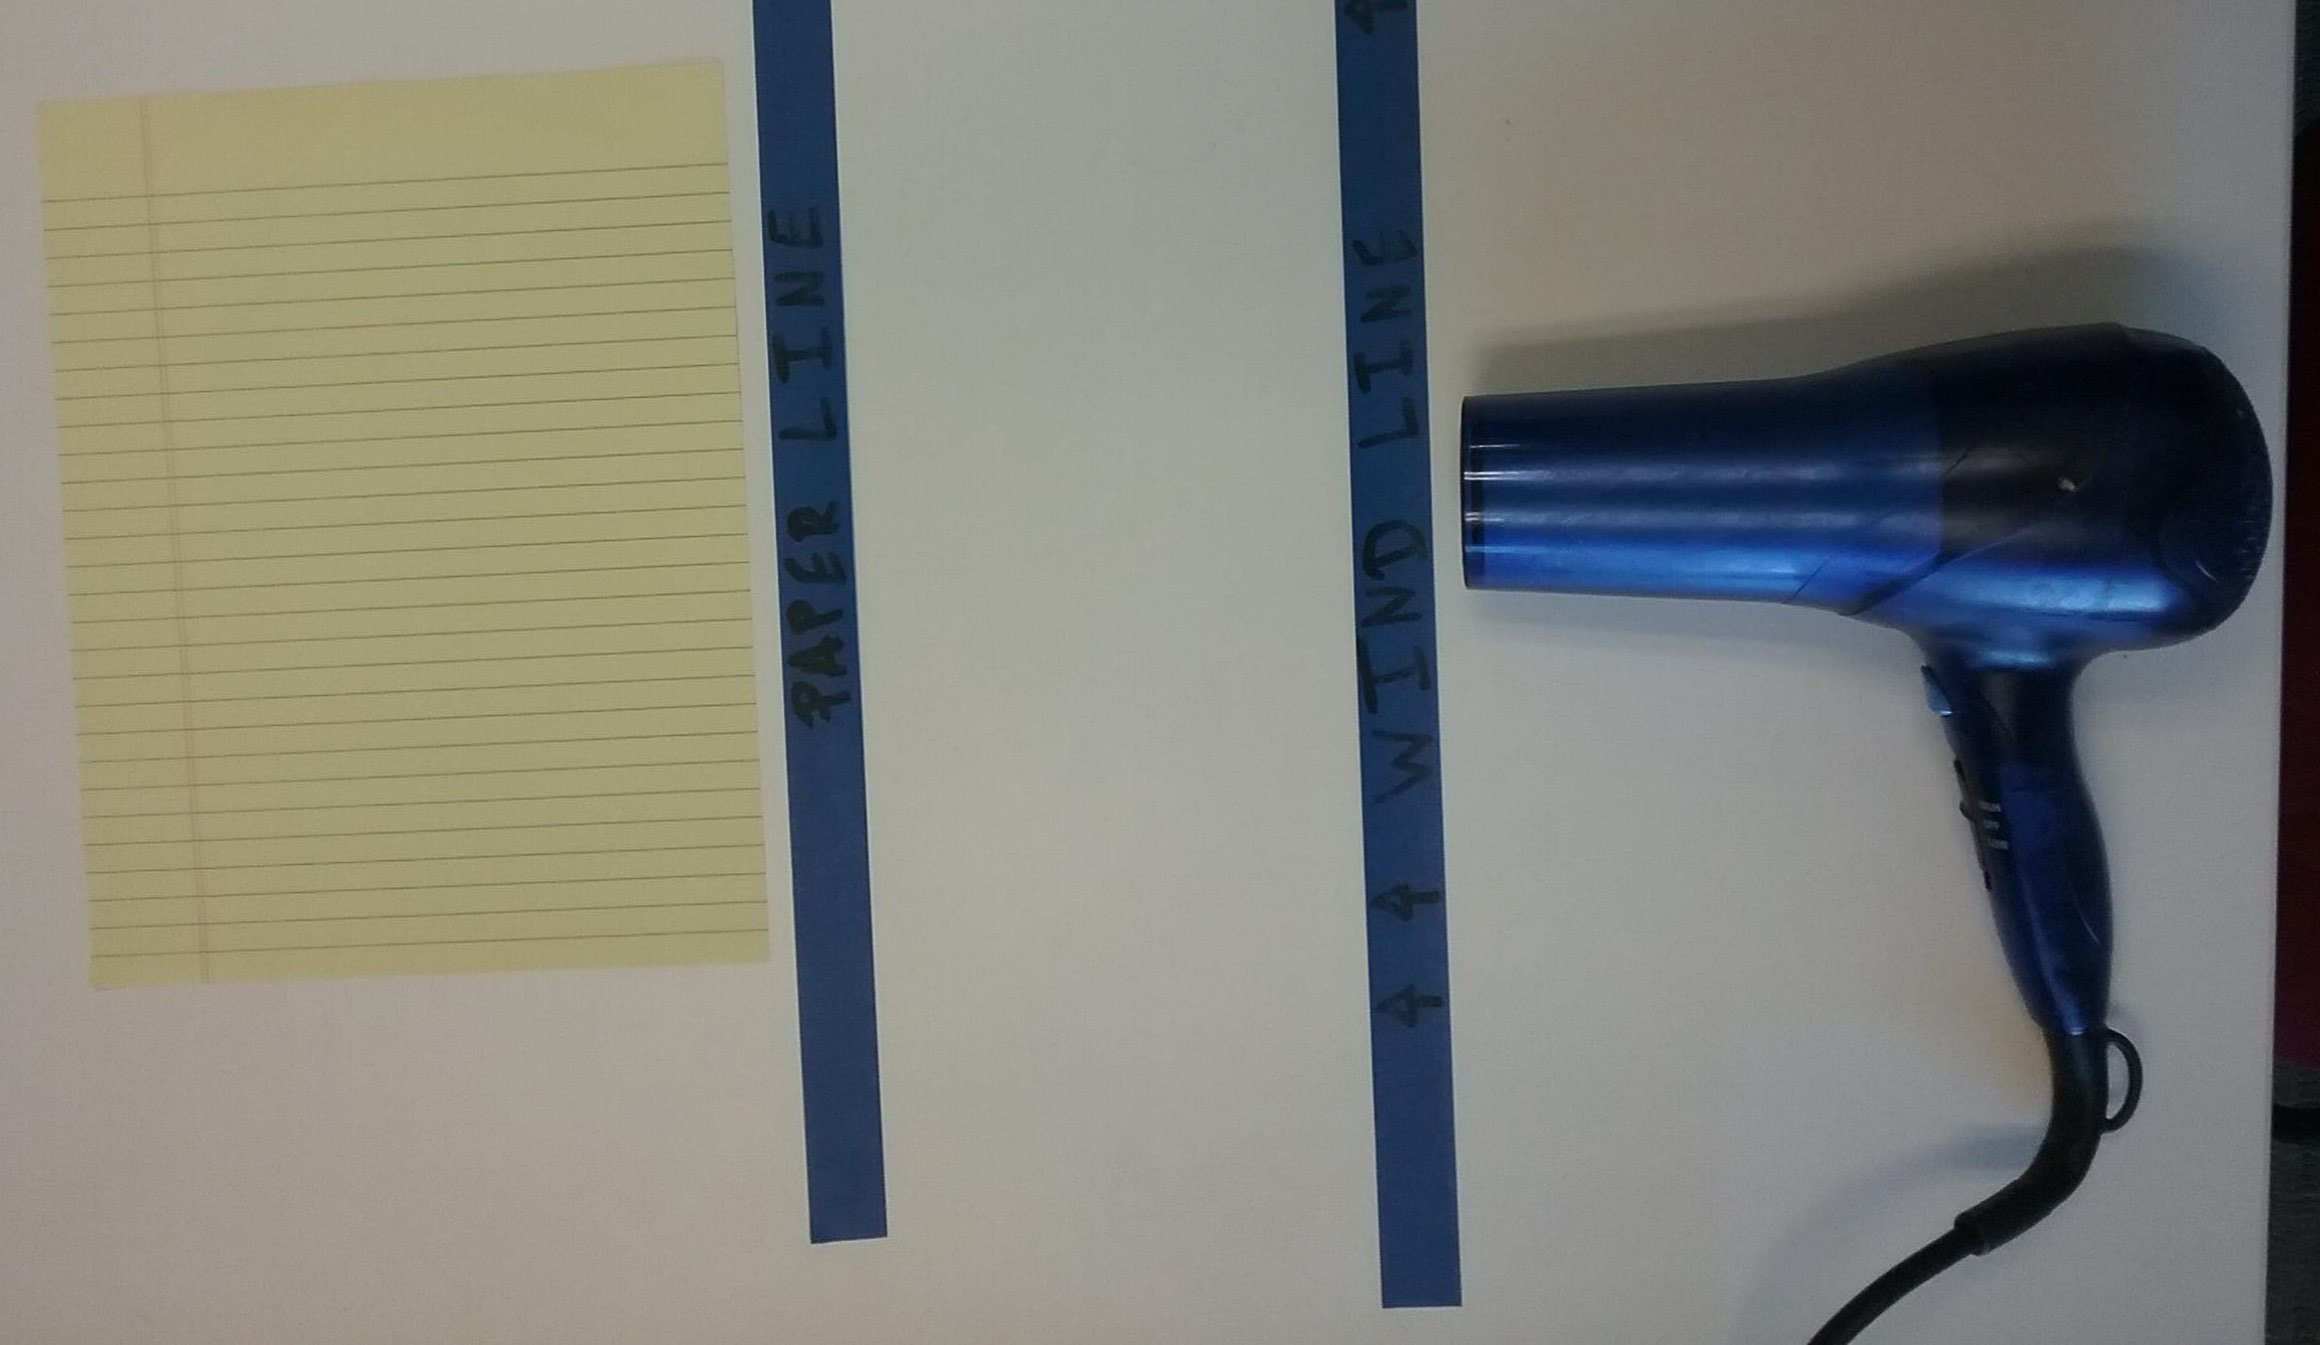 |
Point hair dryer directly at a corner | 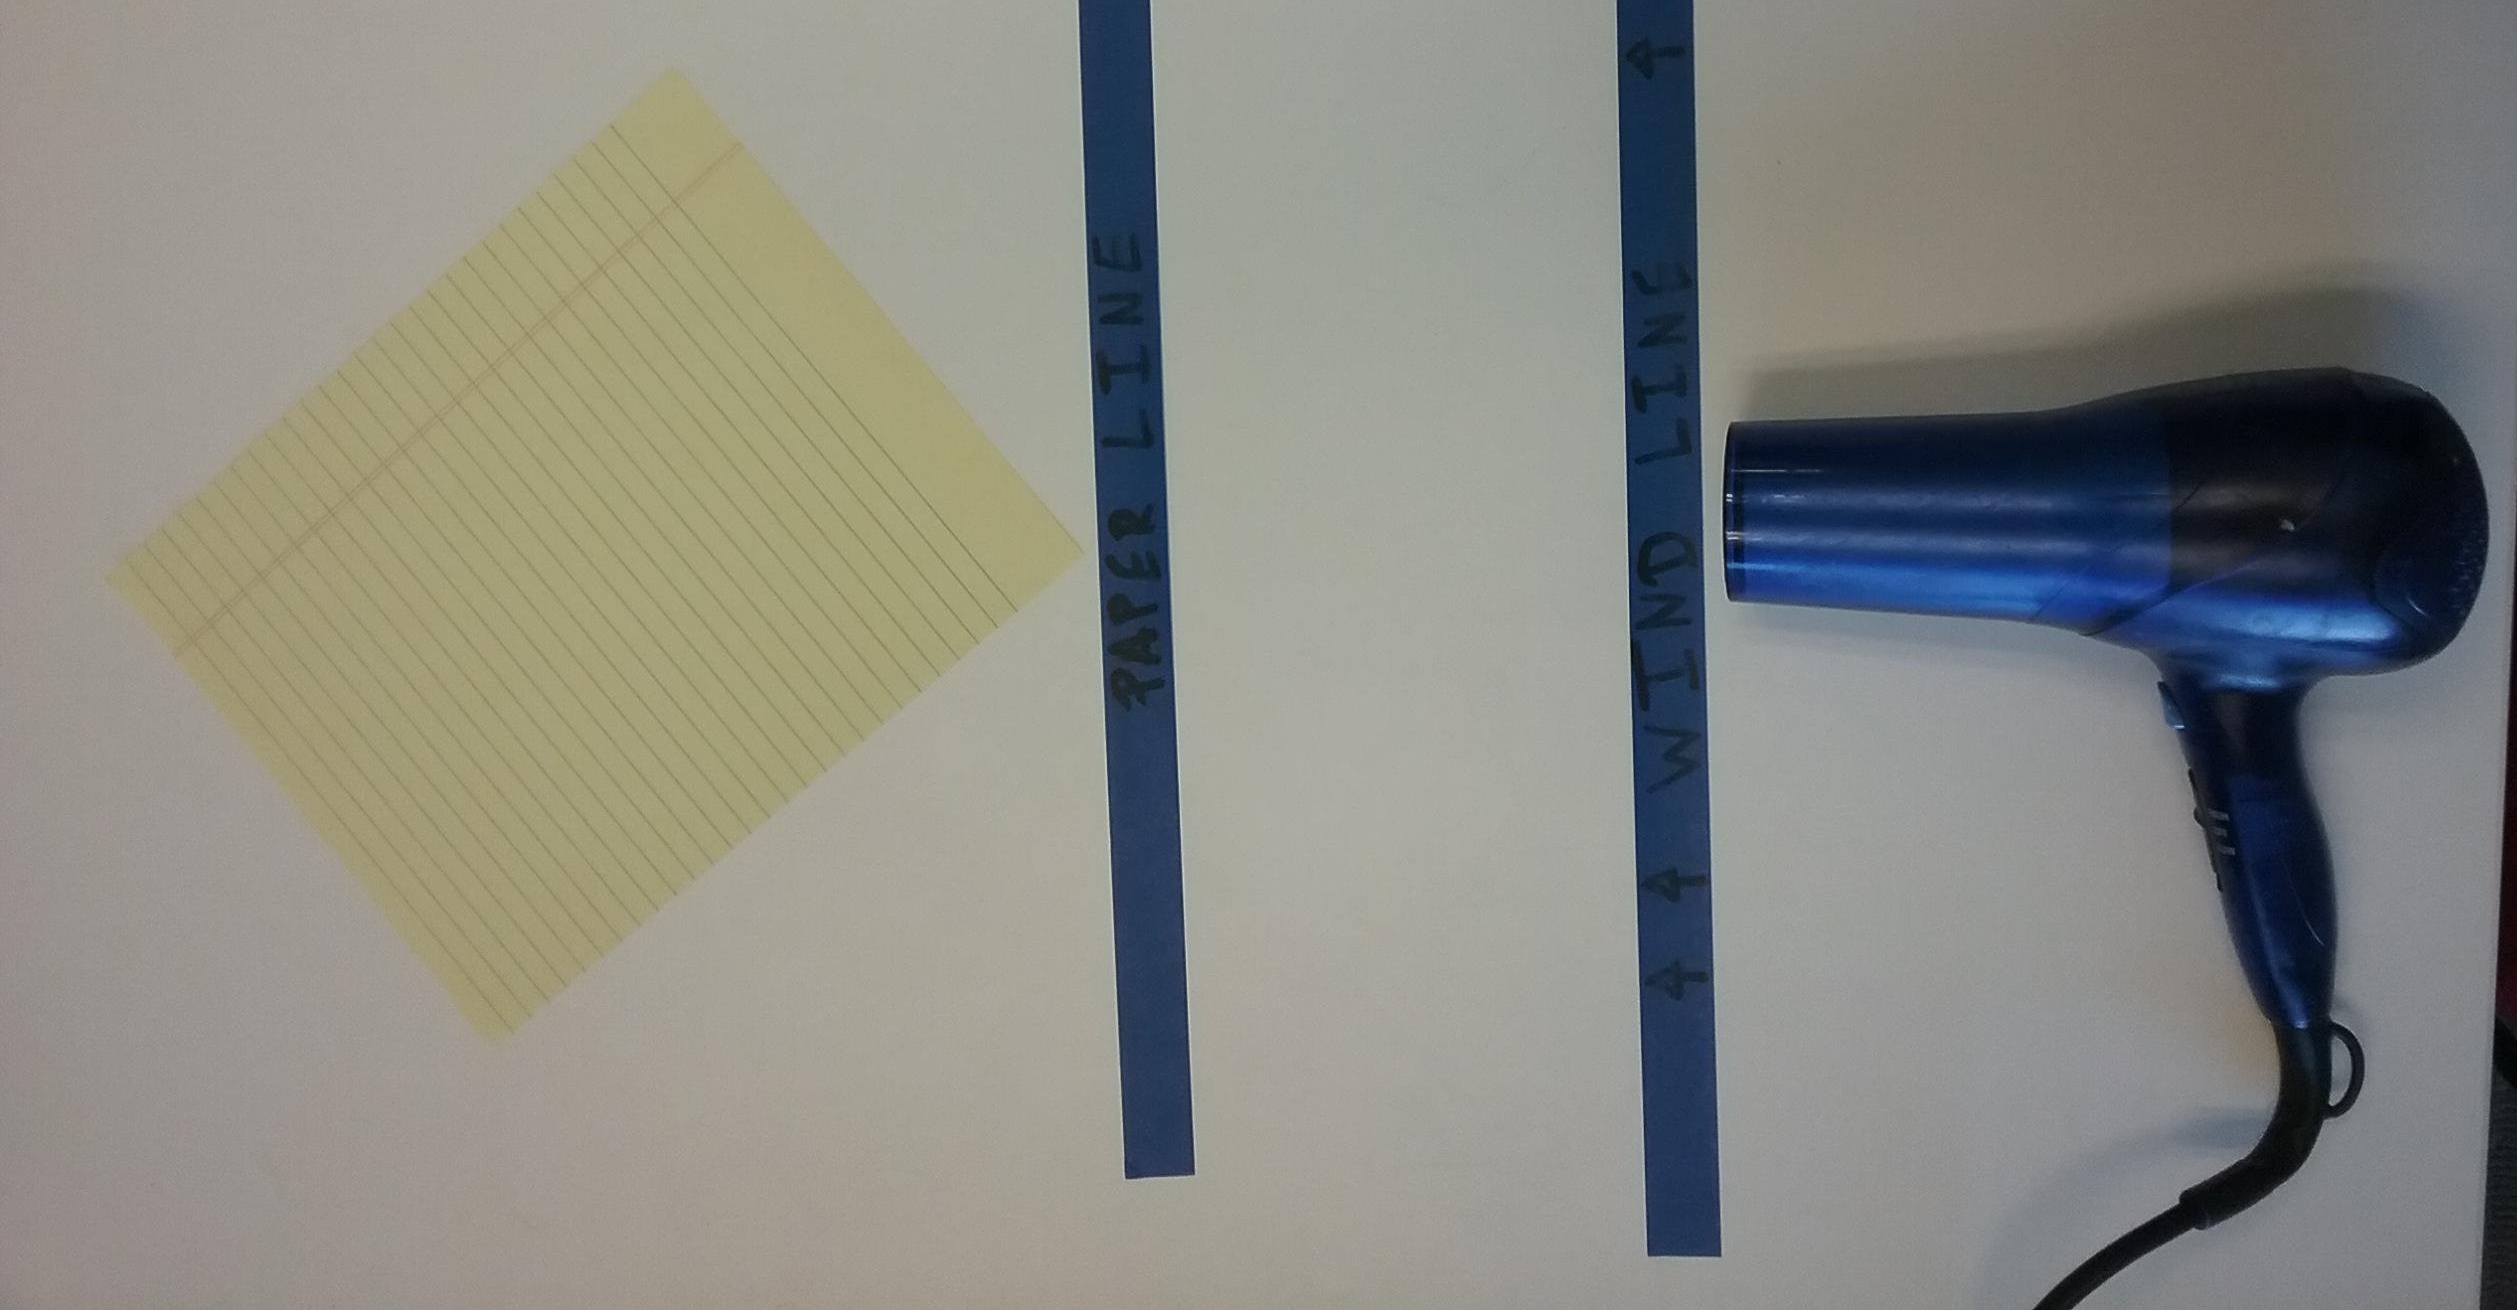 |
Point hair dryer perpendicular to the paper | 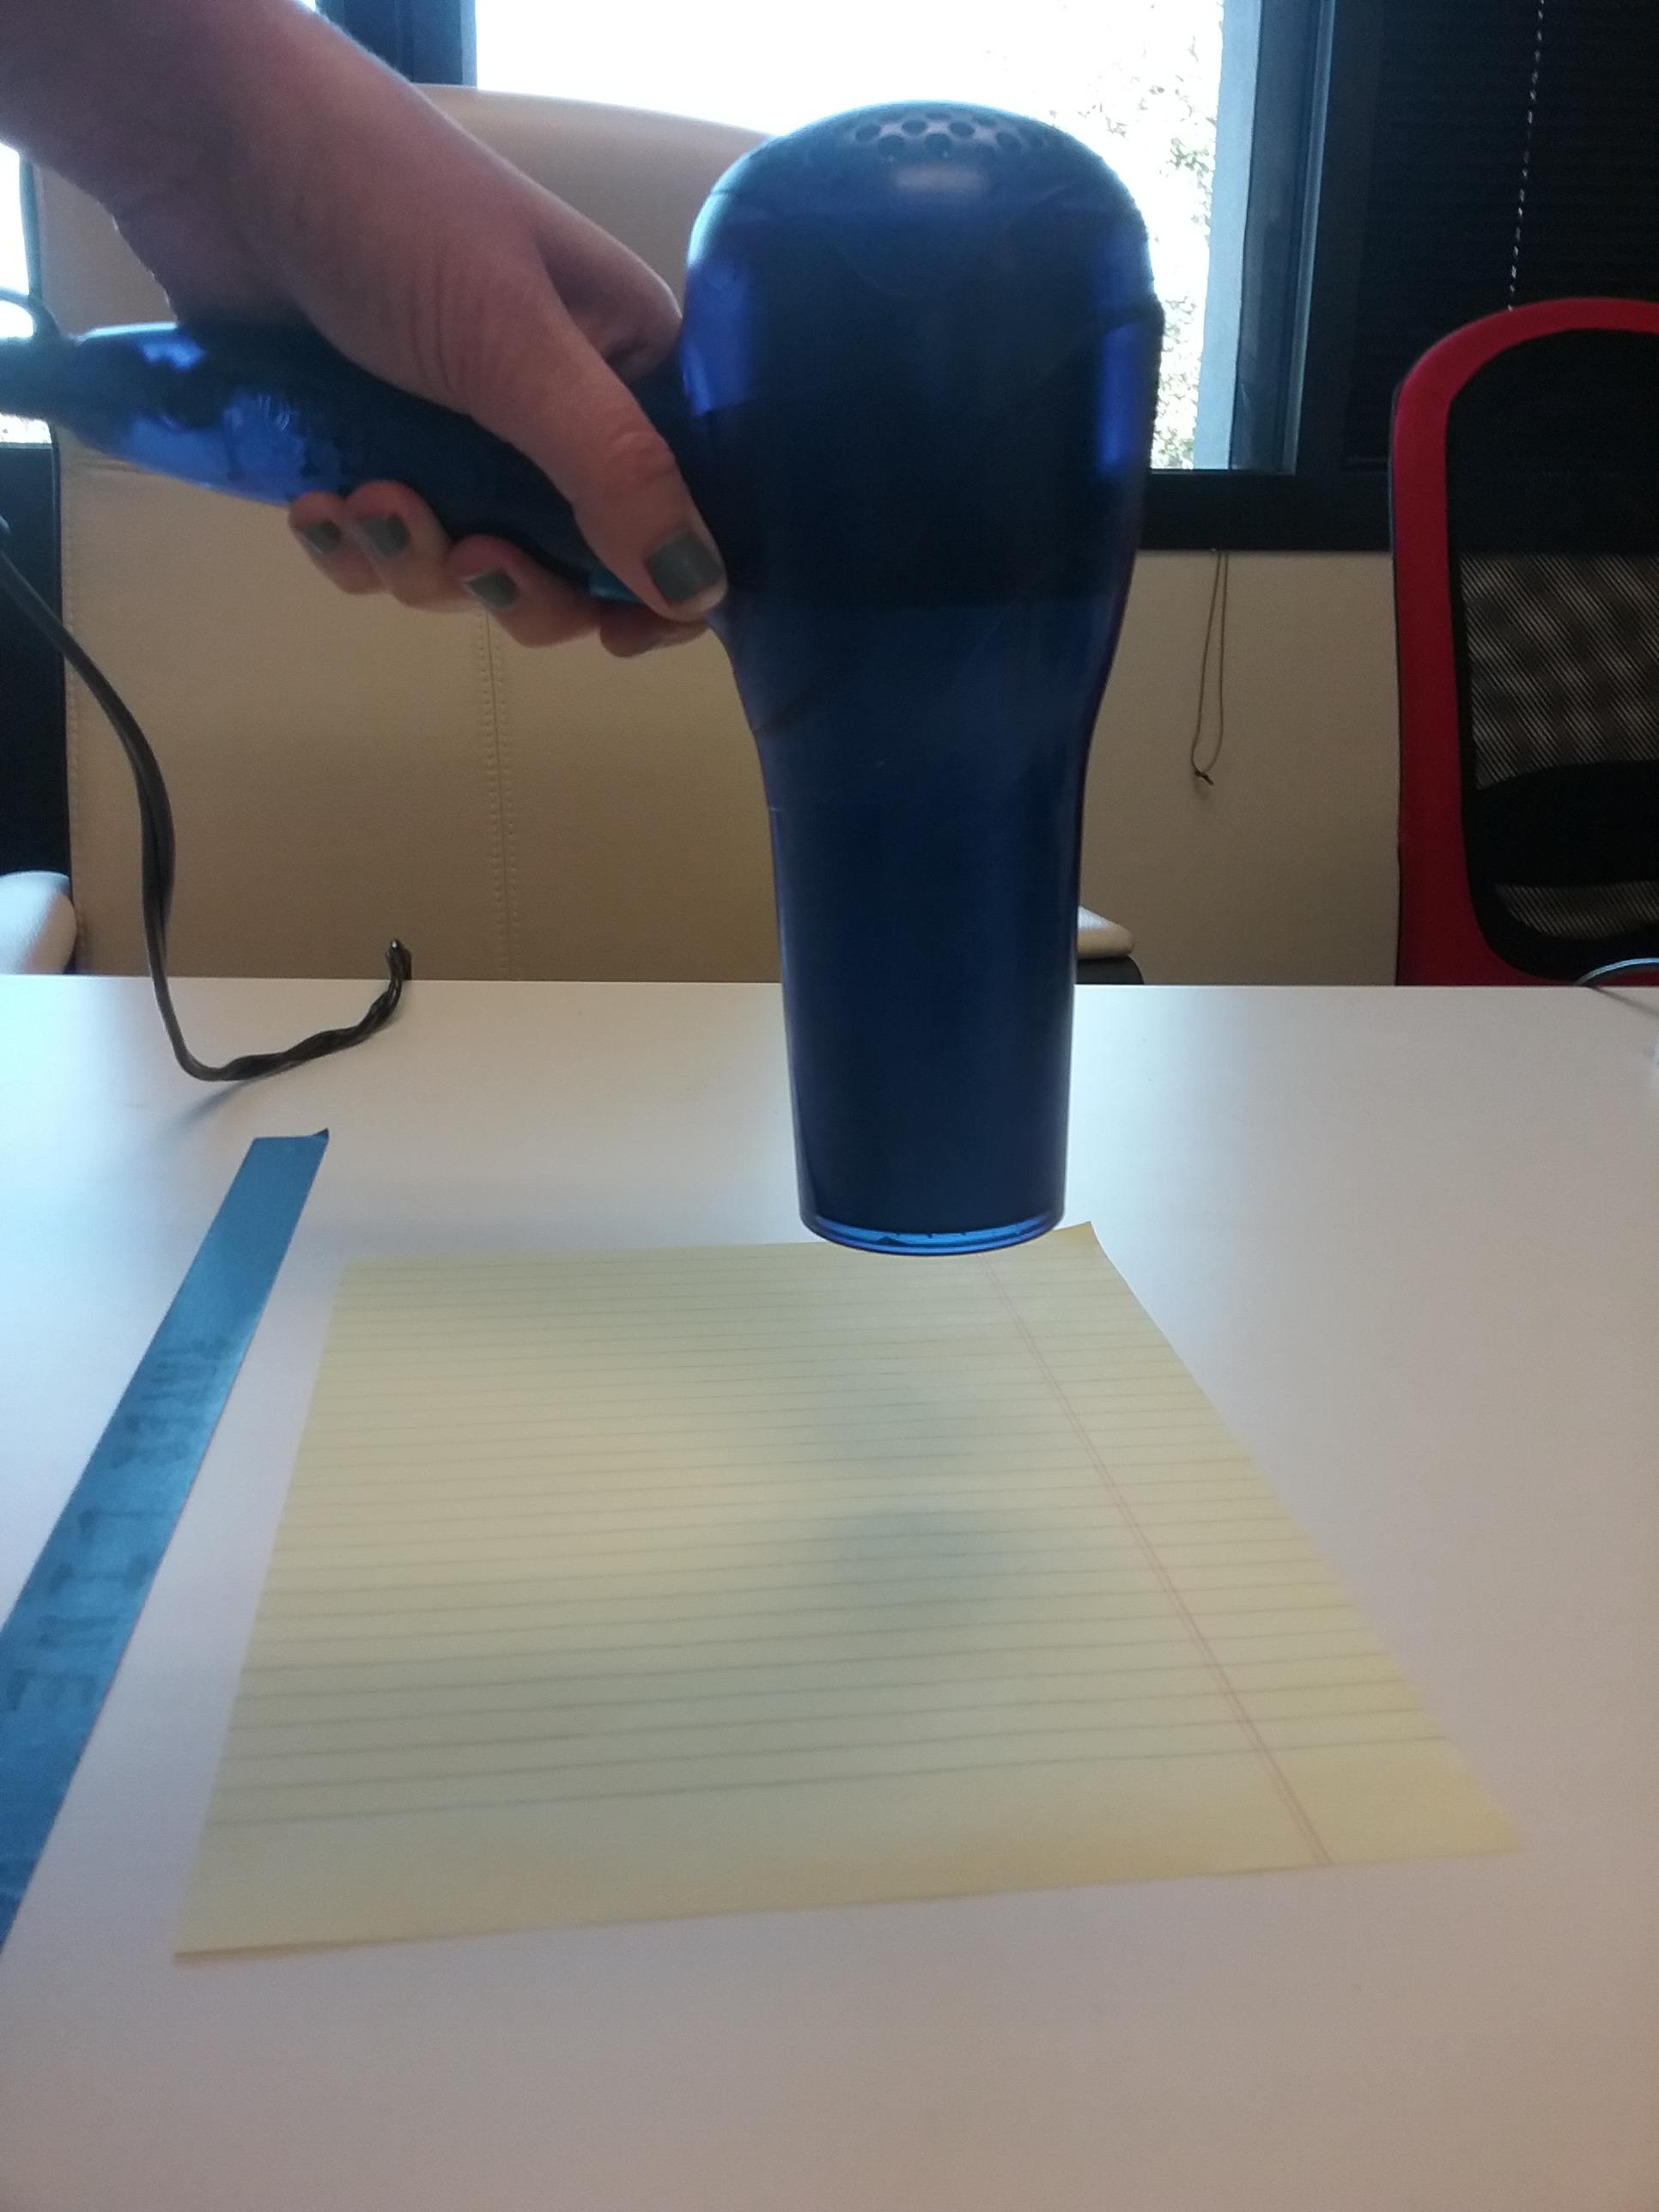 |
Ask the students if they can think of any other variations to test on a flat piece of paper.
Roll papers
Take the same papers you used in the above experiments and roll them (use tape/stapes to keep the papers in the roll configuration)
Point hair dryer at the open section of the tube | 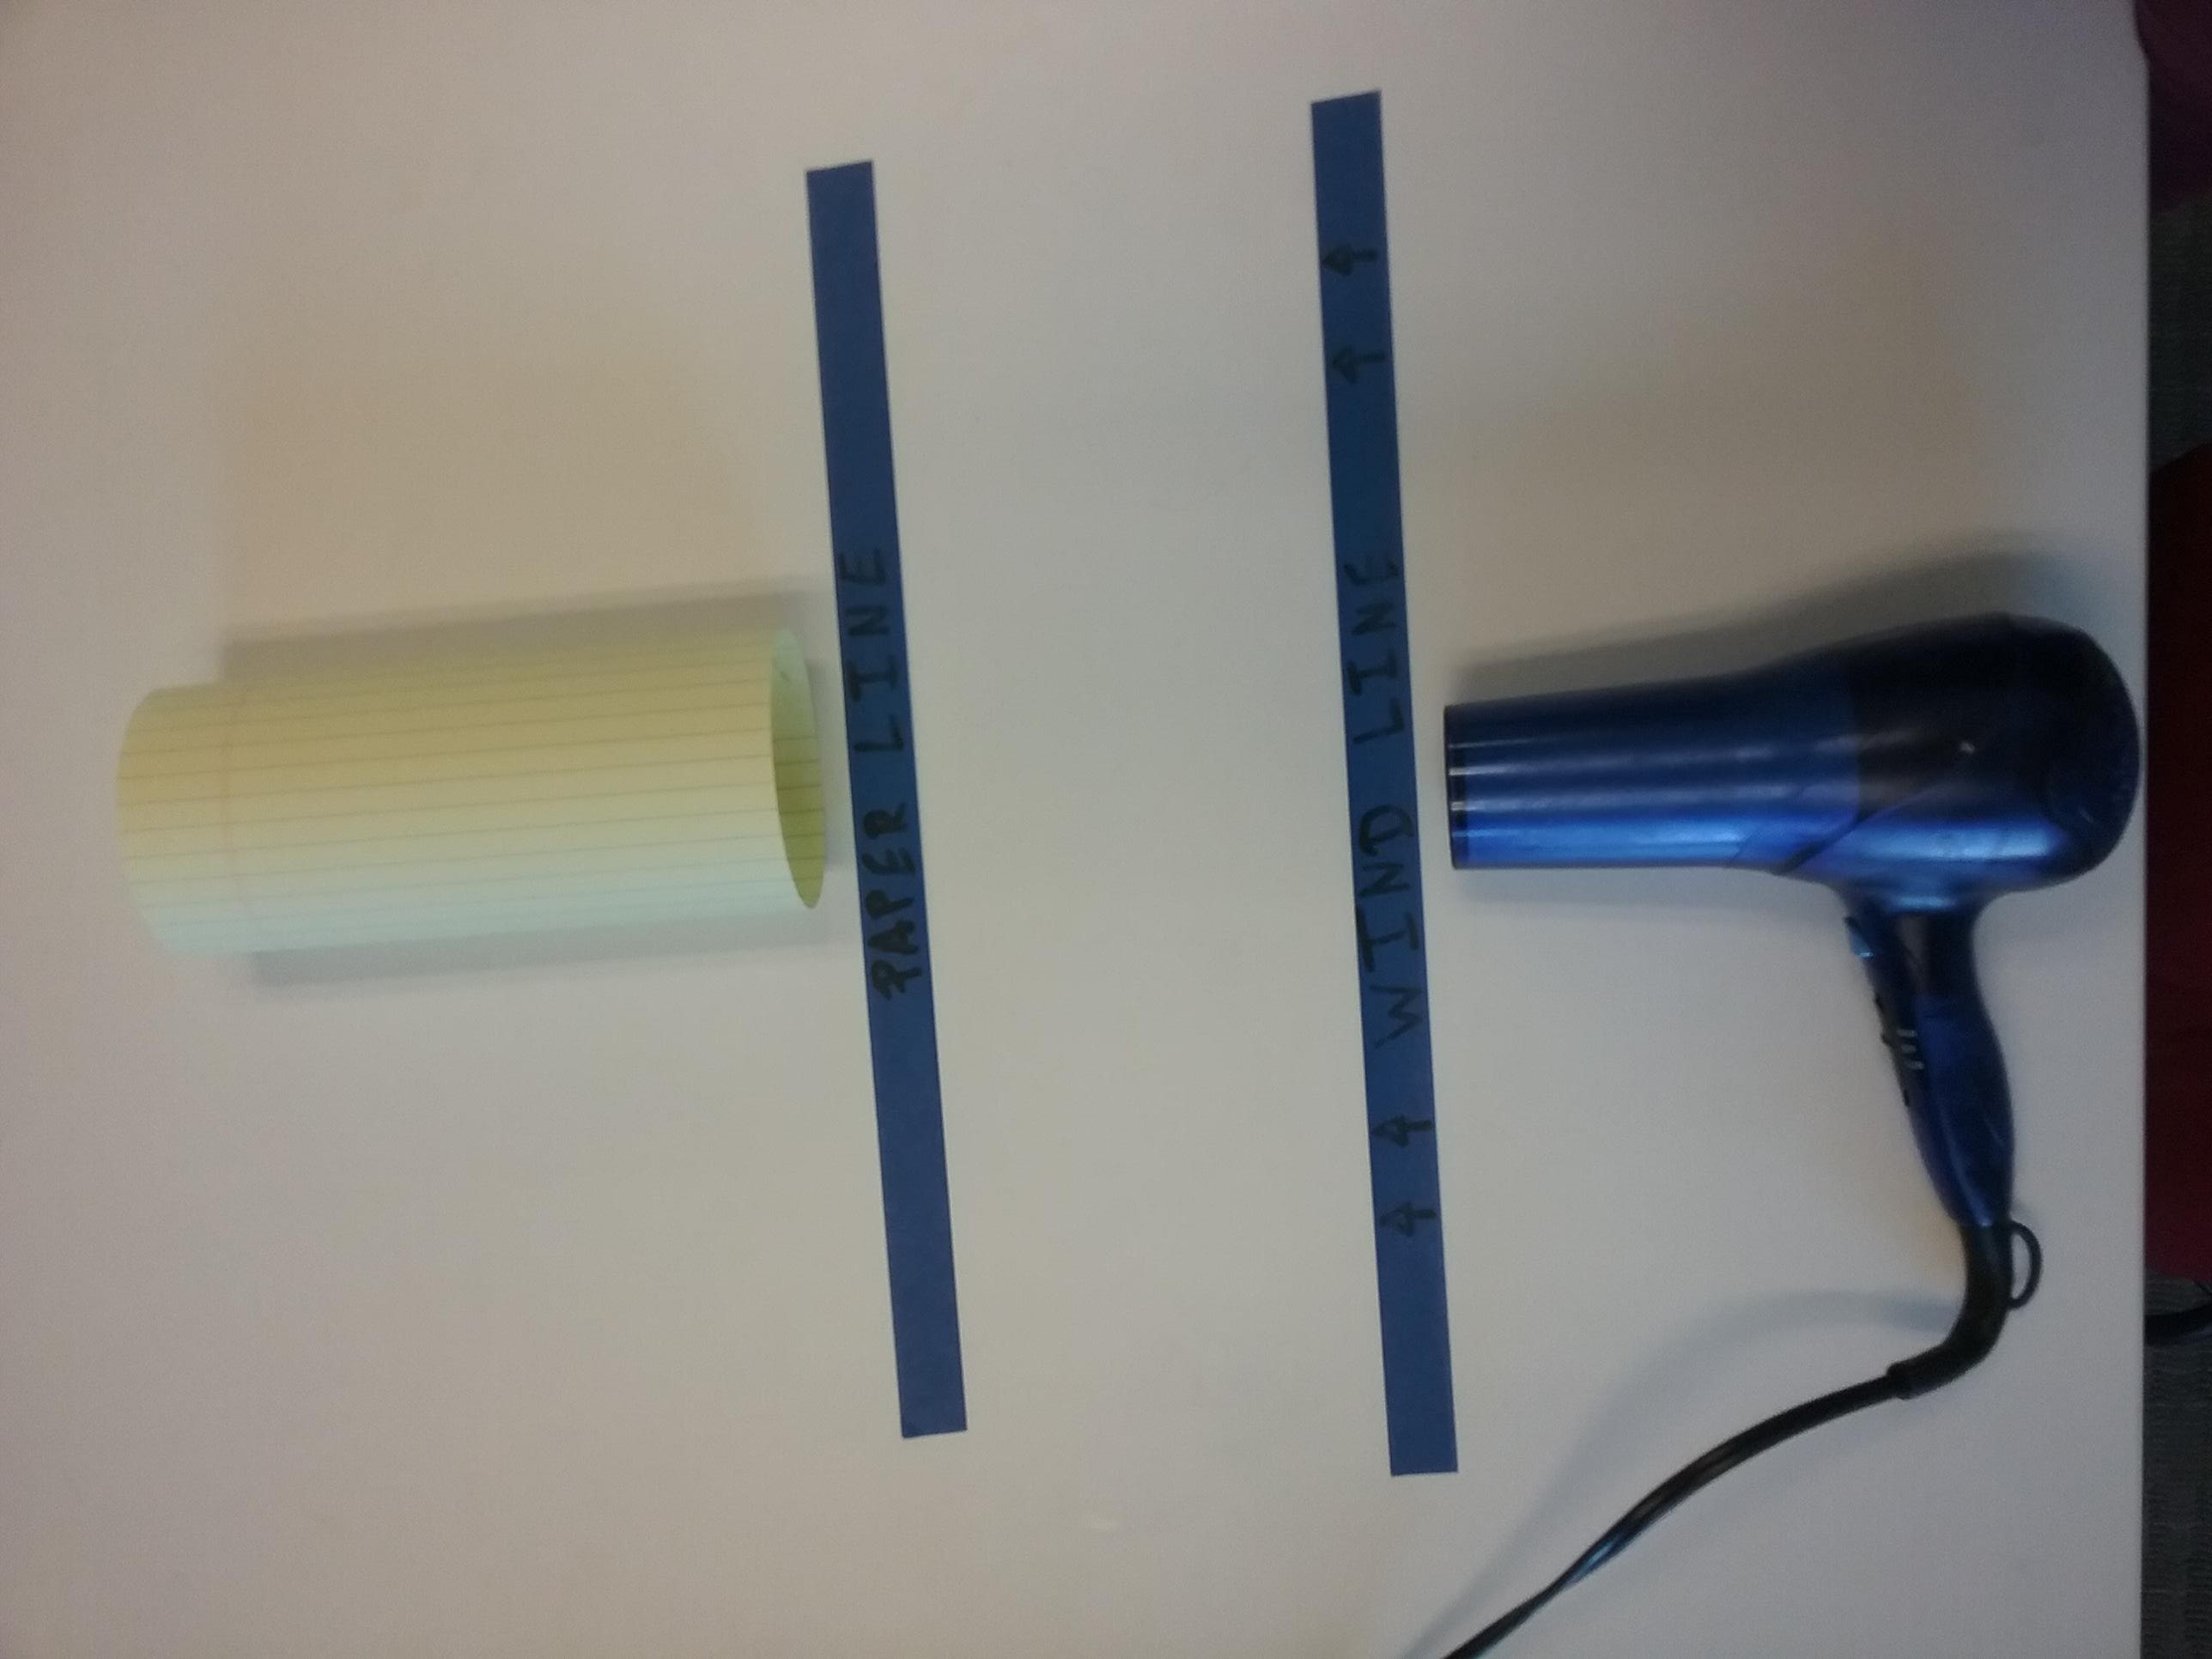 |
Point hair dryer at the closed section of the tube | 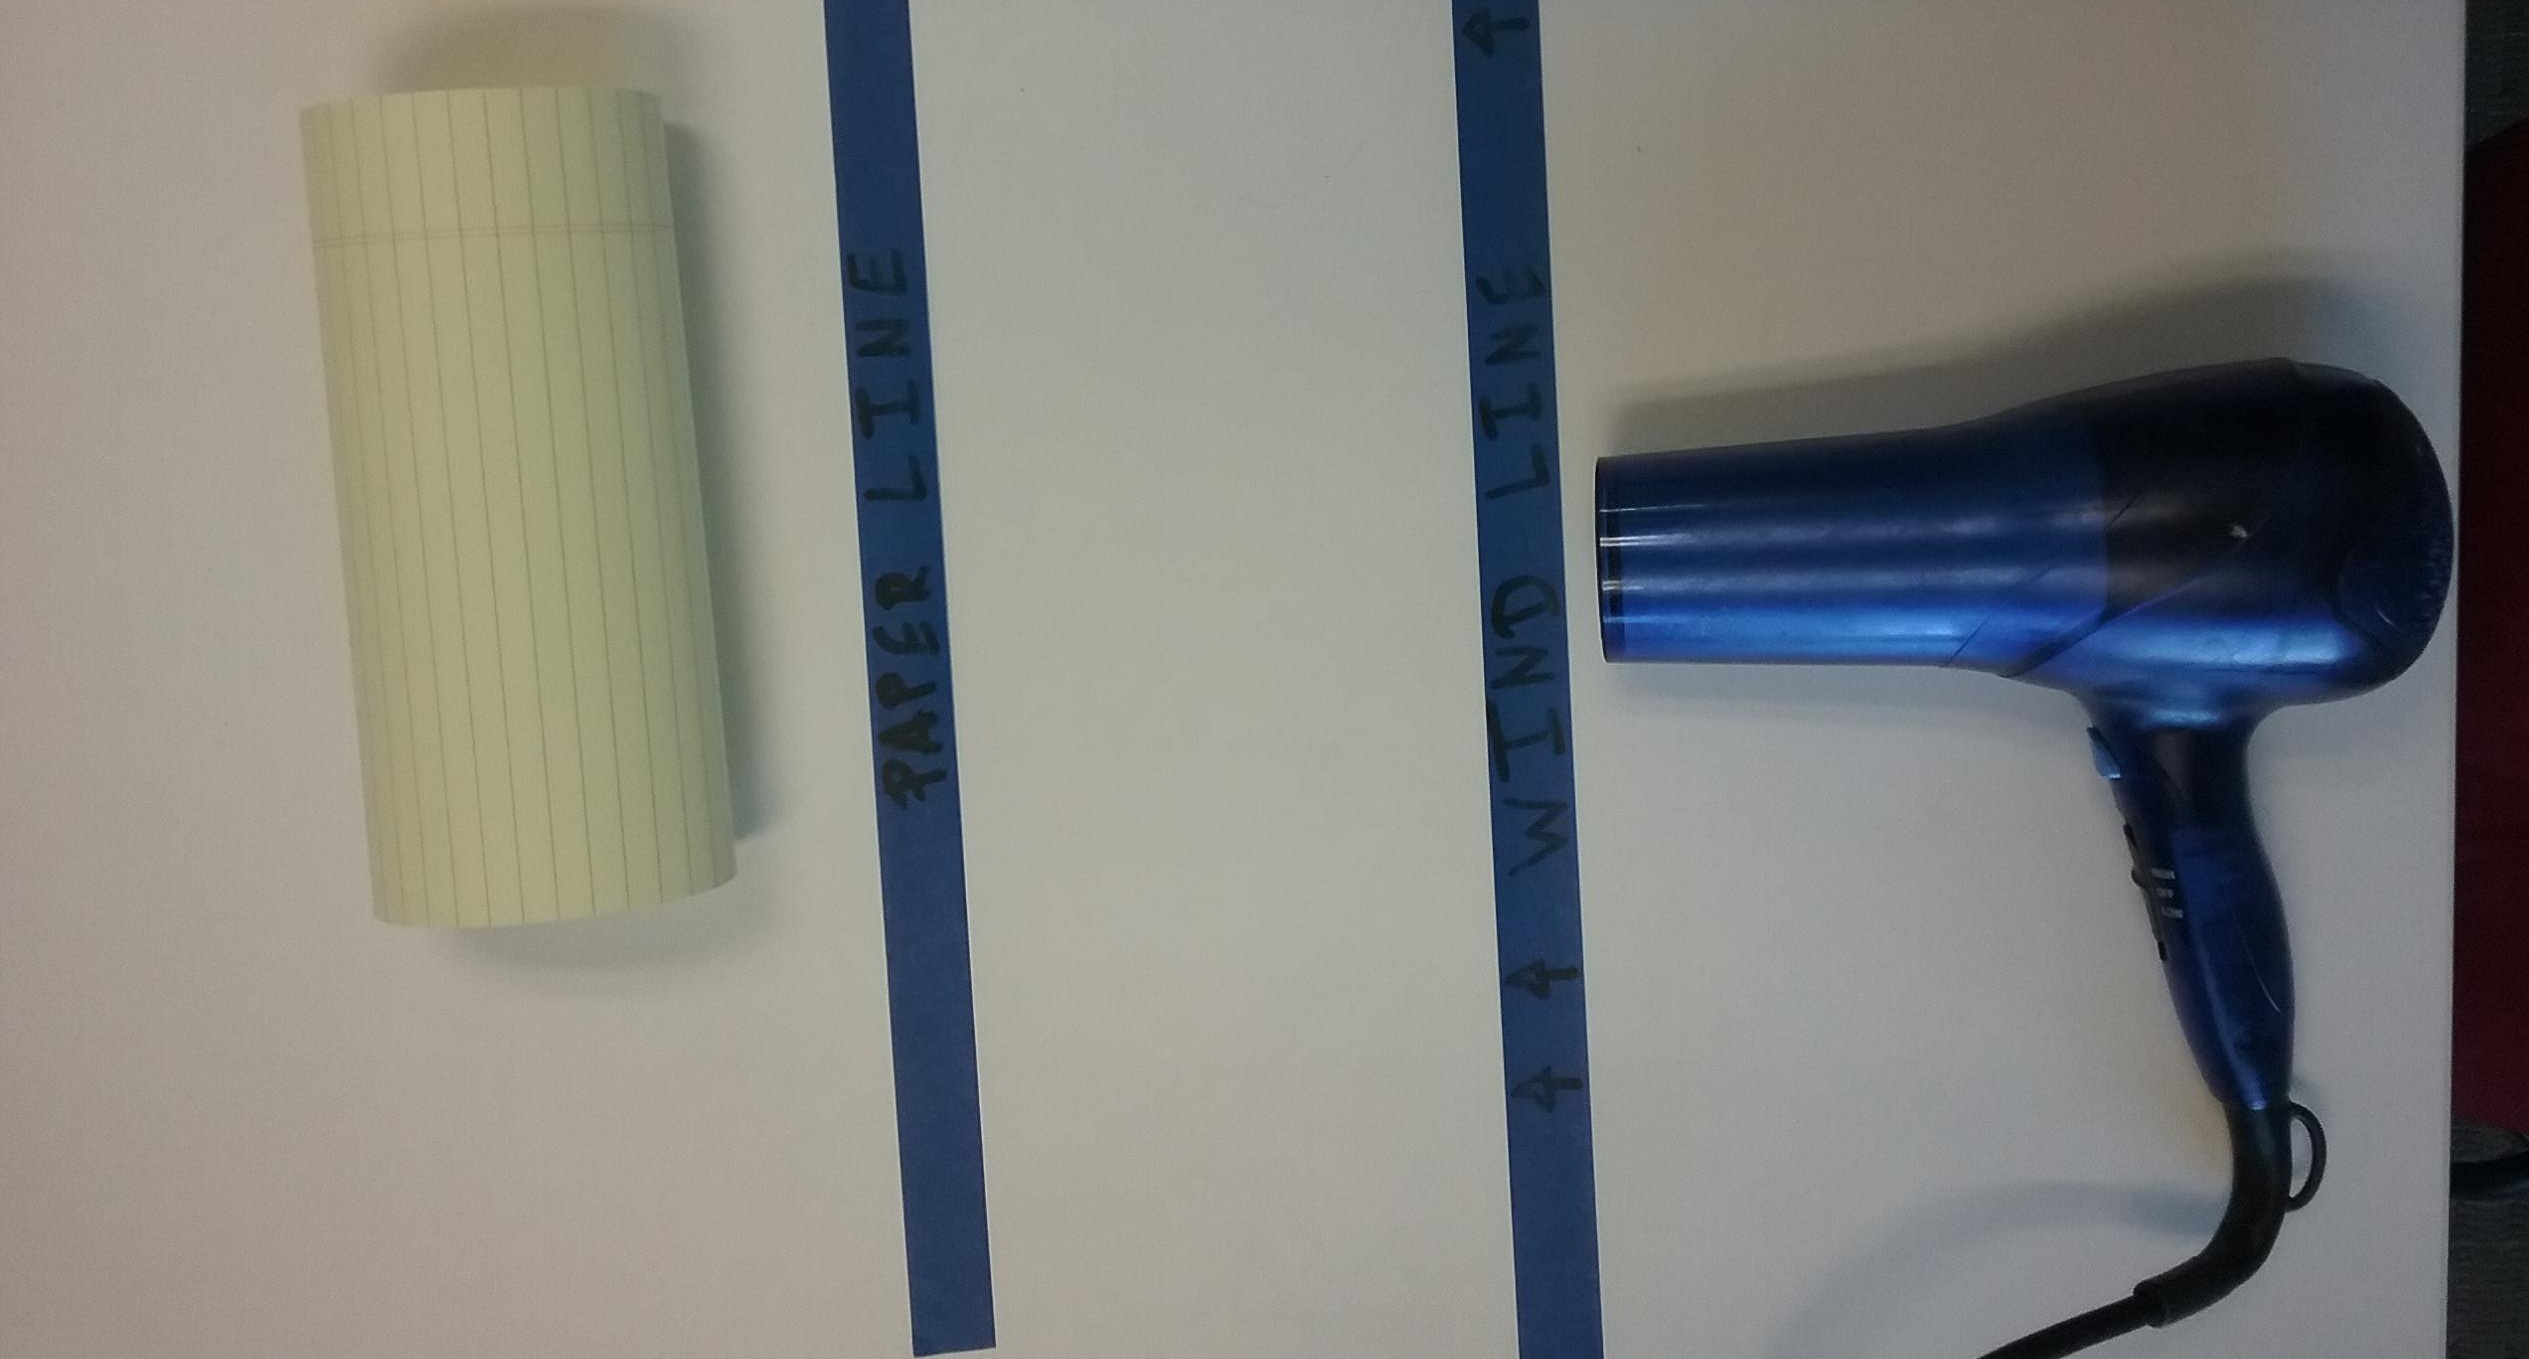 |
Point hair dryer at the top of the closed section of the tube | 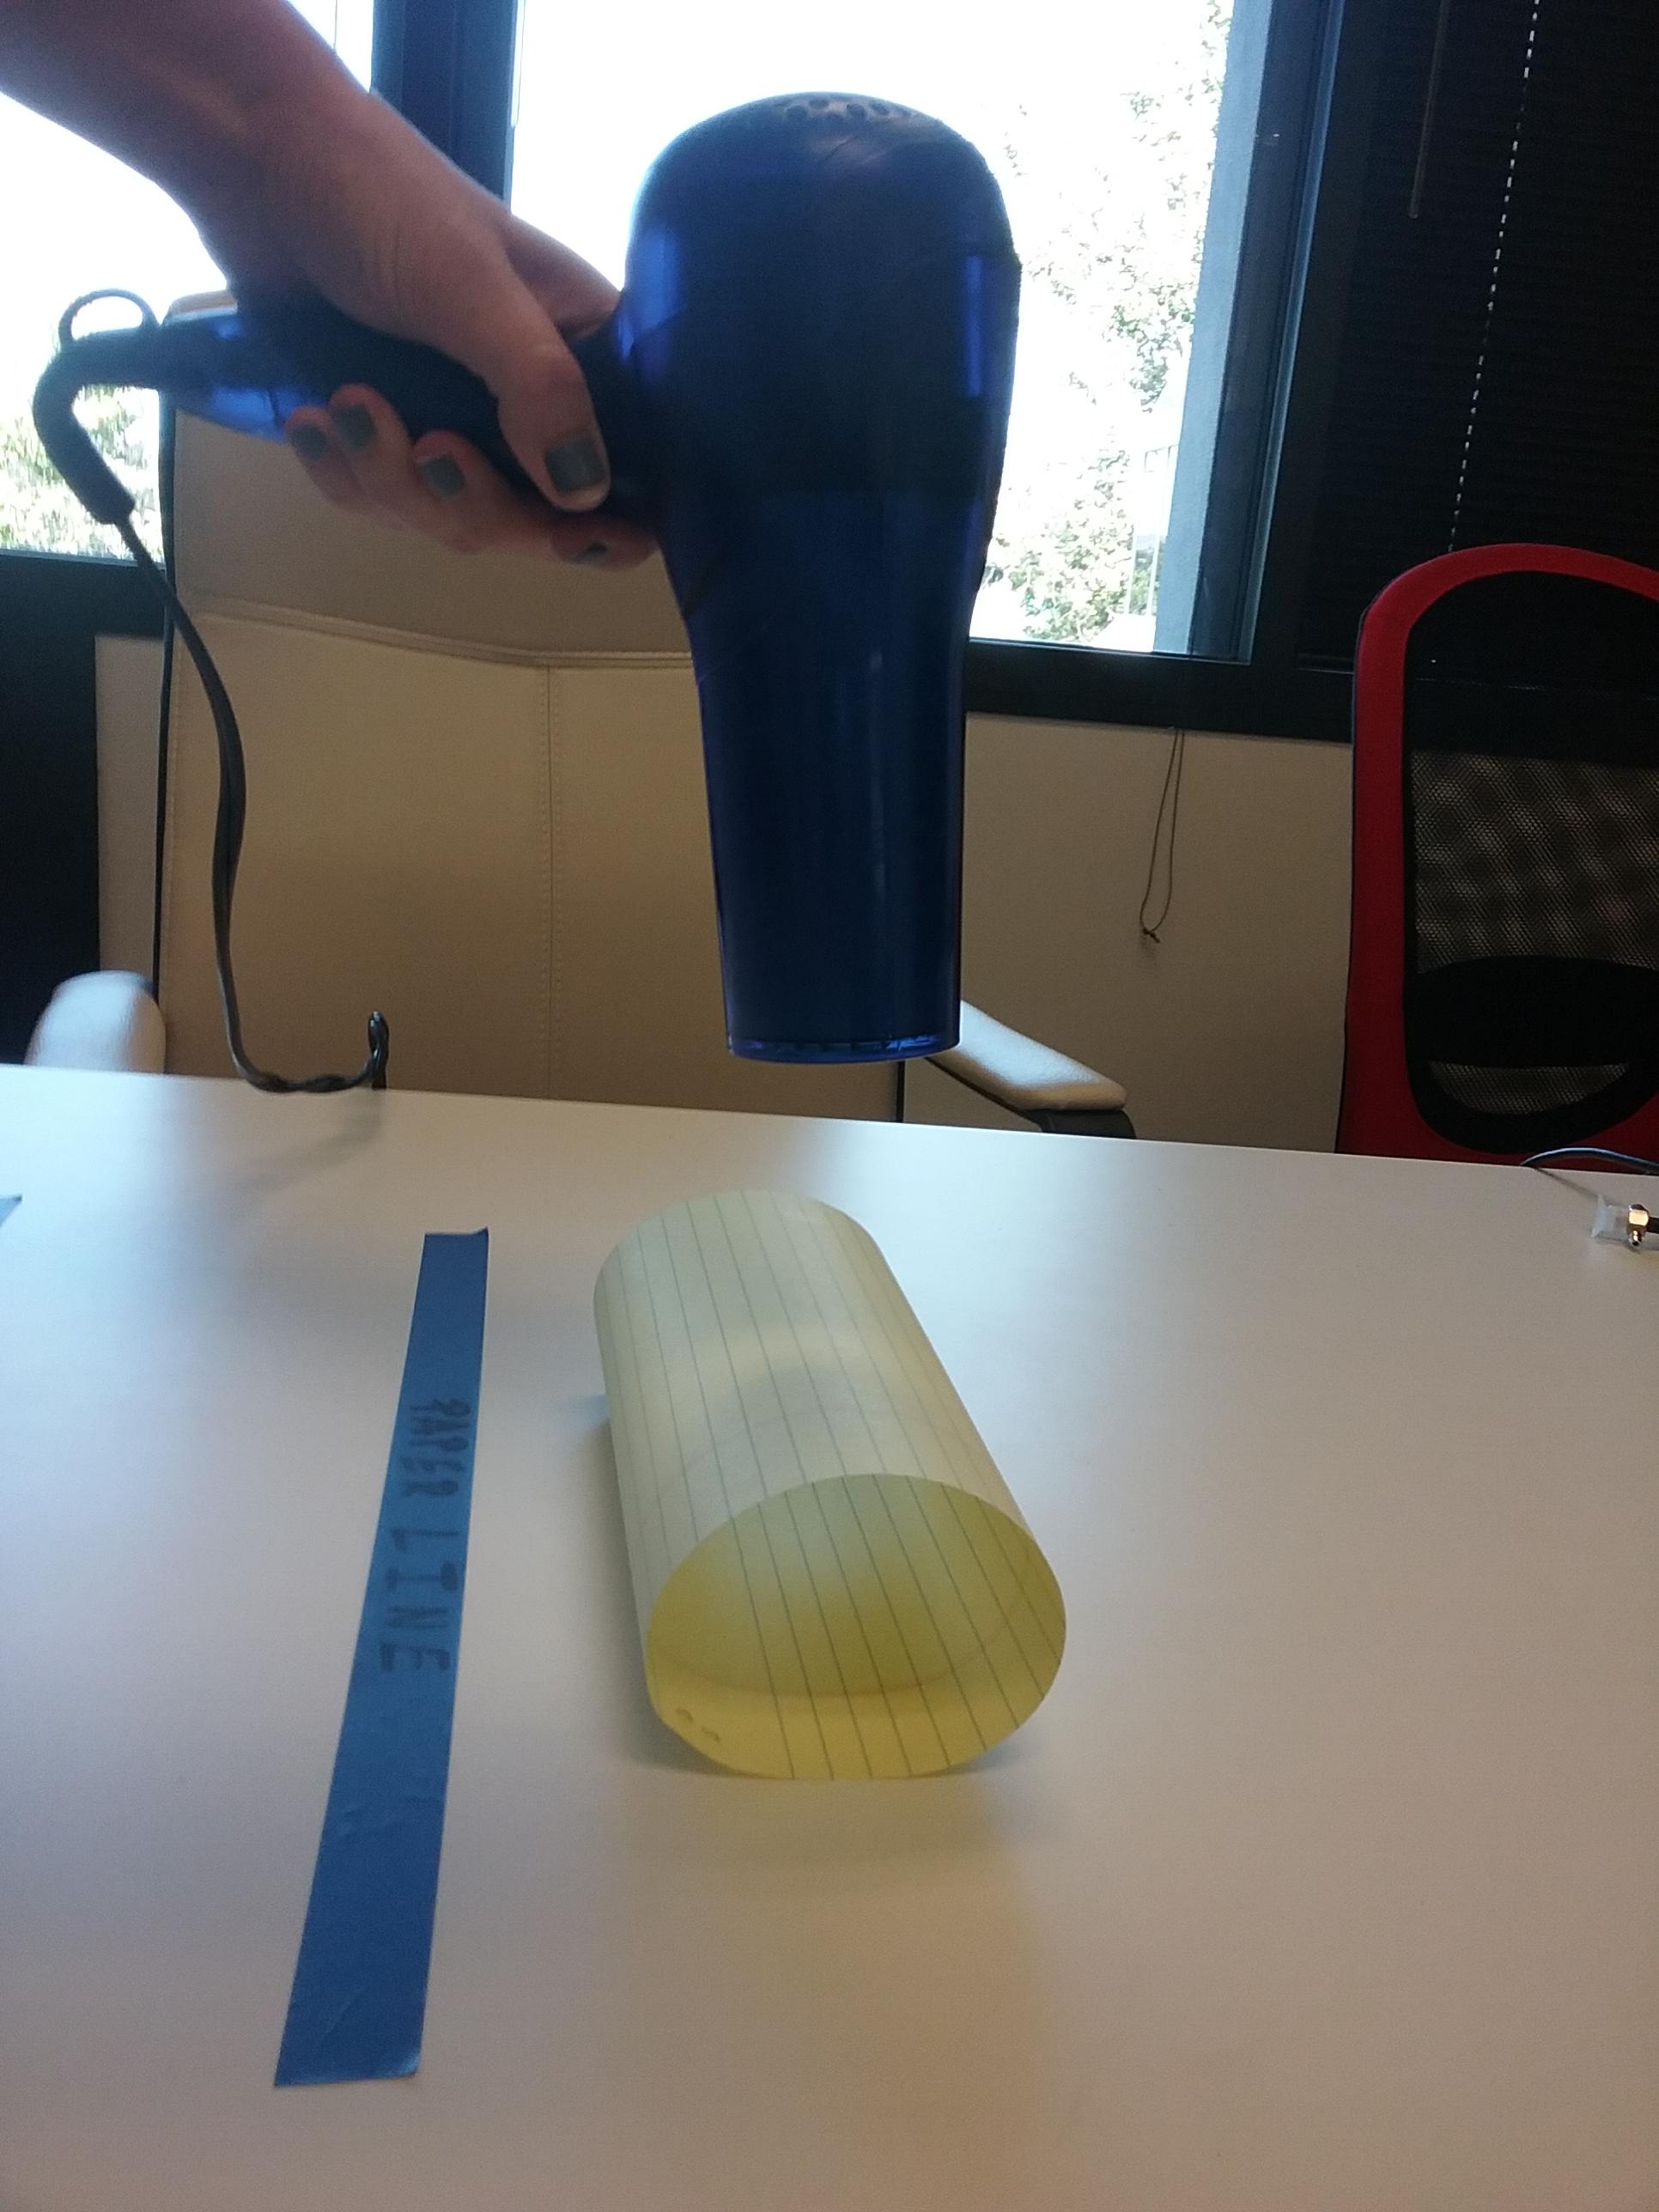 |
Ask the students if they can think of any other variations to test on a tube of paper.
Students’ Choice! Have students present ideas on other ways to observe the effect of air flow on paper and try it out!
Have students go to their computers and answer the question (What patterns did you observe during the experiment? Ex: I observed that the papers moved further when...). Once all of the students have submitted their responses have a class discussion about what they observed.
Teaching Tips:
1) Present goal.
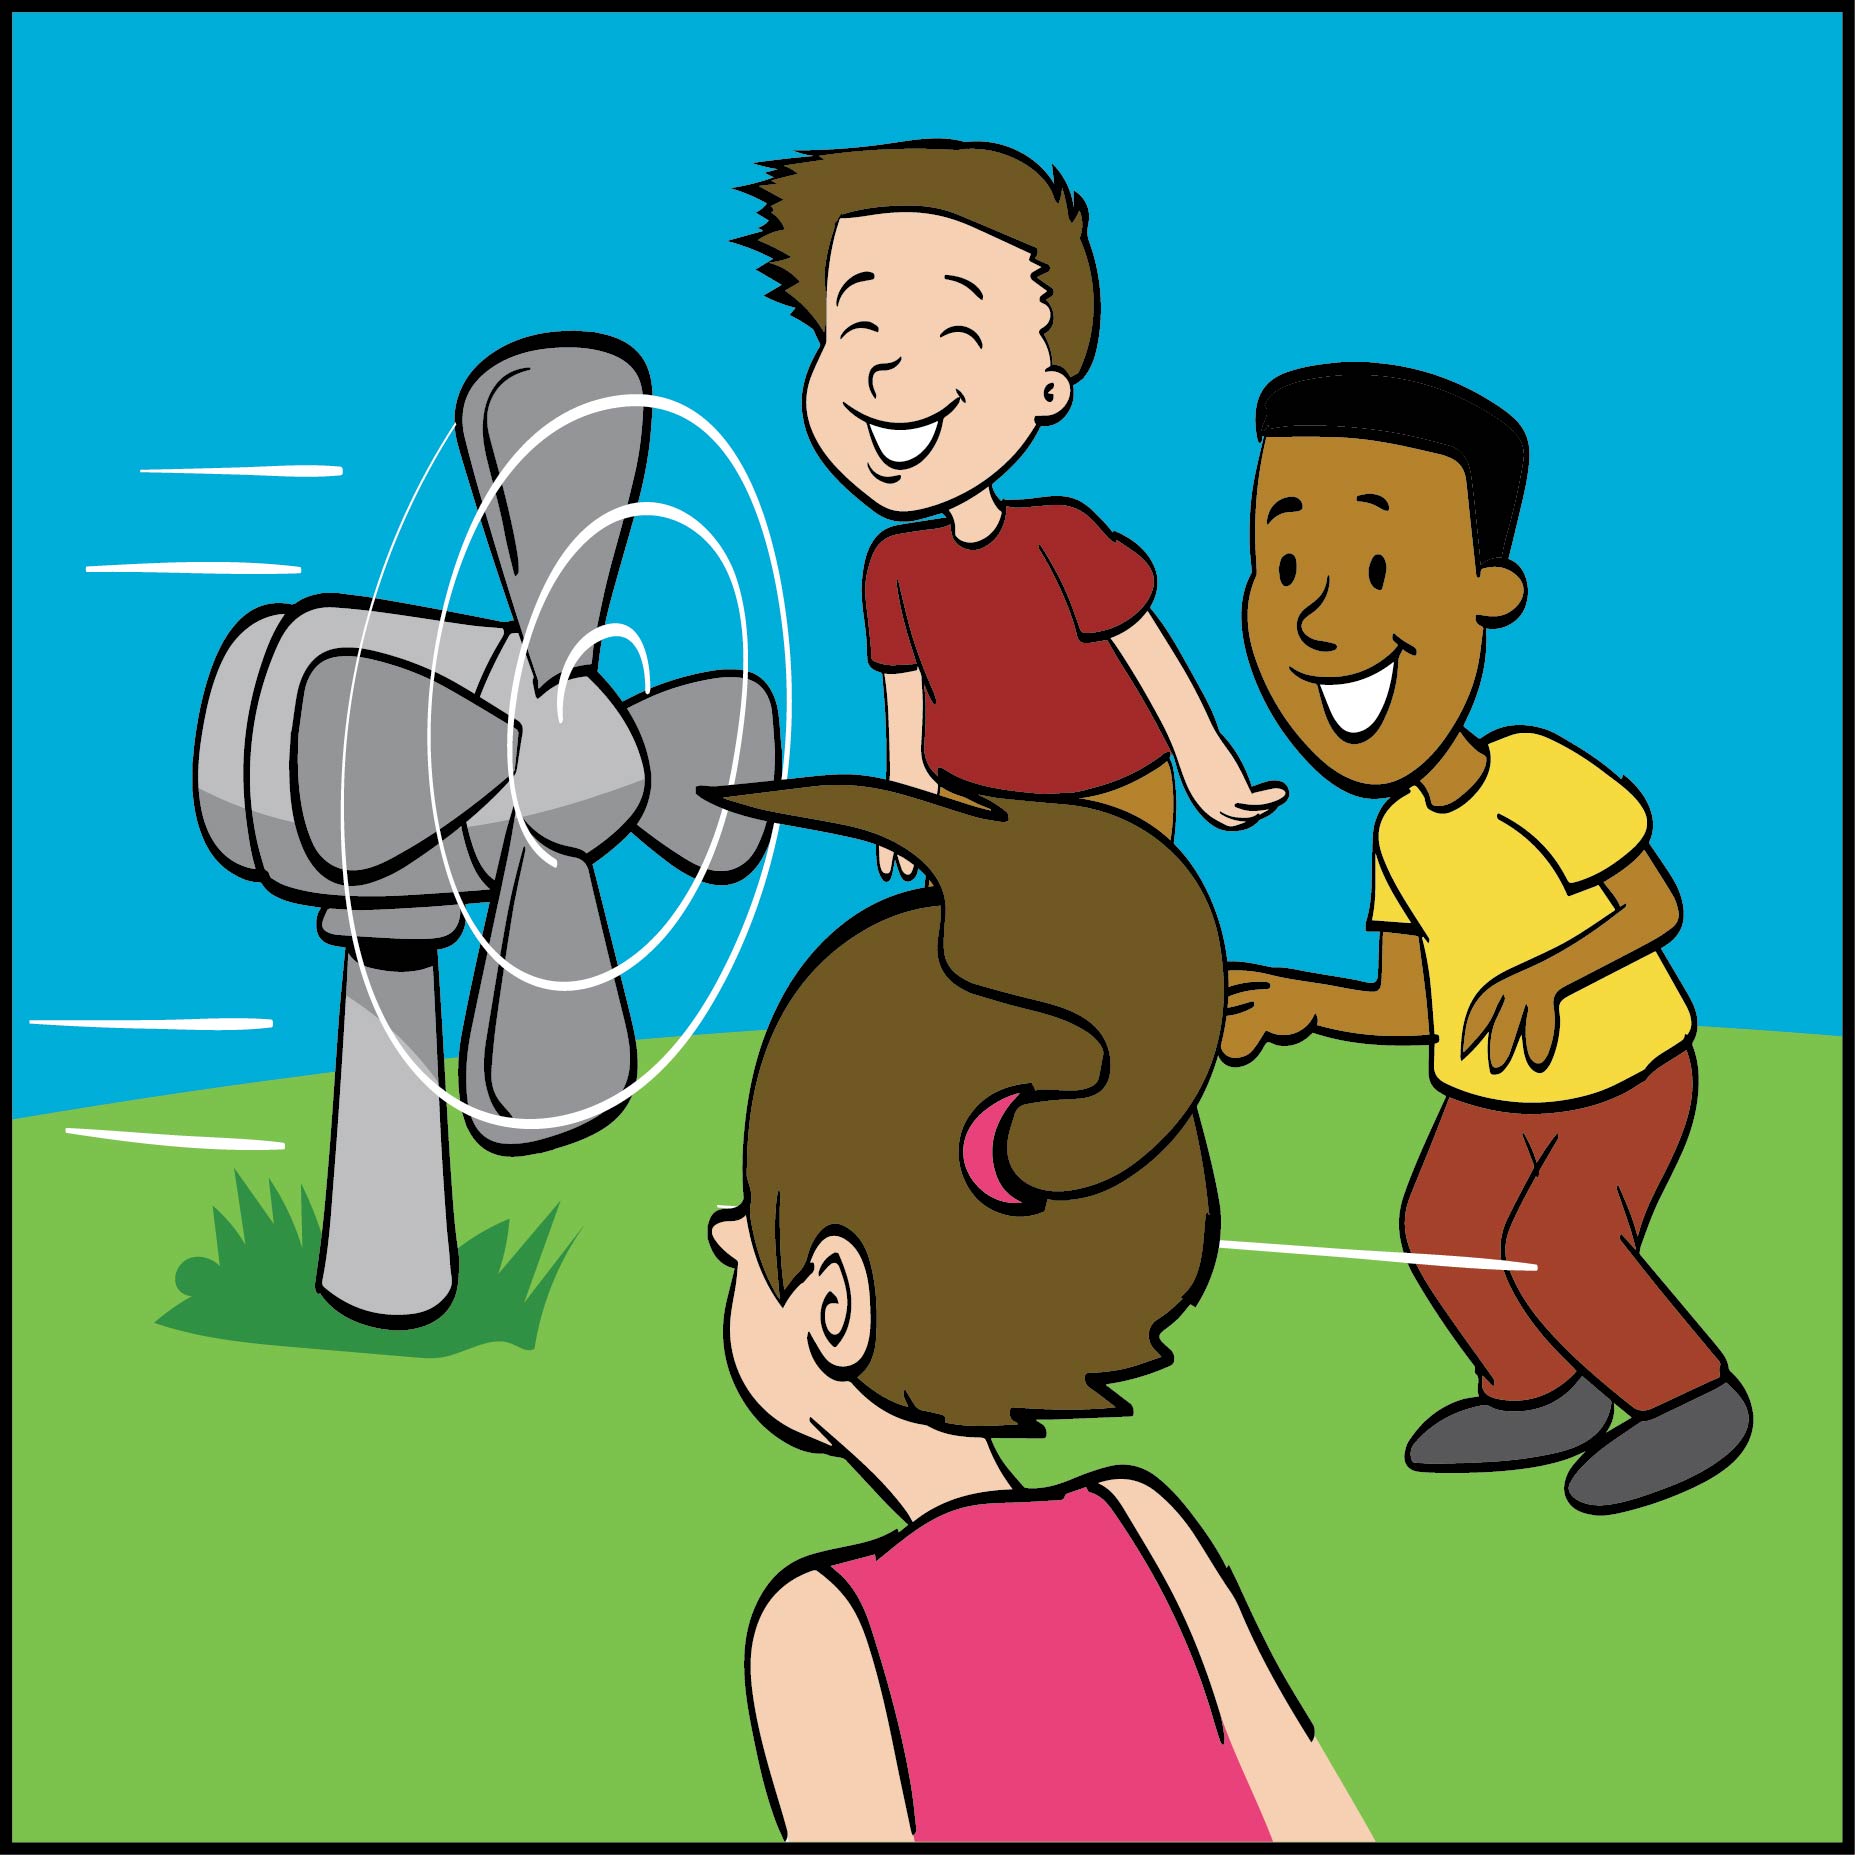
2) Explain how wind turbines work.
3) Demonstrate how wind turbines work by physically turning the rod. Focusing on how when you turn the rod, the tea bag is pulled up. Emphasize that for wind turbines the wind would be the energy used to lift the tea bag versus your finger.
4) Have students brainstorm what they think the advantages and challenges of wind energy are. This can be done as a think, pair, share; small group discussion or large group discussion.
5) Review the advantages and challenges text. (if possible have individual students read outloud to the class). Also encourage them to think deeply about the advantages and challenges and ask questions whether or not those questions can be answered in this setting.
6) Show the world wind map, facilitate a discussion where students think about " How does this infographic relate to the advantages and challenges of wind power?"
Possible Answers:
- There is more wind in some places than others, which means wind power may be more or less beneficial depending on the area.
- When designing windturbines, you may have to take the amount of wind in that area into account. Different types of wind turbines may differ in effectiveness depending on the area.
7) Show the graph, facilitate a discussion where students think about " How does this infographic relate to the advantages and challenges of wind power?"
Possible Answers:
- There needs to be an effective way of storing wind power to ensure that when use is up and wind is down - the wind from other months can be used.
- Wind is inconsistant throughout the year.
Teaching Tips:
During the design time, walk around and prompt your students with questions to help deepen their learning and thinking process. Some examples of questions are:
- Why did you make that design decision?
- How do you predict that design will affect the wind power?
- How did our observation experiment with the paper inform your design decision?
If possible, create a testing space for students during this time. The students will not be able to quickly 3D print and test their designs but they can use the variety of papers used in the observation activity to help them inform their decisions. Thus when they are collaborating and discussing their design with their group they can test their theories using the paper and blow dryer.
Once students have finalized their designs, have them answer the question "Explain your design and how you think your design will work." on their computers. Once all the students have submitted their responses, facilitate a class discussion about their design choices.
Teaching Tips:
Have students answer the following 3 questions on their computers. Once all the students have finished answering the questions have a class discussion about their answers.
- How effective do you think your design was and why?
- If you could revise your design, how would you change it and why?
Then show the students the video which shows how real wind turbines work.