Lesson Modules
Teaching Tips:
Observe Module Overview
• Teacher will grab student’s attention by asking them to look at a power and observe what is taking place in the first slide of pictures. They are to ask themselves what is happening and what else they observe.
Let students ponder the questions before you show the class view
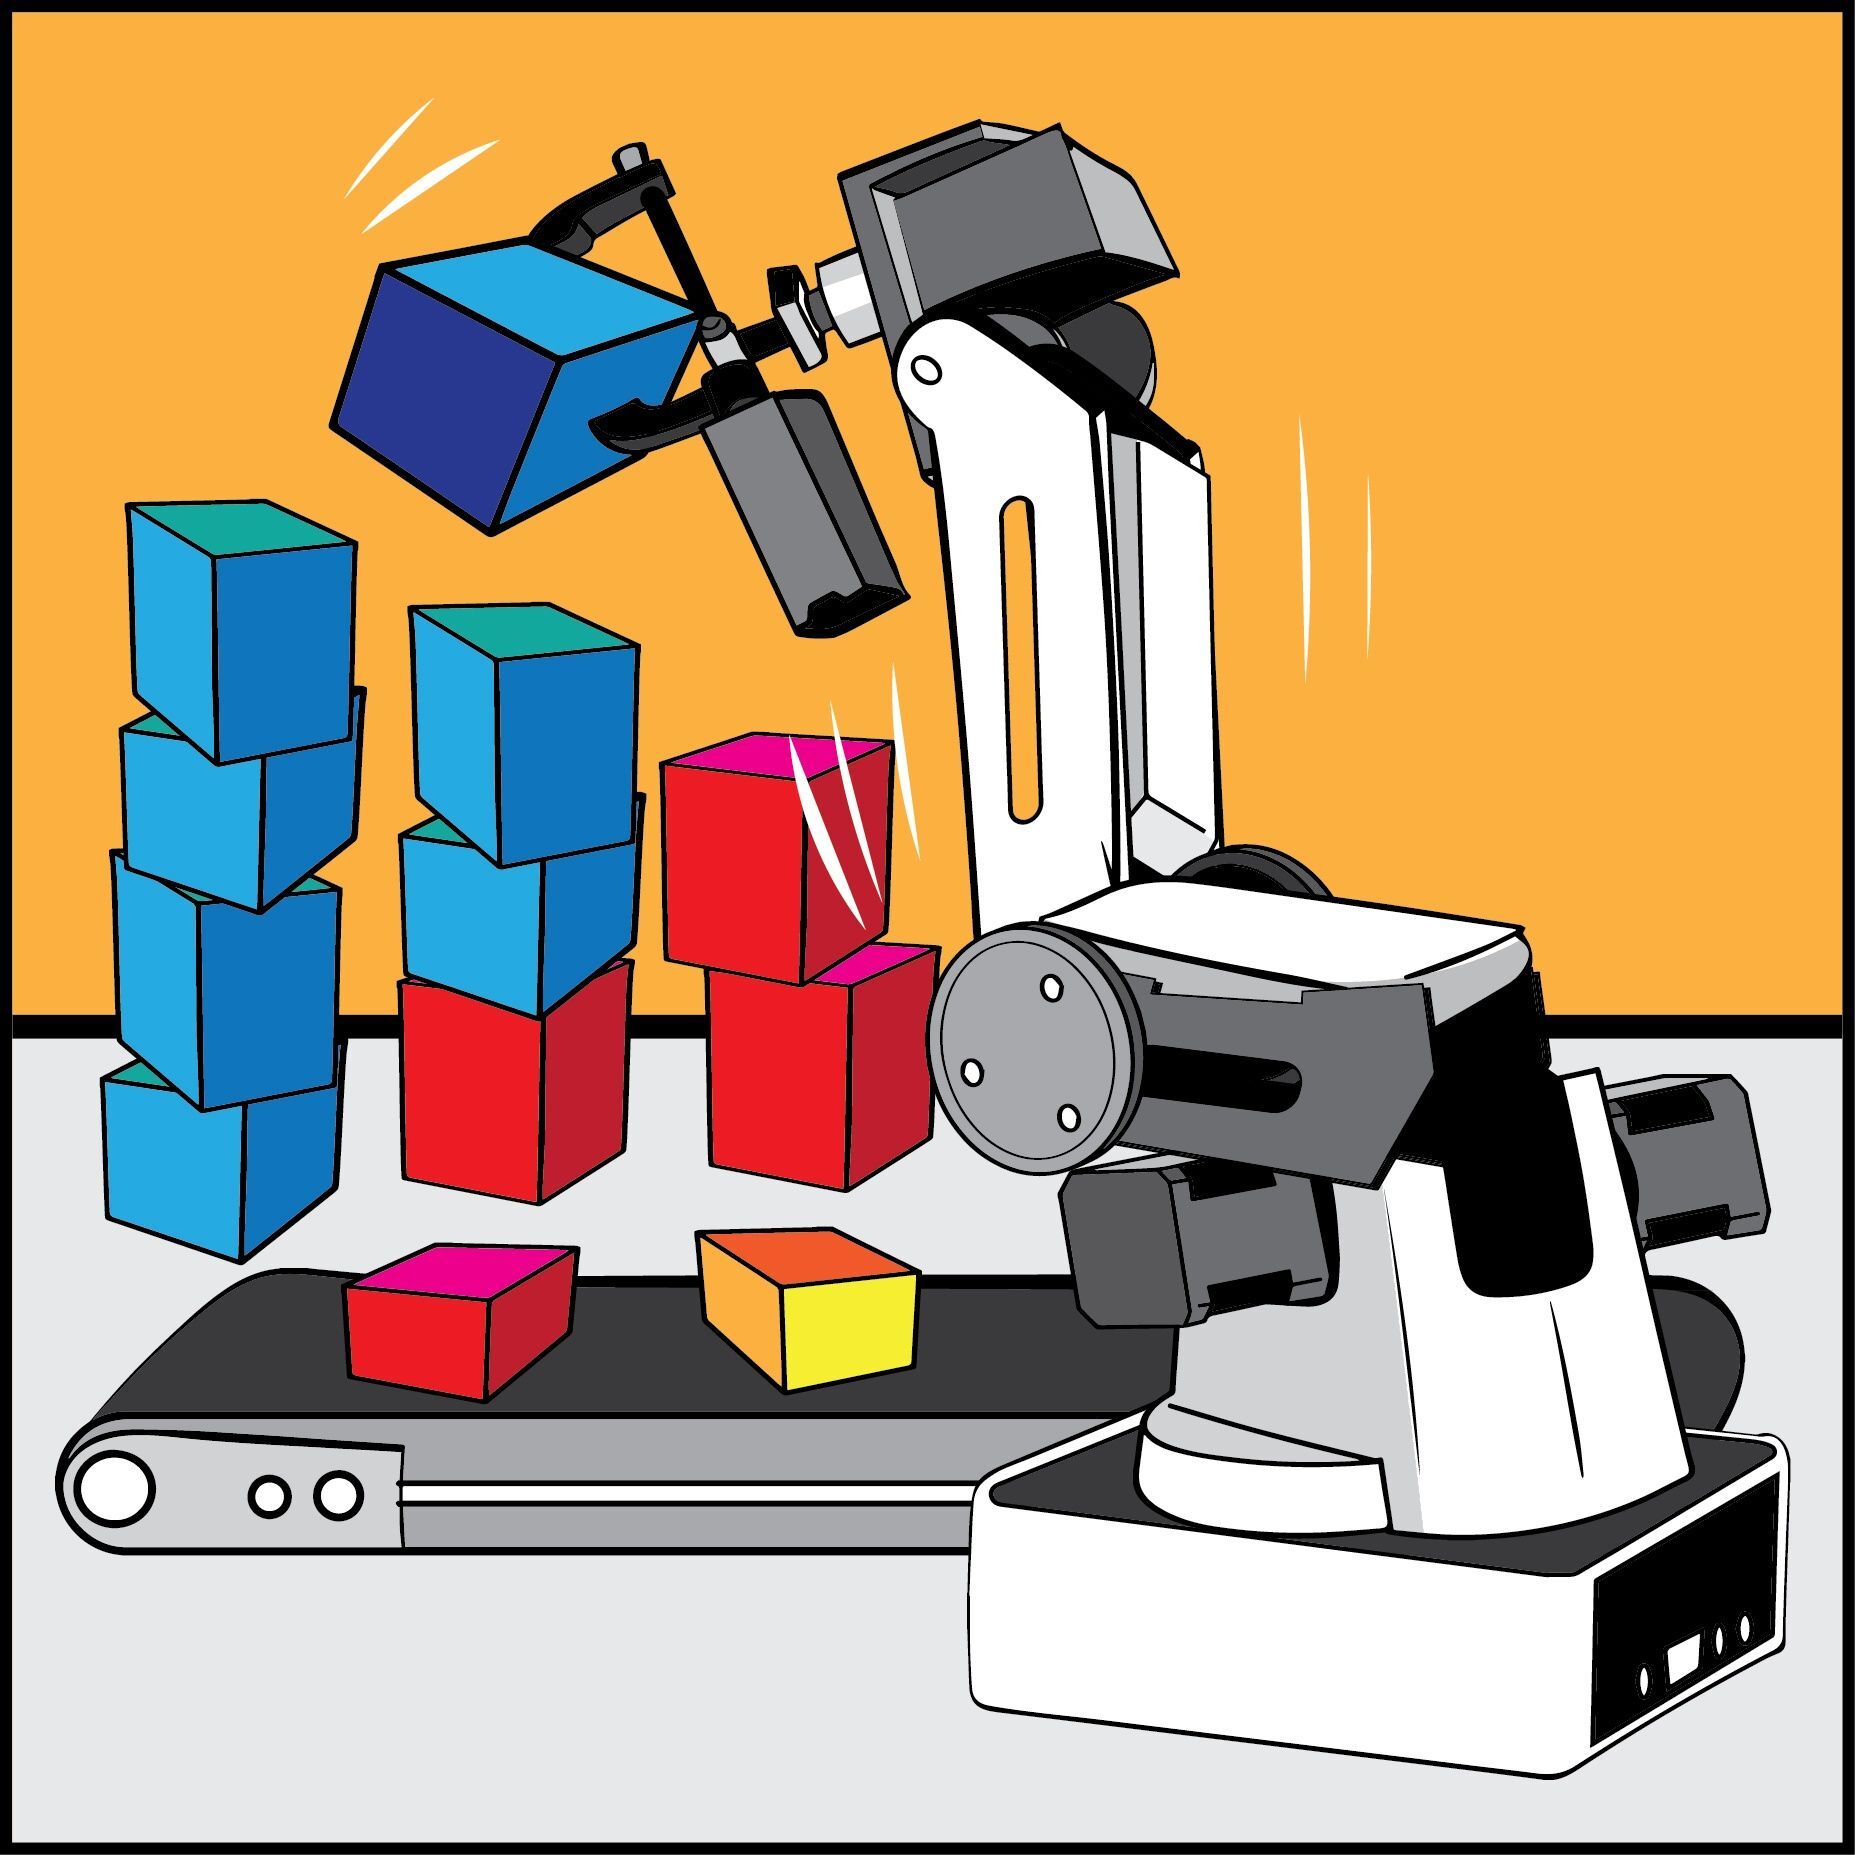
• After power point lesson, students will program the Dobot to simulate the assembly of towers using both fully and collaborative methods.
• The student’s, after the engagement, should be asking themselves how they can apply what they just learned in future project given by teacher and in the real world.
Lesson Overview
- Ensure the Dobot firmware and software is updated to the latest version. This will reduce troubleshooting.
- This lesson can be done individually or in groups. Depending on size of class or number of robots. If several students per robot, you might want to assign them separate responsibilities for full engagement.
- This lesson can take between 1 to 3 class periods depending on coding knowledge of students with Blockly ,Script, and Dobot in general and all the attachments.
- This lesson and skills is considered medium and will be built upon to higher levels in the next lessons. Everything in this project was covered and practiced in previous lessons.
- Having students start in the Power ON homing position is recommended, so that every student or group has their Dobot(s) start from the same spot.
- Remind students that in this project they are to pick an x,y,and z coordinate spot where they will be feeding Dobot the cubes. Also, to create and slowly increment the Z coordinate variable for each tower to accomplish task.
- The perfect distance between the gripper and cube will need to be determined by students for optimal grabbing. As well as the perfect rotation setting of the gripper for each tower.
- When programming remind students about turning on and off the gripper as they do with the suction cup attachment.
- We included a code sample of the process as show on video. The included sample is coded for collaborative assembly. To turn it into full automation just decrease the Z coordinate variables by half.
Materials Needed
Print these handouts for the prototyping section. you will need one for each Dobot in the classroom.
What do you see?
What do you see taking place in these pictures?
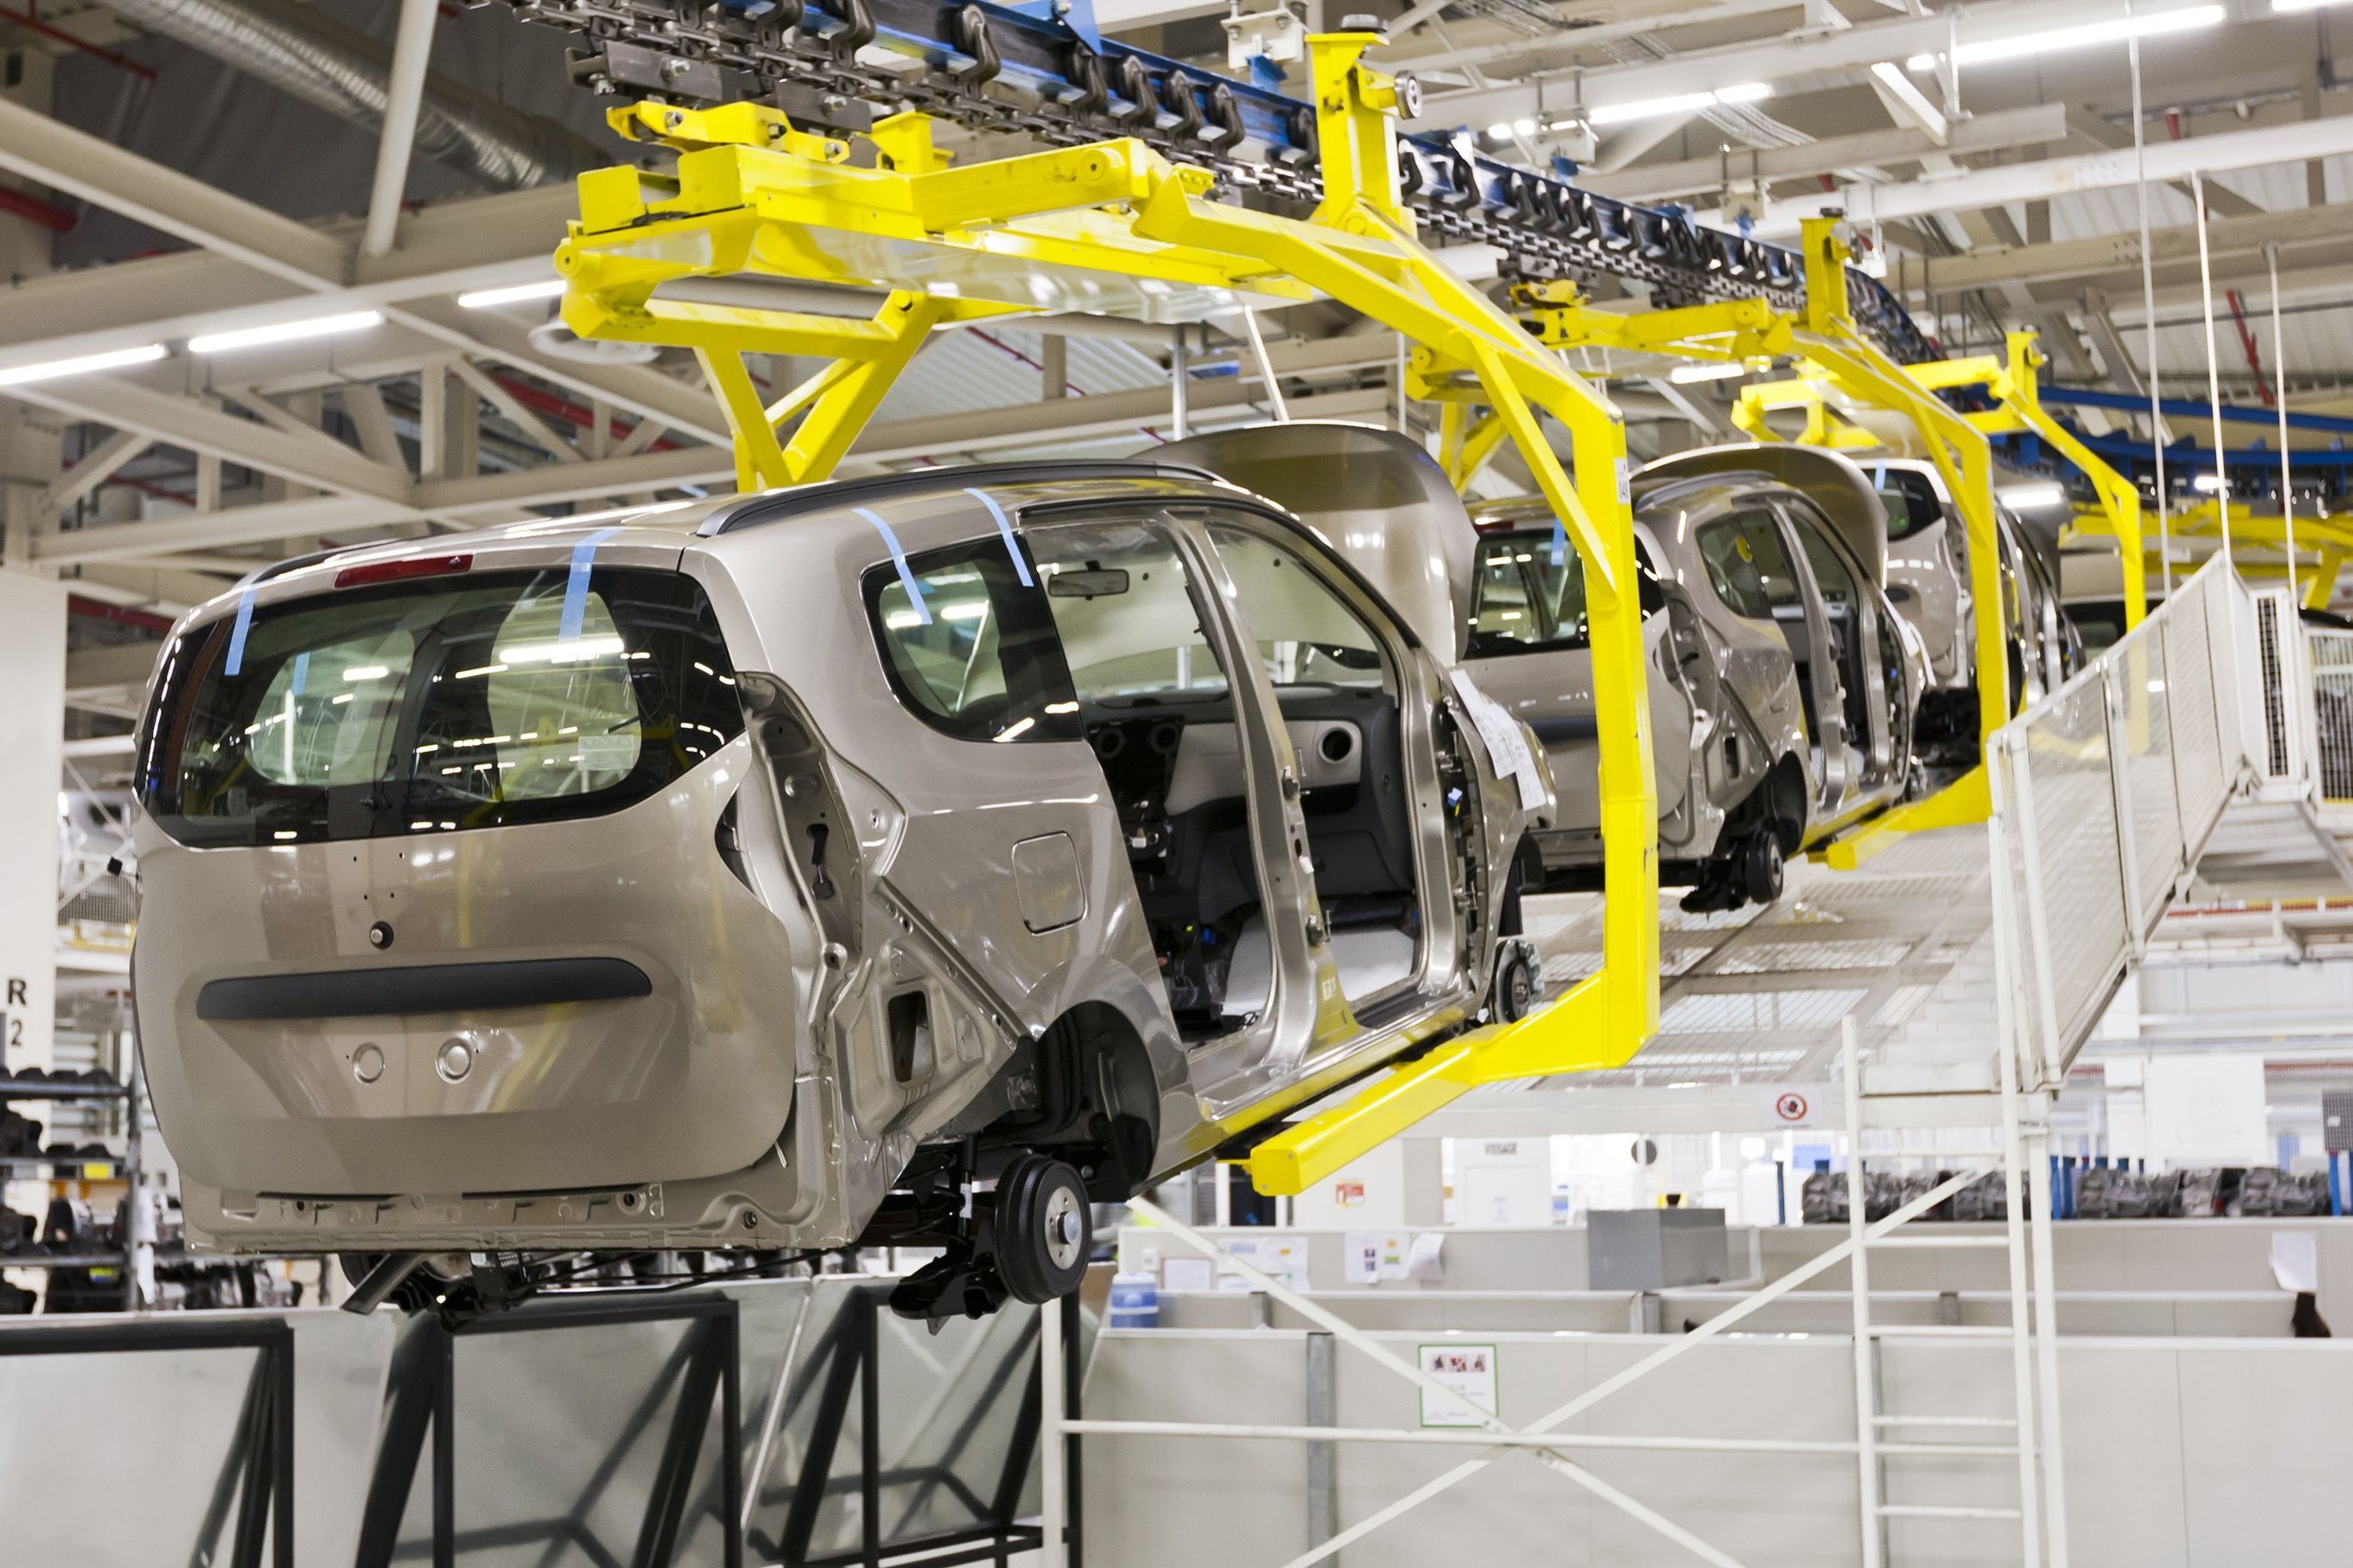
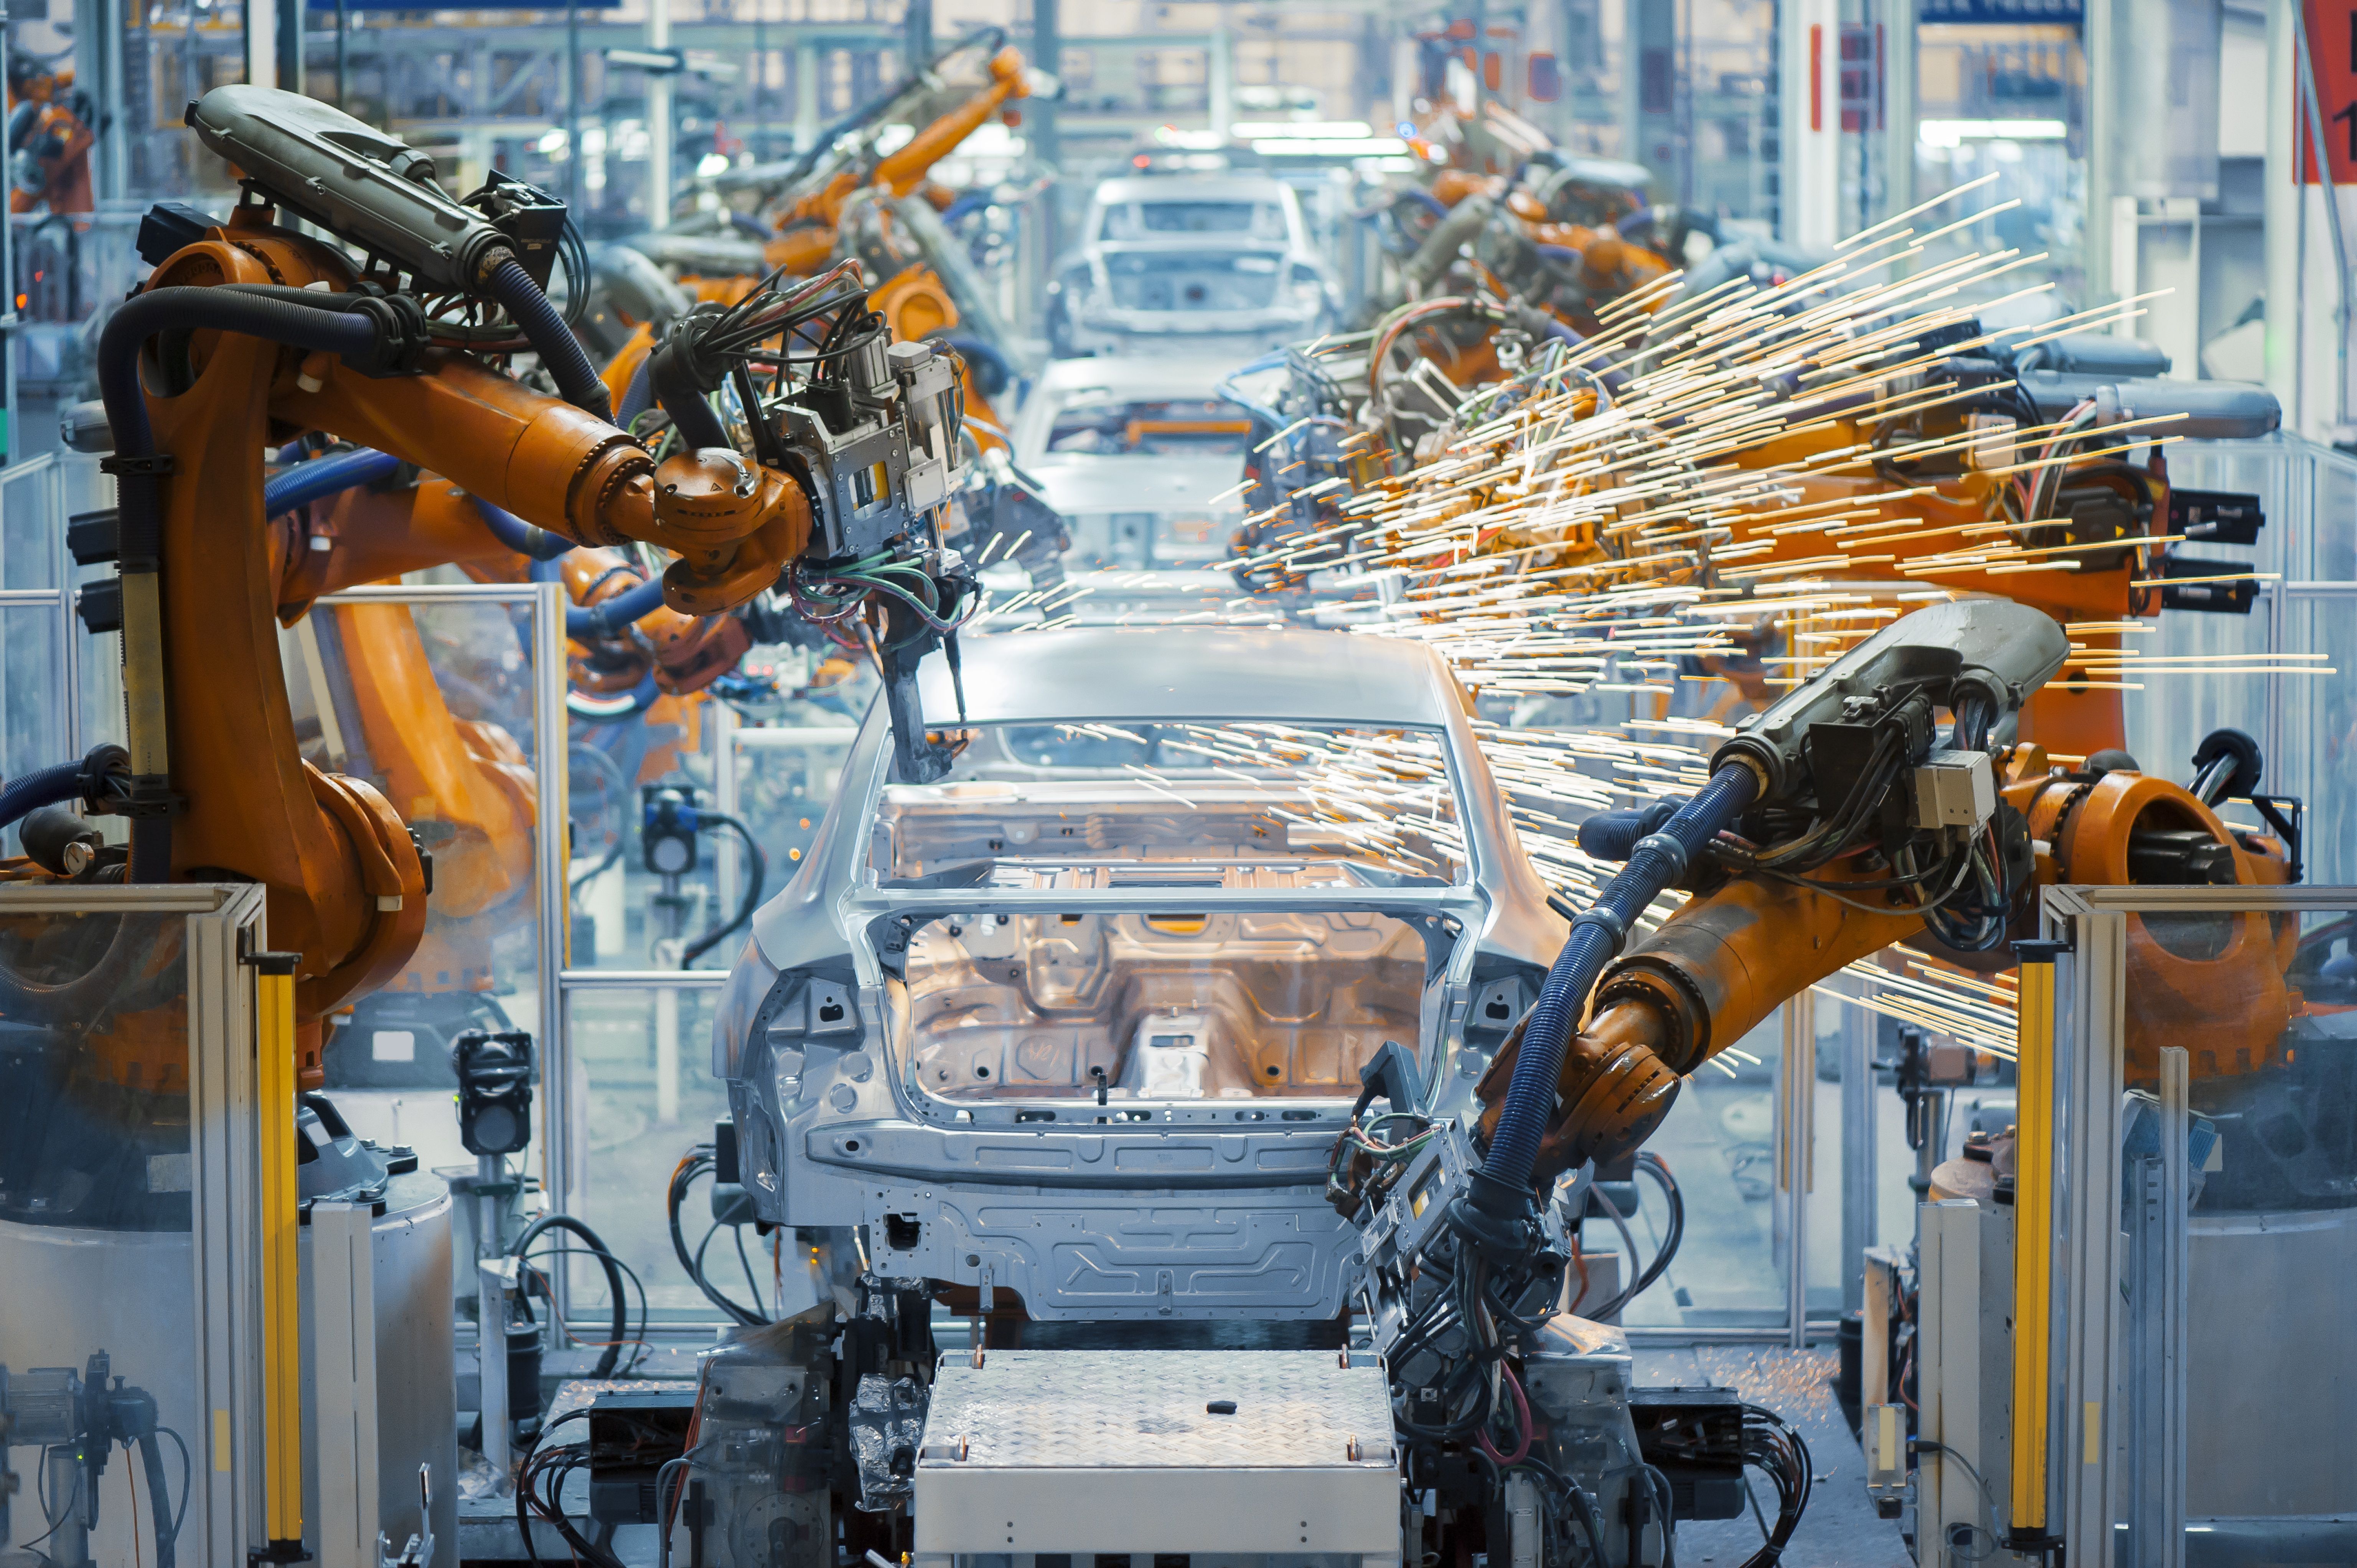
What is this called? (Before you answer, do you see any humans?)
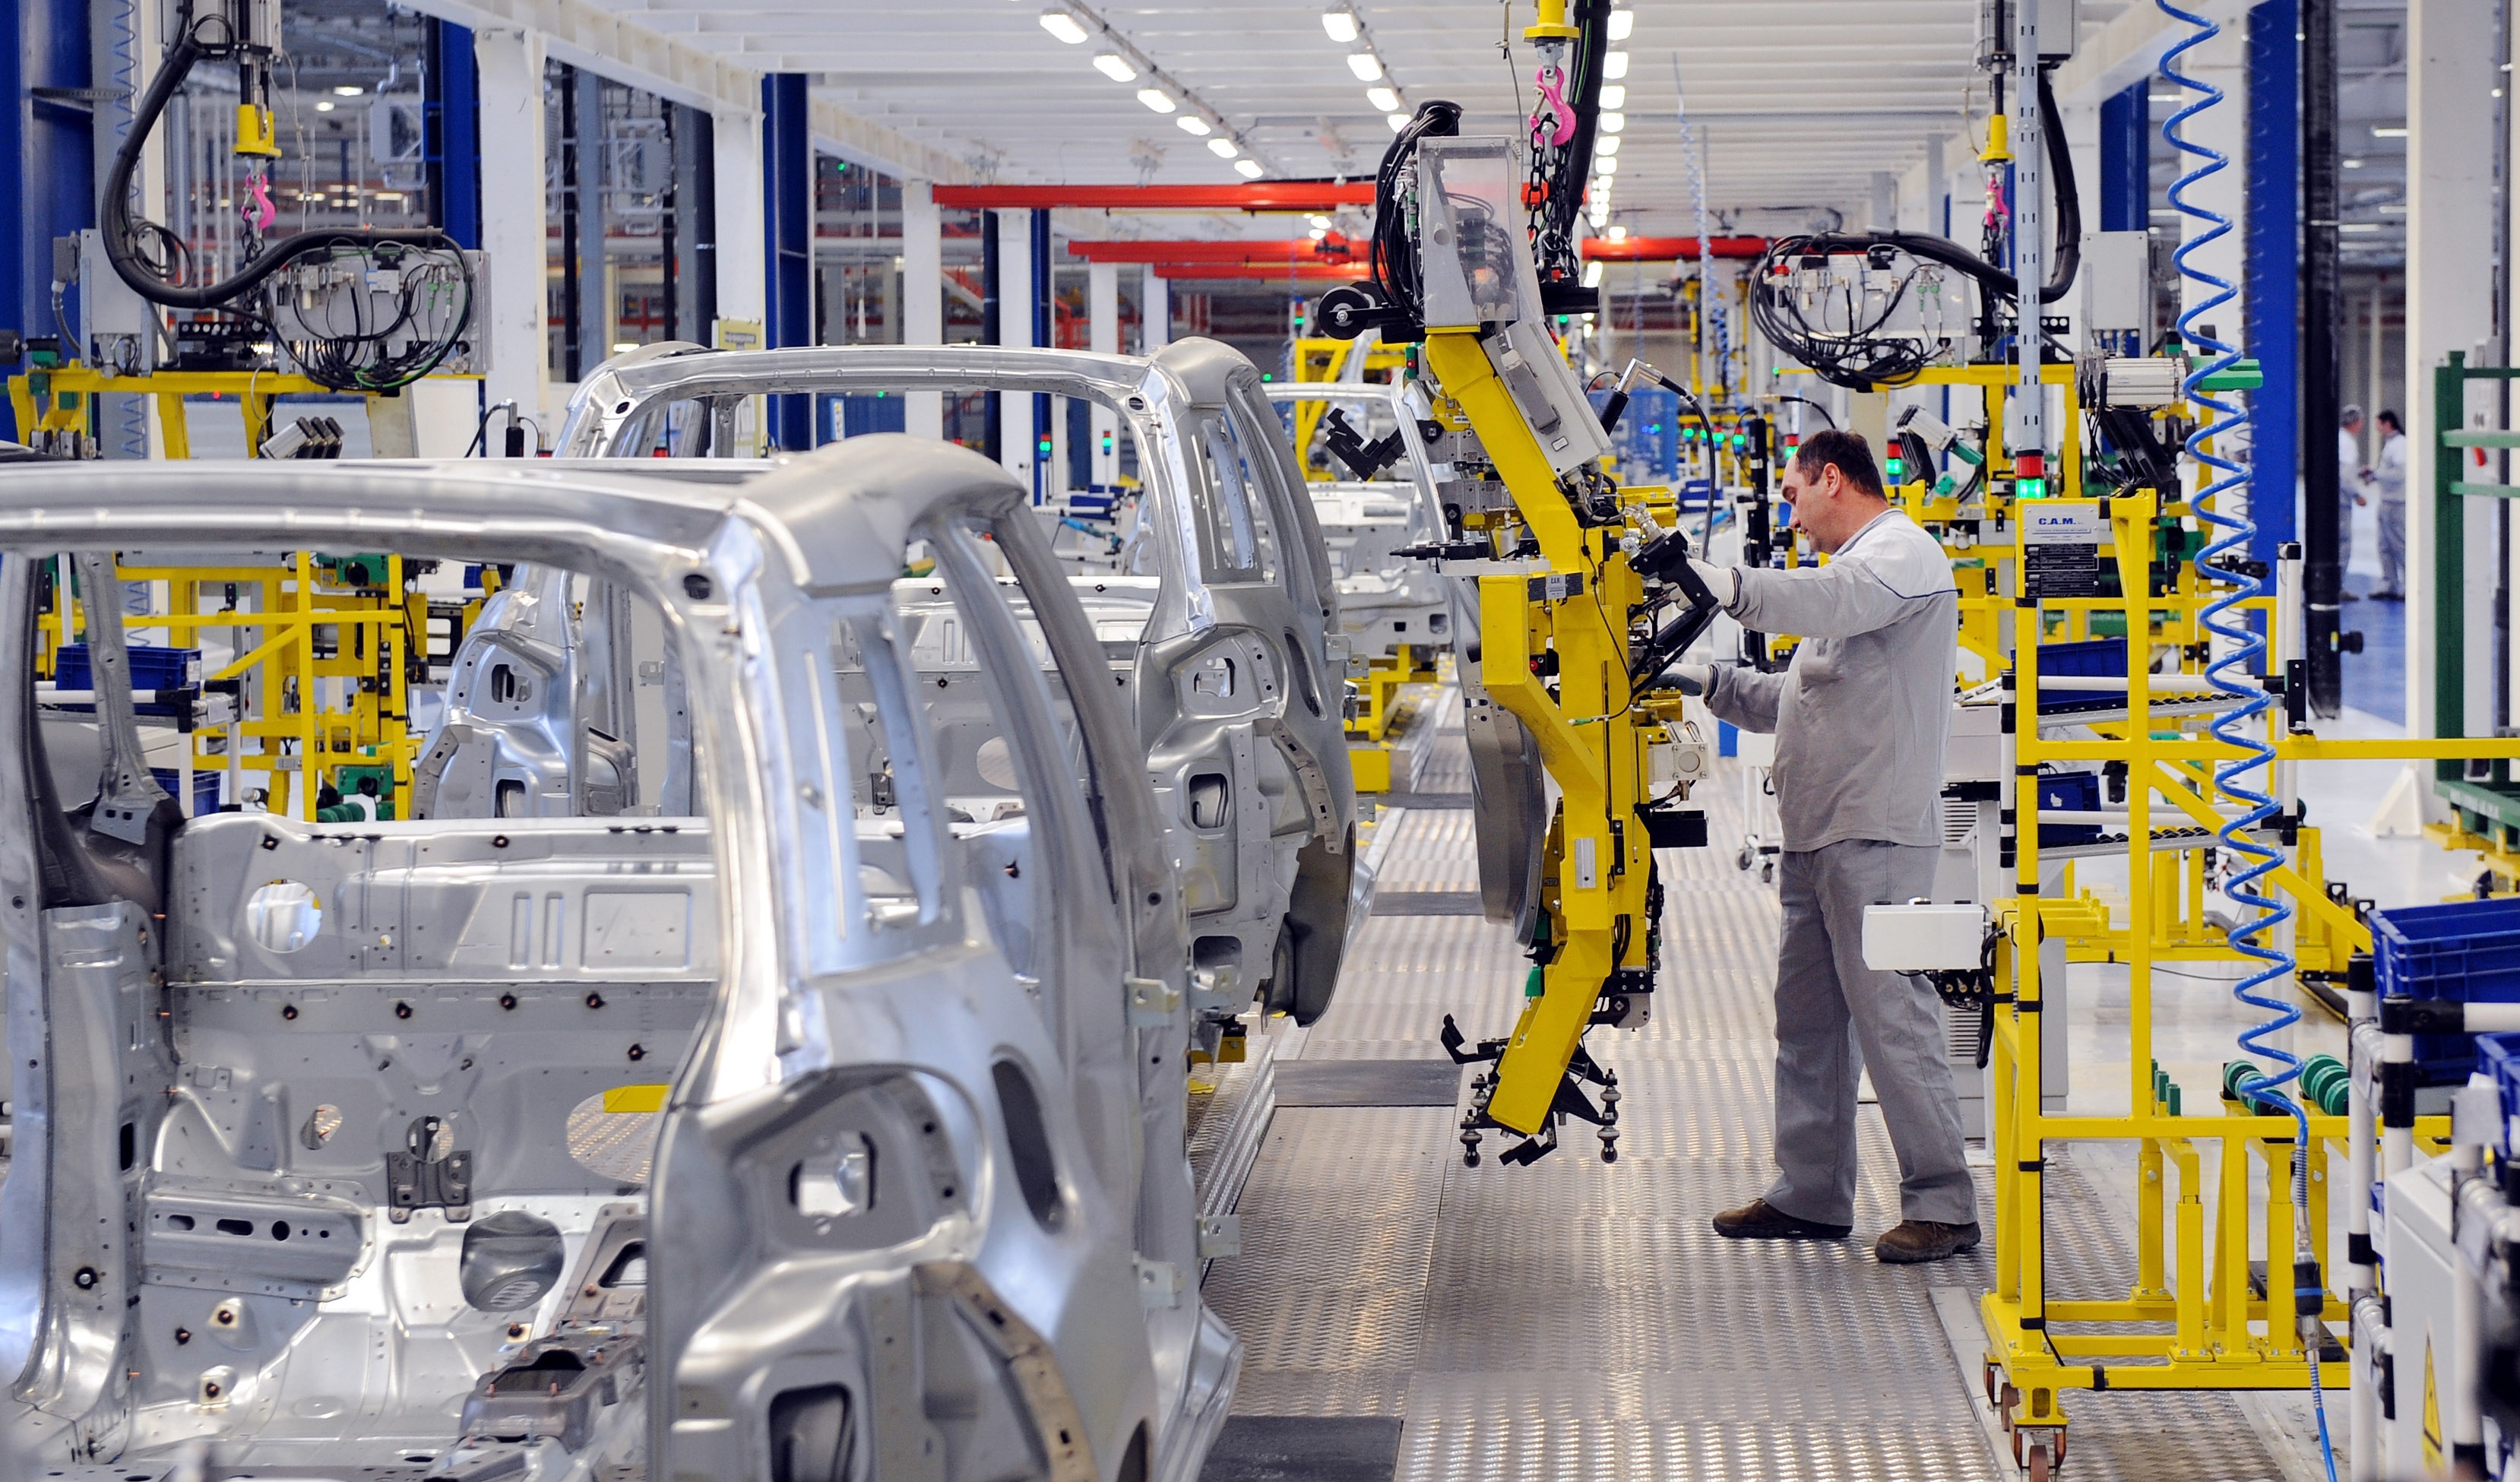
See the difference?

Teaching Tips:
Explore Module Overview
Vocabulary
- Fully Automated Assembly Line – An assembly line fully operated by robots from start to finish, with very little human help.
- Collaborative Assembly Line – The growing trend in assembly productivity where humans and robots are working together to increase efficiency.
- Cobot – The term used to describe the robots that work collaboratively with humans in an assembly line.
- Unimate - became the first mass produced robotic arm for factory automation.
- George Devol – Invented the Unimate 1900 in 1961.
Questions for discussion:
- What does full automation mean?
- What are the pros and cons of each assembly?
- What were some of your biggest tasks in the previous project?
Higher order thinking question:
- What else could you do to make the collaboration more efficient?
Teaching Tips:
Prototype Module Overview
Each group or individual is to program Dobot with the following guidelines:
- Dobot must pick up a cube at a permanent location where it will be fed the cubes while controlling the conveyor movement
- Dobot must securely transport the cube without dropping it and without knocking over the other towers in an escalation fashion using robotic precision
- Dobot must precisely place down the cubes as to not knock down the tower.
Prototyping Challenges
Are you ready to see the difference between fully automated and collaborative assembly lines?
You will build:
- A fully automated assembly line where Dobot will build 3 precise escalating towers
- A collaborative assembly line where you and Dobot will build 3 precise escalating towers
In this assembly line project you will utilize much of the knowledge and attachments you’ve learned in previous lessons.
Before we start make sure your Dobot is ready!
- Make sure the belt is positioned at a distance that doesn’t interfere when the are is in the home position.
- Make sure you run the homing procedure so that the arm and gripper are positioned as pictured.
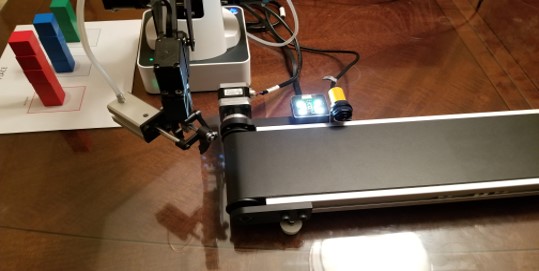
Challenge 1
Your cubes will start right on the edge of the belt on the tail pulley side of the conveyor. You will be placing the cubes on the belt, but Dobot will be Picking, Sensing, and Placing precise towers all on its own.
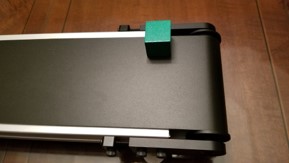
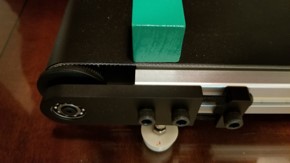
In this example we coded Dobot to sense when the cube passes through the photolectric sensor and stop the belt .5 seconds later. This places the cube right in front of the color sensor.
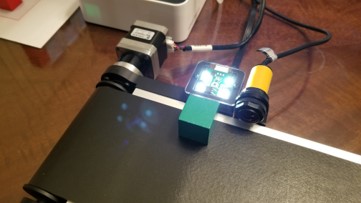
As in previous lessons you are to code Dobot to place the cubes down in their corresponding color coded box and precisely.
In order to accomplish this sort of precision and placing you will need to use the ROTATE command for the gripper. In the code example you will notice that Dobot stops at a precise location on top of each tower location and rotates accordingly to place them down. Gently and precise.
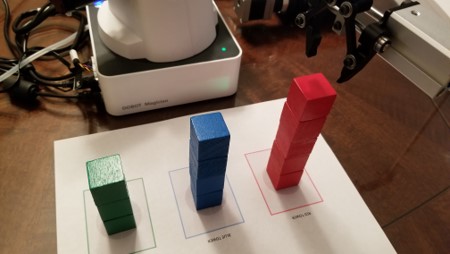
REMEMBER: Use variables for your Z coordinate increments for each tower. Also, it’s always a good idea to use functions in your code to keep it organized.
If you need some help visualizing the project watch this Lesson 6 video (part 1)
Challenge 2
Now all you have to do is change the code to double the Z coordinate for each tower allowing you (the human) to help the robot accomplish the task by placing every other cube your self.
If you need some help visualizing the project watch this Lesson 6 video (part 2)
Teaching Tips:
Review Module Overview
- Review with class on why companies are choosing cobots over full automation.
- What challenges did you encounter making the project mechanically and coding?
- Review key vocabulary with students.
- Have students reflect and rate their performance as robot programmers.
Questions and Answers
- What is a Fully Automated Assembly Line?
- An assembly line fully operated by robots from start to finish, with very little human help.
- When robots and humans are working together at an assembly line it’s called a?
- Collaborative Assembly Line
- In what year did Henry Ford create the assembly line?
- In 1913 Henry Ford sets up the first ever moving assembly line for the mass production of a vehicle.
- His innovation cut the time of production to how many hours?
- His invention cut the time of production from 12 hours to 2.5 hours.
- What was the goal behind the idea of an assembly line and the Model T car?
- To make cars available for everyone. To make the car more affordable he would need build them more efficiently.
- General Motors got a huge advantage first over other companies like Ford buy doing what?
- Bought first mass produced robotic arm for factory automation. Jumped ahead of its competition to become the most automated automotive plant in the world.
- What was the name of this robot? Who Invented it?
- American inventor George Devol invented the Unimate 1900 which became the first mass produced robotic arm for factory automation.
- How fast could they build cars?
- The robots built 110 cars per hour.
- Modern robots have amazing benefits never seen before in history such as what?
- These modern robots have unseen benefits for companies such as precision, reliability, and speed.
- Did Tesla first create a fully automated or collaborative assembly line?
- A fully automated assembly line
- Later Tesla admitted to what wrong doing?
- Admitted humans were underrated and regrets using so many robots to build their Model 3 electric car.
- How did they fix the problem and increase efficiency?
- Tesla changed the plan and got more humans to ramp up production working along the robots.
- What do robots have over humans? Give some example of some tasks humans would just not be able to do?
- Robots have amazing precision, steadiness, and speed. Such precision and steadiness they can now handle soldering, 3D printing, and laser engraving.
