Lesson Modules
Teaching Tips:
This lesson will take about 2 hours to complete. You may have to split the lesson into multiple classes.
Many of the activities in these lessons exist in the tutorial section of the LittleBits Code Kit App. These tutorials show the students EXACTLY how to set up their code. If students do this then they are not problem solving and learning how to program. Try to reduce the risk of students using the tutorial page to build their program. You can tell if the students are using the tutorials or not by looking at the top left of their screen. If it says “Blank Canvas” they are most likely doing it themselves. If it says anything else, it is likely they are using the tutorial.
| If this is what is shown on the top left of the students' screen then they are making their own project. | If there is any other name in the upper left hand of the students' screens then they are using a tutorial and are likely not creating their own project. |
%20Hello%20World/blank%20canvas.png) | %20Hello%20World/other.png) |
Materials:
- One LittleBits Code kit per group (suggestion: 2-3 students per group)
- One computer for each student group
- Teacher computer
- Internet connection
- Projector
- Twist ties
%20Soccer%20Goal/twist%20tie%201.jpg)
%20Soccer%20Goal/twist%20tie%202.jpg)
- Scissors
- Hole puncher
- Ruler
- Cardboard
- Markers
- Tape or glue
- Paper
Preparation: |
Set up a place to have materials (paper, cardboard, markers, etc.) so students can easily access them during their building process.
Observation activity: 1) show the students the video on the class view 2) Show the next section of the class view which shows the goal. 3) Have students to go their computers and respond to the question. Which types of blocks do you think you will need to use in order to reach this goal. Click ALL that apply. 4) Once the students have submitted their responses click on the “see results” button under the question on the class view. |
5) Facilitate a conversation with your class about the results. (Ex: Ask for a volunteer to explain how they think they would use variable blocks in their code).
In this section we will begin brainstorming which types of blocks we will need to use in order to reach the goal.
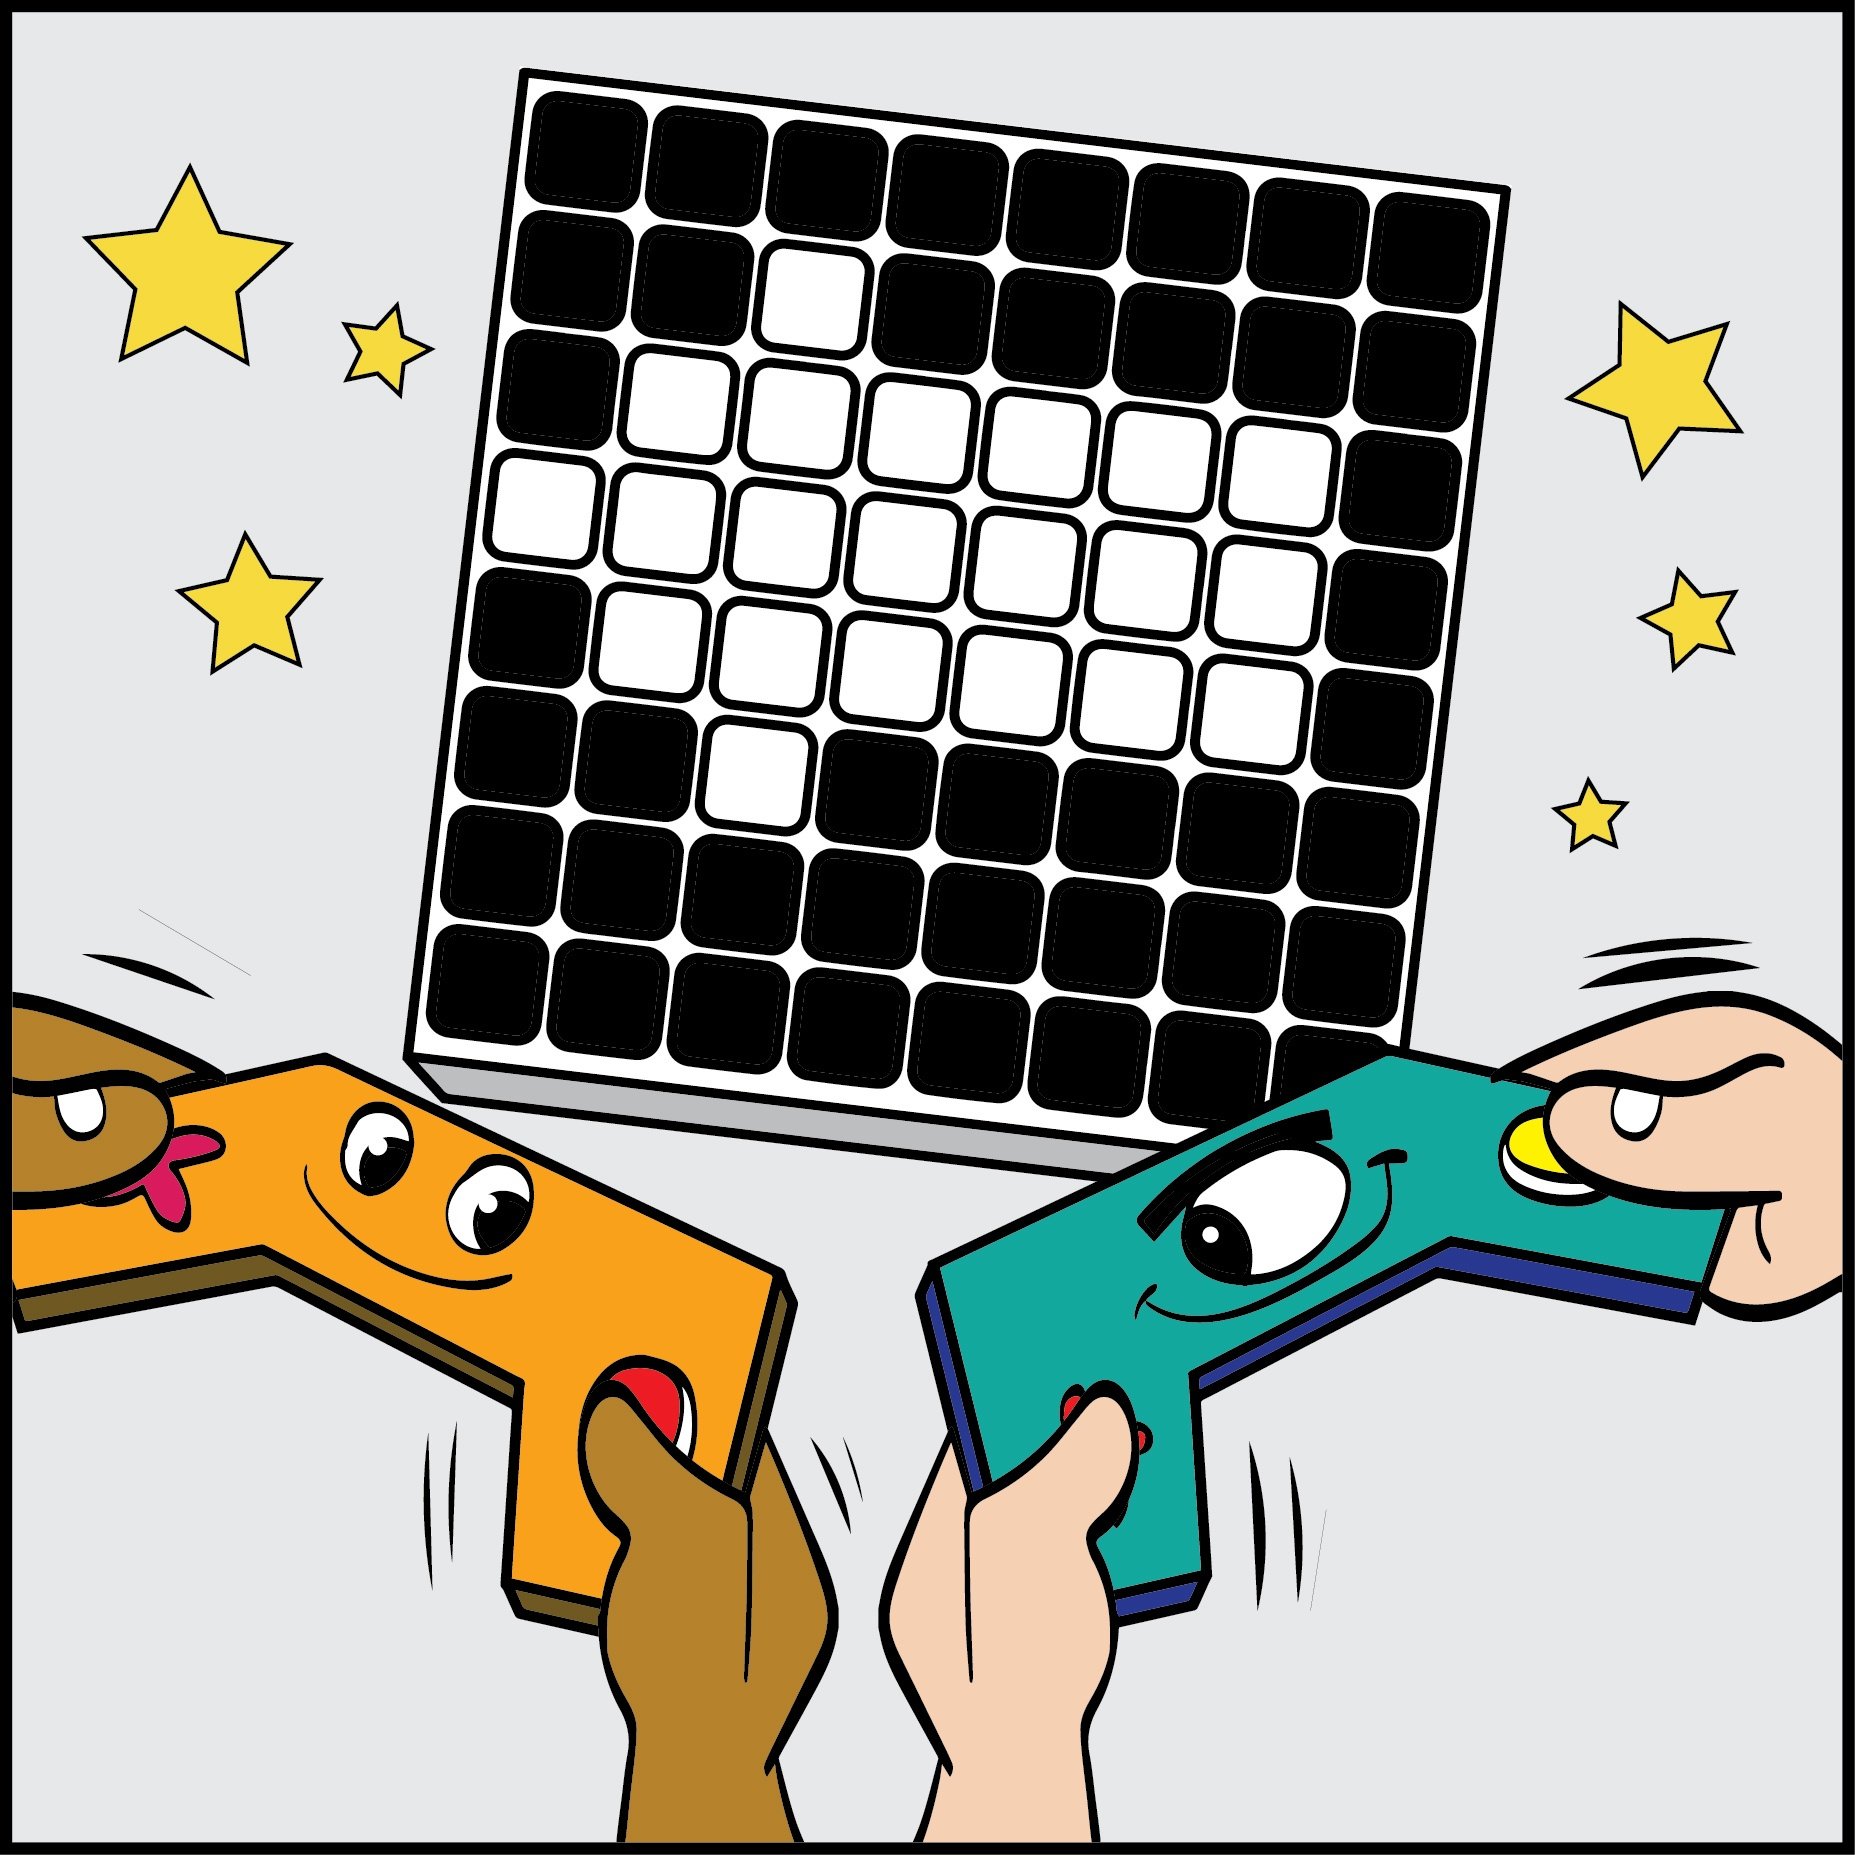
 | Create an electronic tug of war game. |
- Images
- Text
- Sound
- Input/Output
- Timing
- Logic
- Loops
- Math
- Variables
- Functions
Teaching Tips:
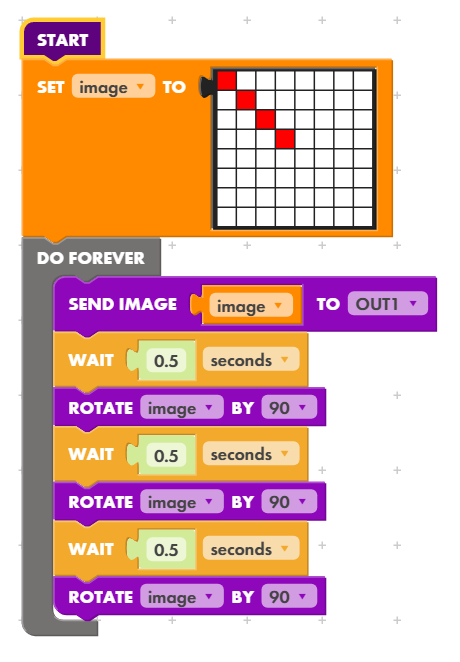
2) Once the students have responded to the questions click “show results” under the question on the class view. 3) Facilitate a discussion about the answer – making sure to address any misconceptions. Answers:(4,2),(6,2), (7,2), (5,5), (6,5), (7,5) 4) Have students answer the 2nd question on their computers. 5) Once the students have responded to the questions click “show results” on the class view. 6) Facilitate a discussion about the answer – making sure to address any misconceptions. Answers: (2,6), (2,7), (3,6), (3,7) 7) Show the variable video on the class view. 8) Have students go to their computers and respond to question 3. Explain what happens when this program is run. |
Answer: The result is a spinning pinwheel effect
9) Show the next section on the class view which explains how the program runs.
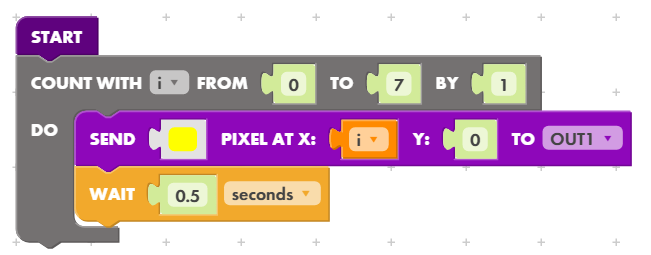
10) Have students go to their computers and respond to question 4. Explain what happens when this program is run.
11) Show the next section on the class view which explains how the program runs.
12) Show the function video on the class view.
13) Have students go to their computers and respond to question 5. Explain what happens when this program is run.
14) Once students have finished responding, facilitate a conversation about the benefit of using the function blocks in this code.
In this section we will review the coordinates on the LED Matrix, variables and functions.
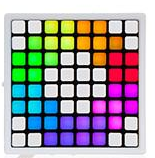
%20variables/XY%20axis%20led%20matrix-601456-edited.png) |
|
- (5,5)
- (7,4)
- (6,2)
- (6,5)
- (4,2)
- (7,7)
- (7,2)
- (5,4)
- (5,7)
- (7.5)

%20variables/XY%20axis%20led%20matrix-601456-edited.png) |  |
- (2,6)
- (2,7)
- (3,8)
- (3,6)
- (3,5)
- (4,7)
- (3,7)
- (4,8)

 | Explain what happens when this program is run.
|

 | Explain what happens when this program is run.
|

%20function/functions%20code%20example%20part%201.png) | %20function/functions%20code%20example%20part%202.png) |
Teaching Tips:
Show the students’ goal on the class view: Create an electronic tug of war game. |
During the design time, walk around and prompt your students with questions to help deepen their learning and thinking process. Some examples of questions are:
|
What do you predict your code will do?
In this section we will create an electronic tug of war game.
Teaching Tips:
Have students answer the following questions on their computers. Once all the students have finished answering the questions have a class discussion about their answers.
|
In this section we will reflect on our process.

%20variables/led%20matrix%20practice.png)
