Lesson Modules
Teaching Tips:
This lesson will take about 2 hours to complete. You may have to split the lesson into multiple classes.
Many of the activities in these lessons exist in the tutorial section of the LittleBits Code Kit App. These tutorials show the students EXACTLY how to set up their code. If students do this then they are not problem solving and learning how to program. Try to reduce the risk of students using the tutorial page to build their program. You can tell if the students are using the tutorials or not by looking at the top left of their screen. If it says “Blank Canvas” they are most likely doing it themselves. If it says anything else, it is likely they are using the tutorial.
| If this is what is shown on the top left of the students' screen then they are making their own project. | If there is any other name in the upper left hand of the students' screens then they are using a tutorial and are likely not creating their own project. |
%20Hello%20World/other.png) |
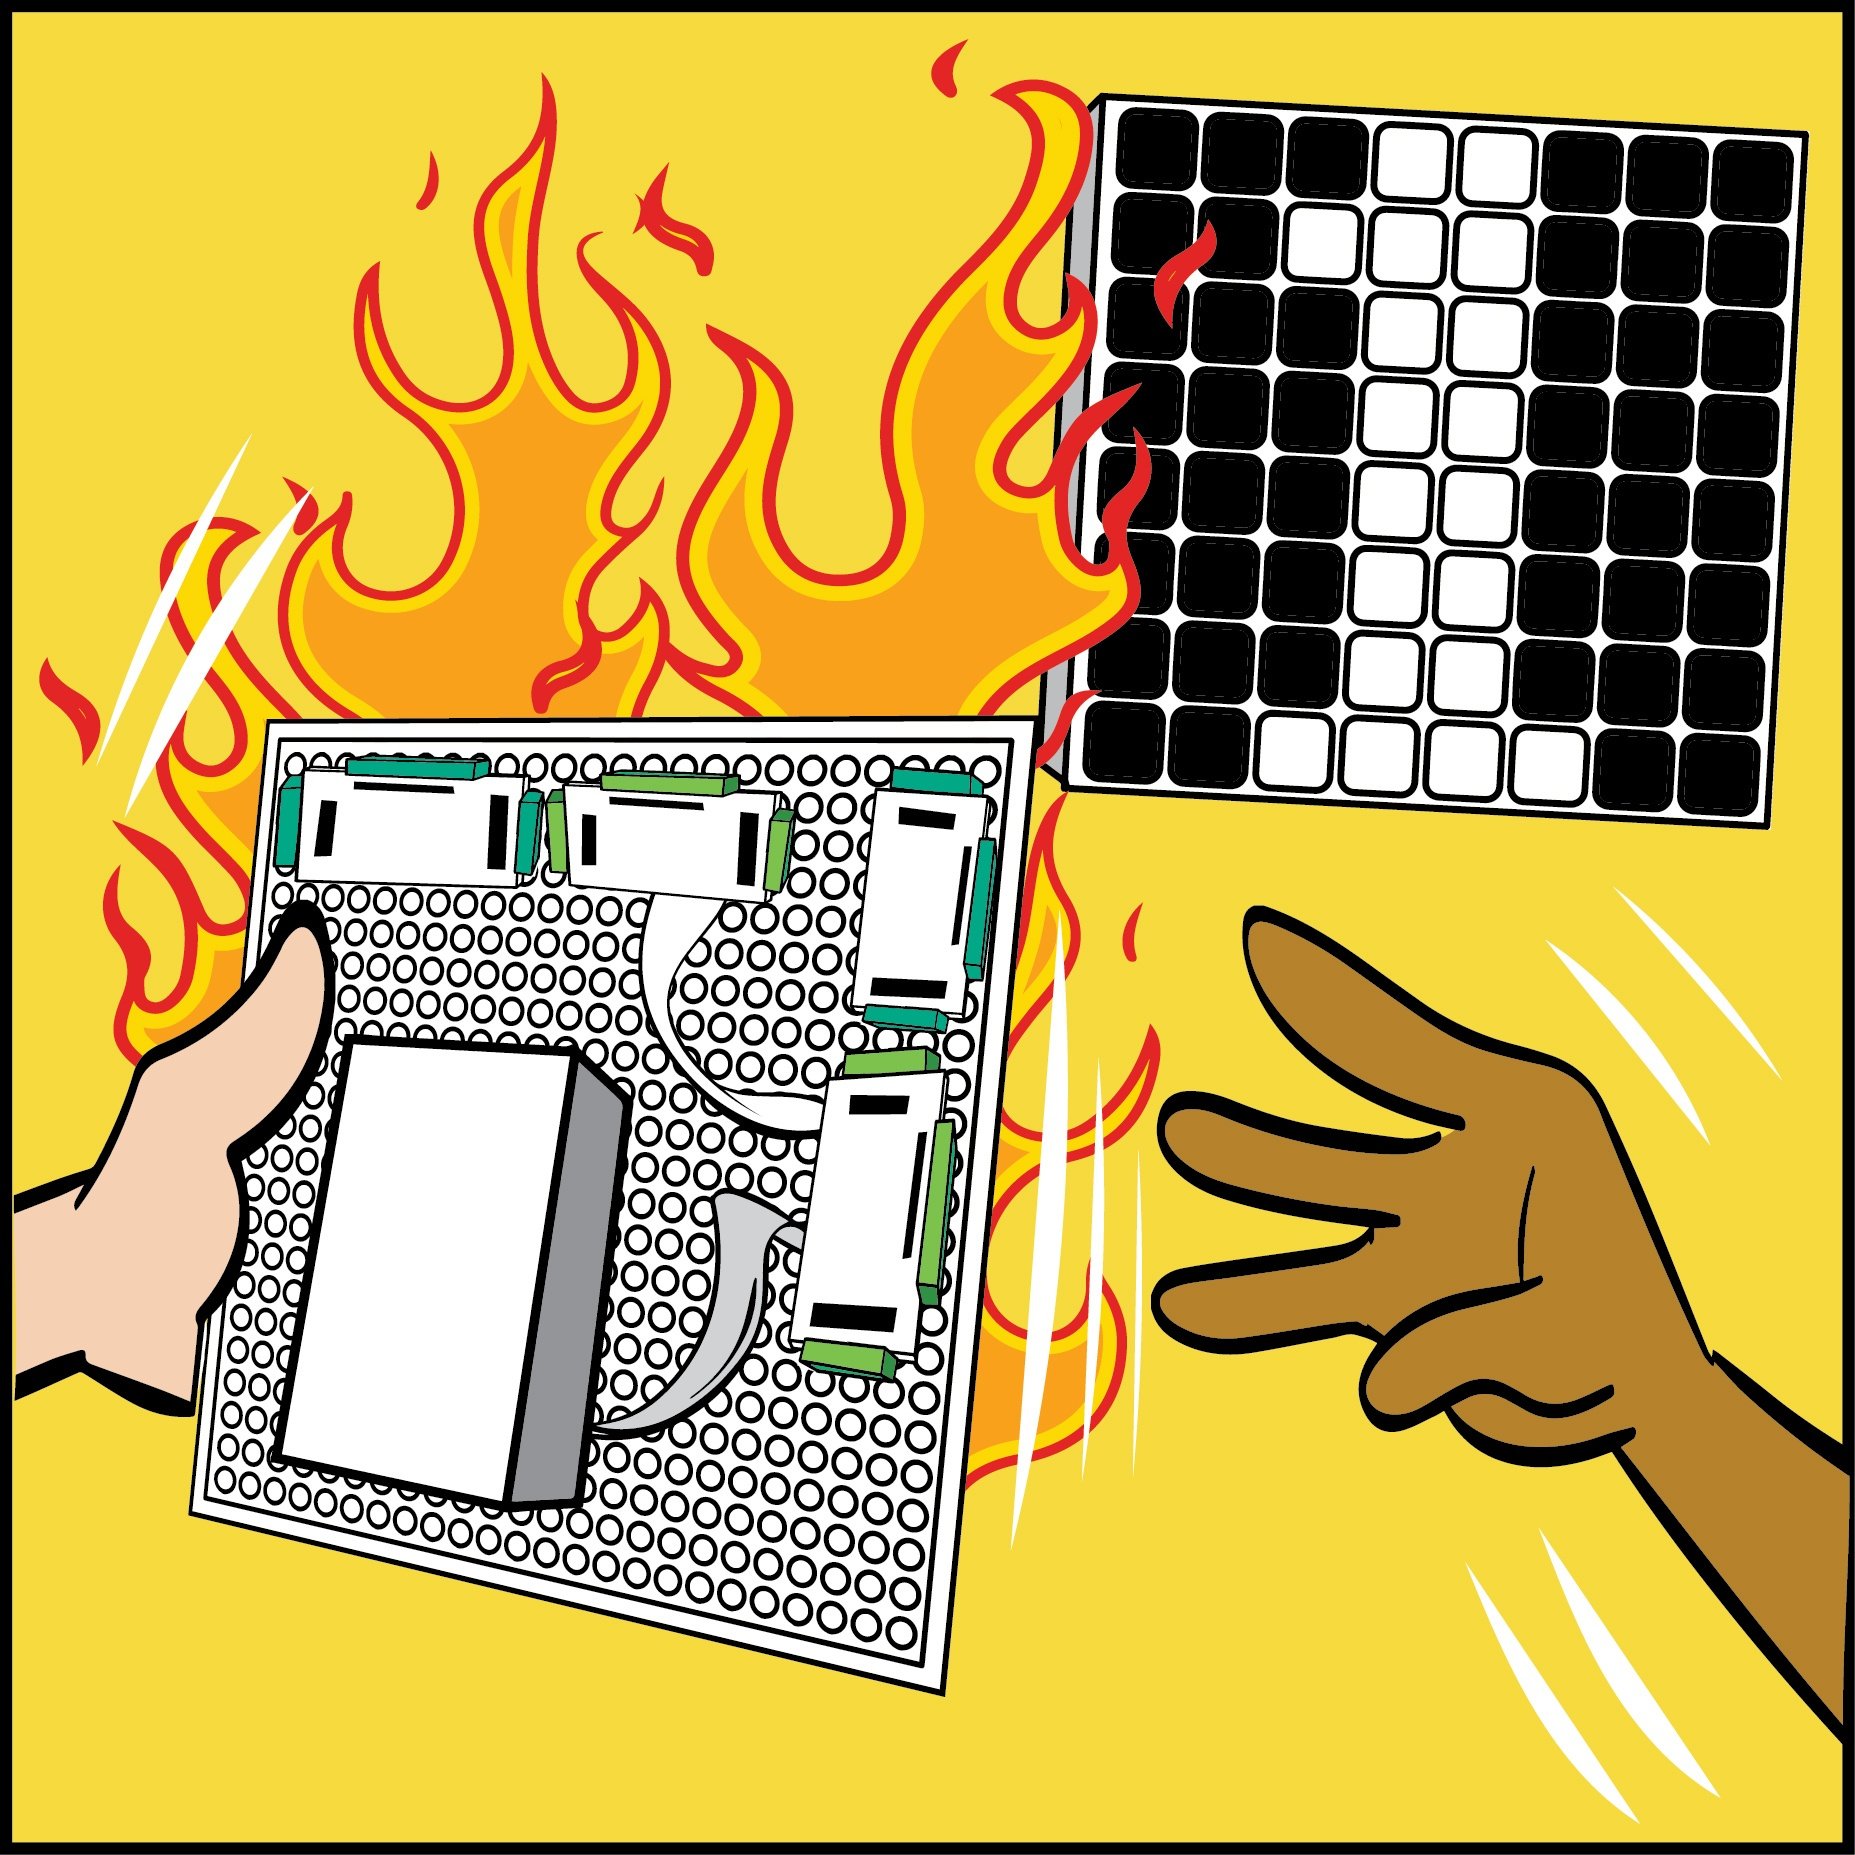
Materials:· One LittleBits Code kit per group (suggestion: 2-3 students per group)· One computer for each student group· Teacher computer· Internet connection· Projector· An object for the hot potato observation activityPreparation: noneObservation activity:1) Play hot potatoHot potato is similar to musical chairs. Students get into a circle. There is an item that is passed from student to student in the circle. During the game music is played. When the music ends whoever is holding the item (AKA the hot potato) is out. You need to have 1 person who is not in the circle, be in charge of starting the music to start the game and pause the music to indicate the stop of the game.2) Move to the next section on the class view and show the students today’s goal.3) On their computers have them check off which types of blocks they predict they will need to use in order to reach today’s goal.4) Once the students have finished responding to the question click “show results” on the bottom of the question in the class view. Facilitate a discussion about their responses. Ex: Could someone who chose loop blocks explain how they think they will use it in their code to reach the goal? |
In this section we will begin to brainstorm which blocks we will need to use in order to reach the goal.
Create a robotic hot potato game that…1) shows a different image during the game versus at the end of the game2) plays a different tune during the game versus at the end of the game3) does not start until input is on | |
 | Rounds are different lengths |

- Images
- Text
- Sound
- Input/Output
- Timing
- Logic
- Loops
- Math
- Variables
- Functions
Teaching Tips:
1) Show the timing blocks on the class view. 2) Ask students to predict what each timing block does. 3) Show the students the next image on the class view which has the timing blocks and descriptions. 4) Ask the students to brainstorm what purpose a programmer would have for these blocks. 5) Show the students the next image on the class view which shows a program using the timer blocks. 6) Facilitate a discussion through asking the students how they think this program works. 7) Set the program up on your computer through the LittleBits Code Kit app. 8) run the program 9) show the next image which explains how the program works. 10) Show the students the next image on the class view which shows a program using the timer blocks. 11) Facilitate a discussion through asking the students how they think this program works. 12) Set the program up on your computer through the LittleBits Code Kit app. 13) run the program |
14) show the next image which explains how the program works.
In this section we will focus on how timing blocks are used within programs.
Teaching Tips:
Show the students’ goal and challenge on the class view. Create a program that has the LED Matrix show a series of images. During the design time, walk around and prompt your students with questions to help deepen their learning and thinking process. Some examples of questions are:
Here is an example of a working code for this goal:
Here is an example of a working code for the challenge |
%20Hot%20Potato/hot%20potato%20code.png)
%20Hot%20Potato/hot%20potato%20challenge%20goal%20code.png)
In this section we will build a hot potato game.
Teaching Tips:
Have students answer the following questions on their computers. Once all the students have finished answering the questions have a class discussion about their answers.
|
In this section we will reflect on our process.