Lesson Modules
Teaching Tips:
This lesson will take about 2 hours to complete. You may have to split the lesson into multiple classes.
Materials:
· One Ozobot per student/group (suggestion: 2-3 students per group)
· One computer for each student/group
· Teacher computer
· Internet connection
· Projector
Preparation:
· Make sure Ozobots are charged before beginning the lesson
· Print at least one Ozobot Blockly Background image per person/group (and likely a few extras just in case)
Observation activity:
1) Show the video about programming on the class view.
2) Have students respond to the question “What did you learn about programming from the video?” on their computers in the observe section.
3) Once students have submitted their responses, facilitate a conversation about what they learned from the programming video.
In this section we will begin learning about what programming is.
Teaching Tips:
1) Show the students’ goal on the class view.
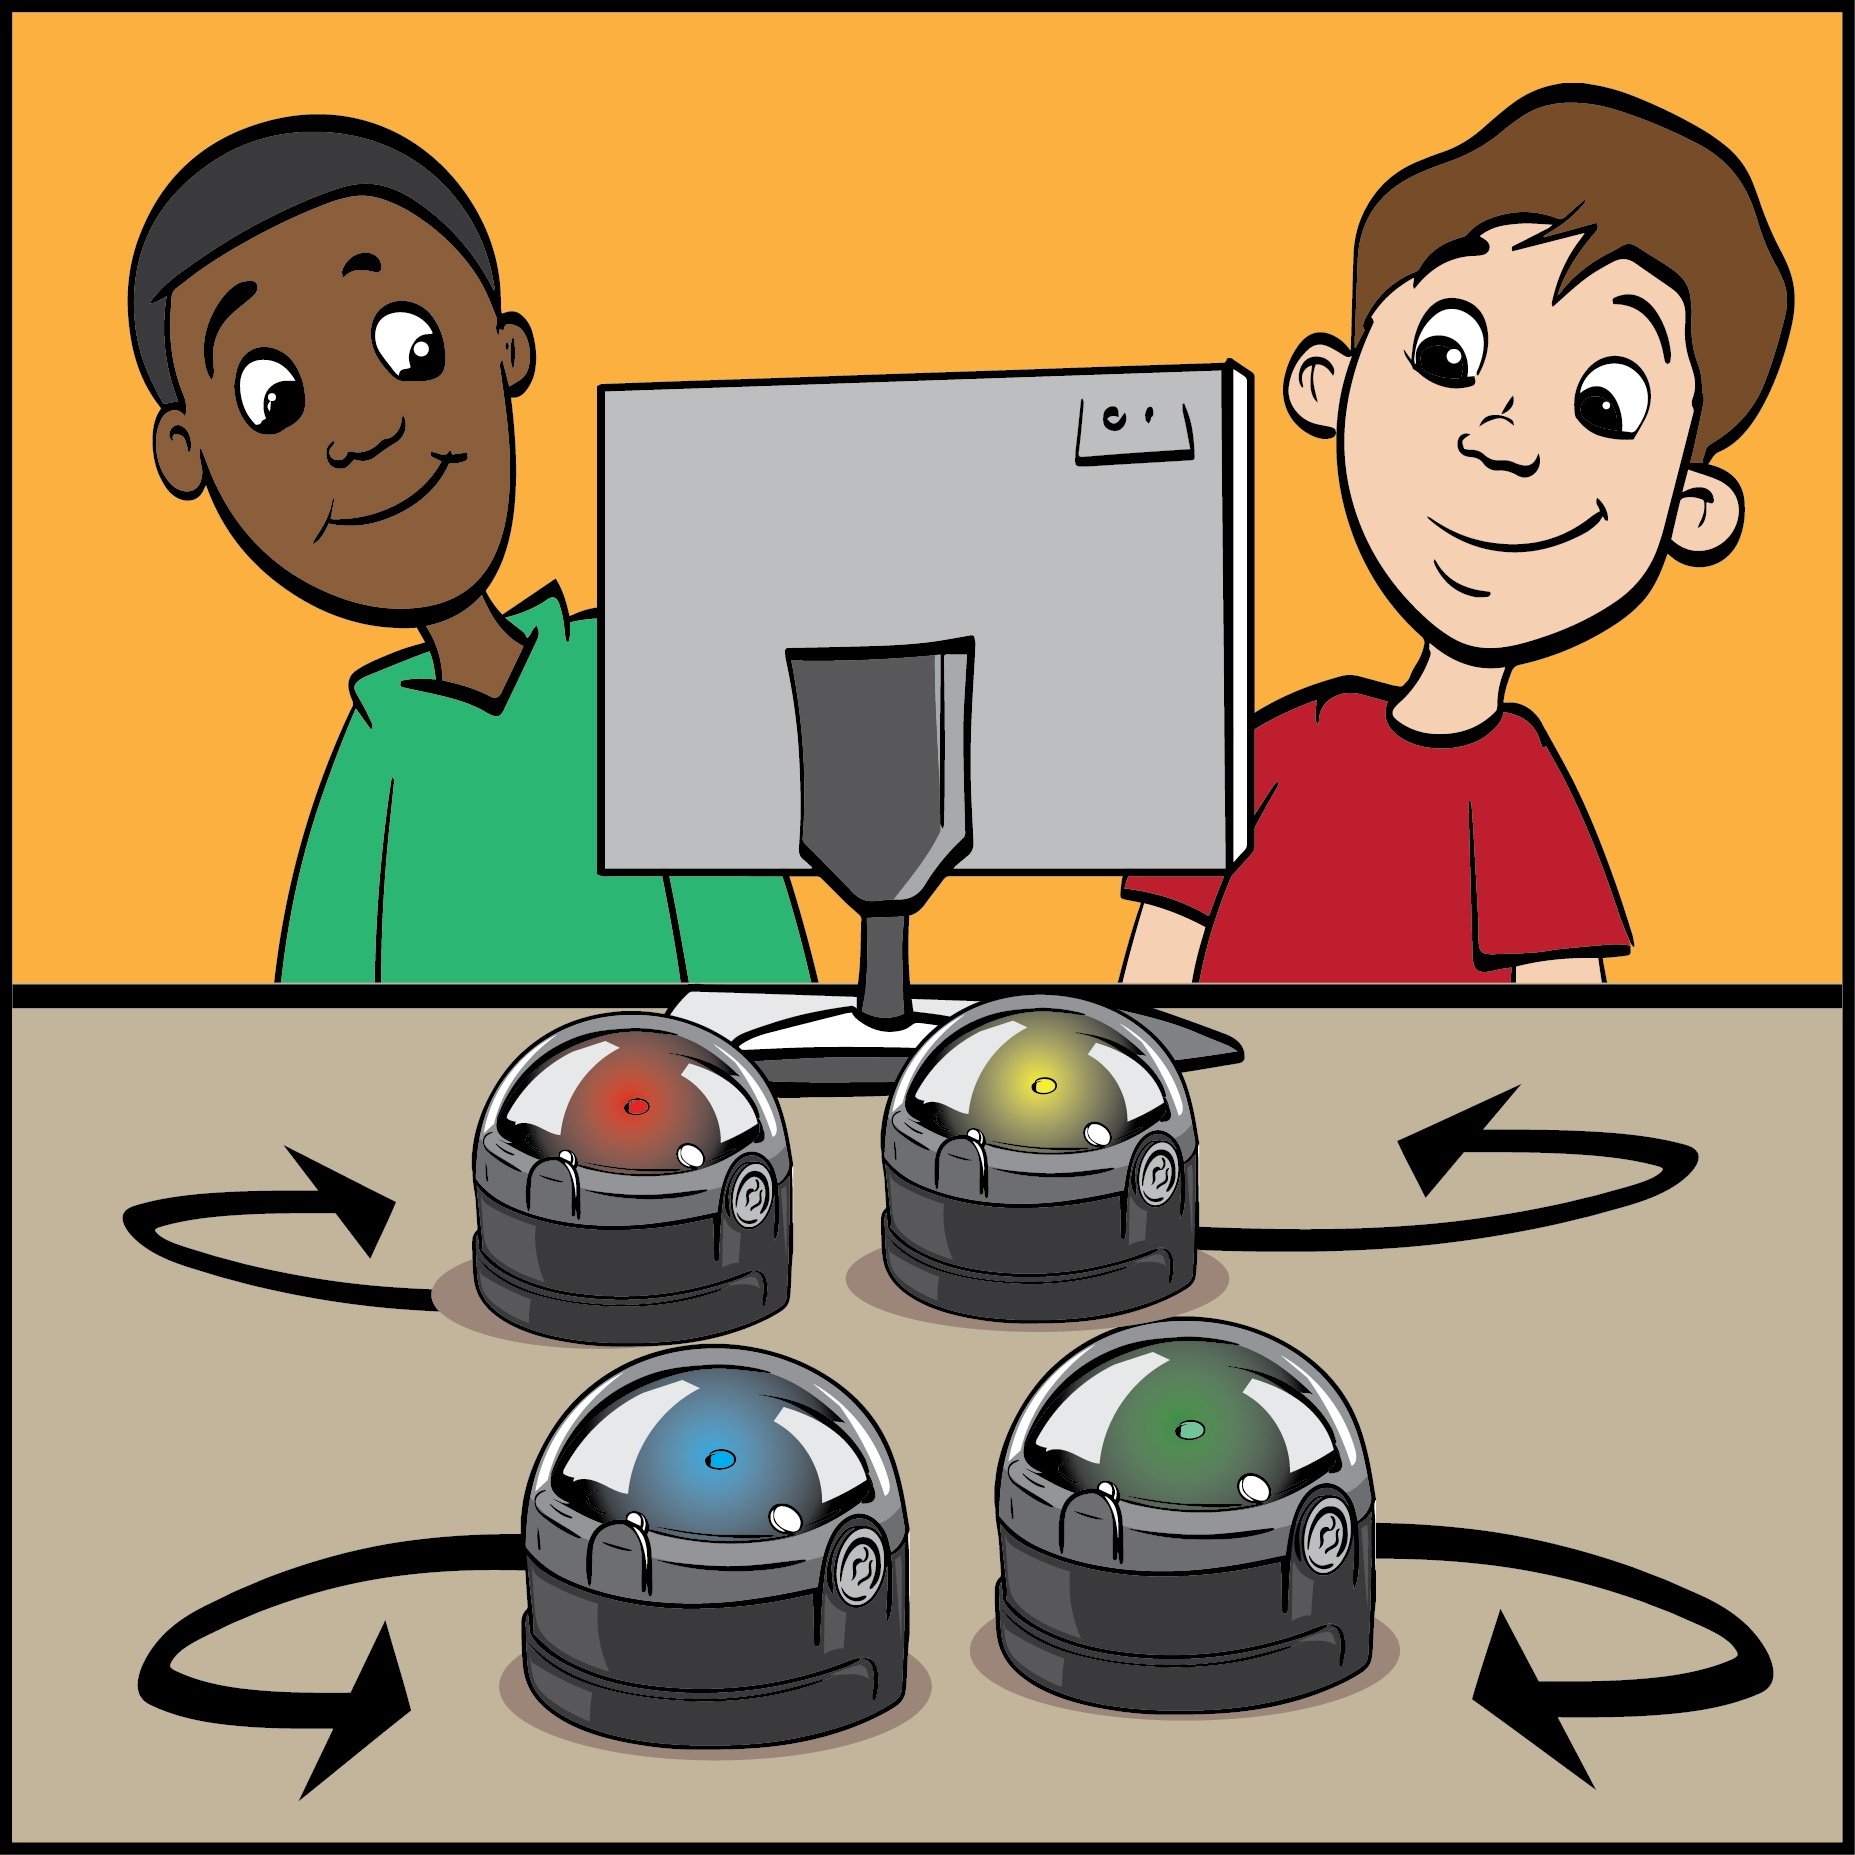
2) Show the Ozobot video on the class view. (Ozobot Bit: learn to code with a tiny programmable robot)
3) Run the “Dizzy” program for Ozobot (directions are in the table below)
If possible have students form a half circle around you and your computer so that they can watch you run a program.
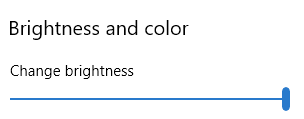
a) Make sure your screen brightness is at 100% | |
b) Open https://ozoblockly.com/ | |
c) click “Get Started” | |
d) exit out of the Welcome to OzoBlockly“ pop upDO NOT unclick "Show at startup" - you will need this for later | |
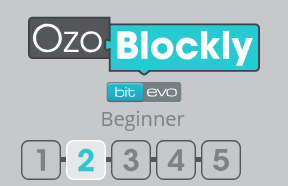
e) On the top left of the screen make sure you select which type of Ozobot you have (Bit or Evo) | |
f) Right underneath that, click the number 2 for beginner | |
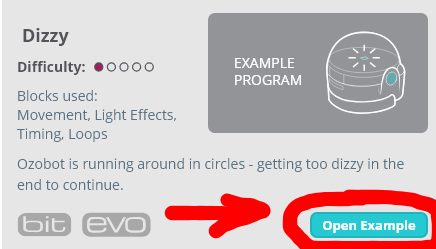
g) On the right hand toolbar, click “examples” | |
h) The last Example is called “Dizzy”, click “Open Example” | |
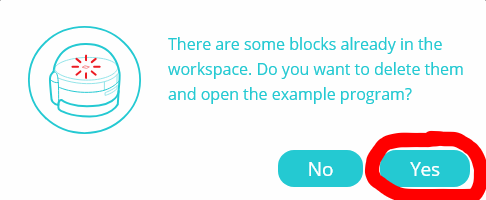
i) If a pop up that says “There are some blocks already in the workspace. Do you want to delete them and open the example program?” shows up – click yes | |
j) On the bottom left of the screen click the Flashing button (depending on which Ozobot you are using and if the left toolbox is extended or not there are 3 different buttons for flashing) | |
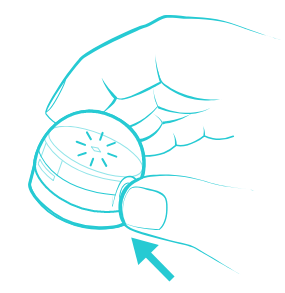
k) Press the power button on the Ozobot for at least 2 seconds and then release the power button | |
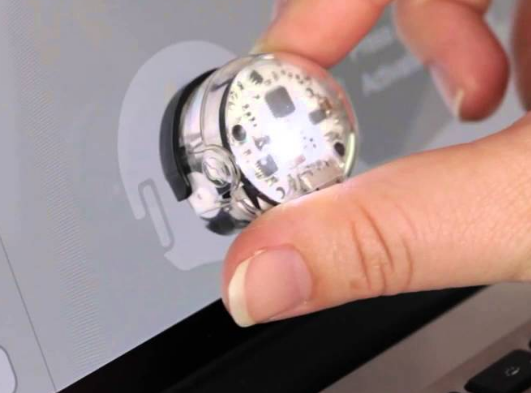
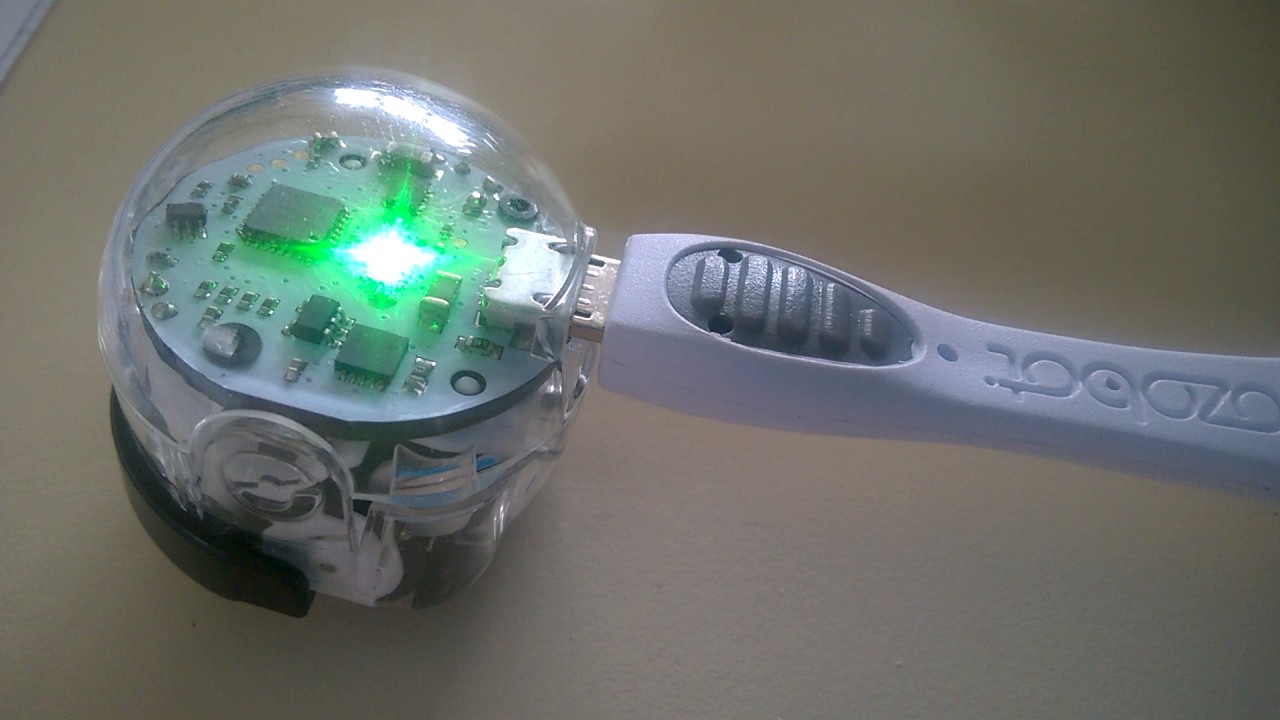
l) Place the bottom of the Ozobot on the white calibration circle. | |
m) Your bot will blink GREEN if calibration was successful. If your bot blinks RED, try again. | |
n) Place the bottom of the Ozobot onto the blank white Ozobot shape | |
o) Click the "Load Bit" or "Load Evo" button | |
p) Hold Ozobot still on the loading spot until the loading is complete.Make sure your bot blinks GREEN until the progress bar shows loading is complete. If your bot turns RED, press CANCEL and try again. | |
q) Play the video on the class view as music for Ozobot’s dance. If possible turn the lights off so the students can better see Ozobot’s dance. | |
r) Place the Ozobot on a table or desk and double-click the power button.(as fast as saying 1-one-thousand, 2-one-thousand). If you double click too slow, you might accidentally turn your bot off. If you double click too fast, bot might only sense 1 click. Timing is everything! | |
s) Have Ozobot dance to the music. |


%20Intro%20to%20Programming%20and%20loops/ozobot%20dance.gif)
4) Show the next video on the class view (Learn to Code: Getting started with OzoBlockly and Ozobot Bit robot)
5) Programming Dance Activity part 1
Show the Electric Slide dance directions on the class view. Have the students pretend they are robots who are receiving the dance directions as a code and follow them. The electric slide music is also placed as a video next to the directions.
6) Programming Dance Activity part 2
To help students understand how programming with blocks works, they are going to “program” a person to dance.
Have students write directions for their dance on their “Ozobot Blockly Background” handout.
Once all the students have finished they are going to pass their dance directions to another group. The group will then follow the dance directions and perform the dance for the class. *Suggestion: play music during this
Explain to the students that this is how programming works. You give directions and then Ozobot follows the directions.
7) Explore!
Have students follow the directions on the class view to open OzoBlockly.com. Encourage them to explore! Have them click buttons, drag blocks, etc.
8) Once you feel like students are ready to move on, facilitate a discussion where students share what they learned.
9) OzoBlockly Tutorial
Have this activity projected so the students can see
a) Close your OzoBlockly if you already have one open | |
b) go to ozoblockly.com | 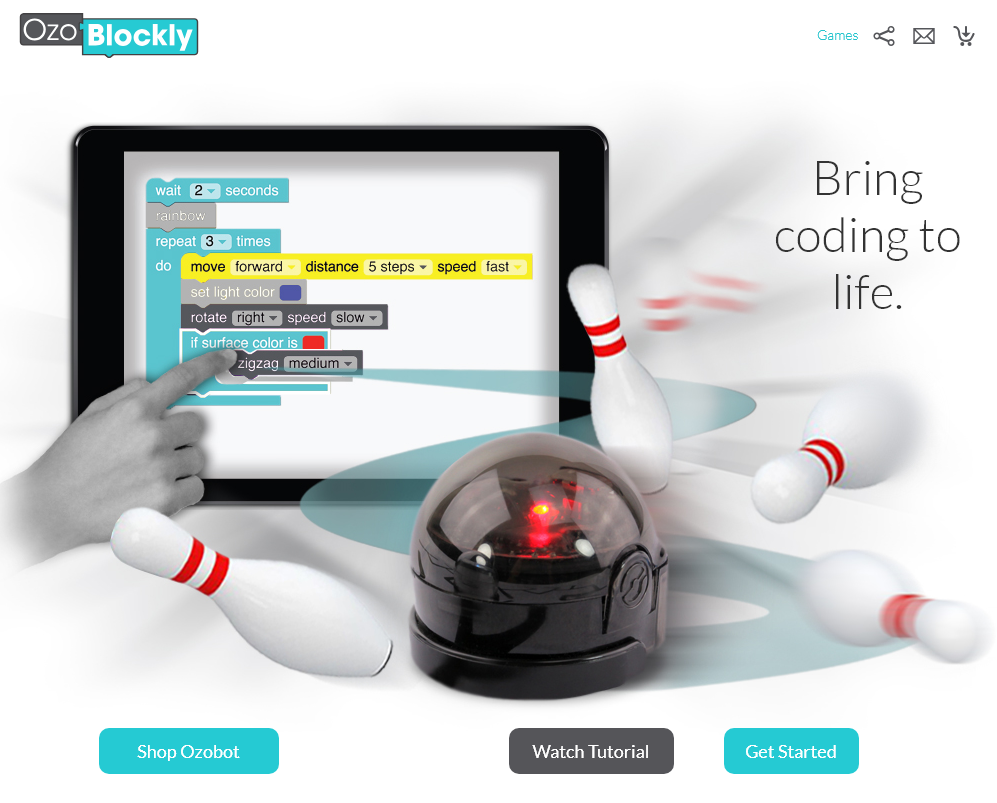 |
c) Click get started | 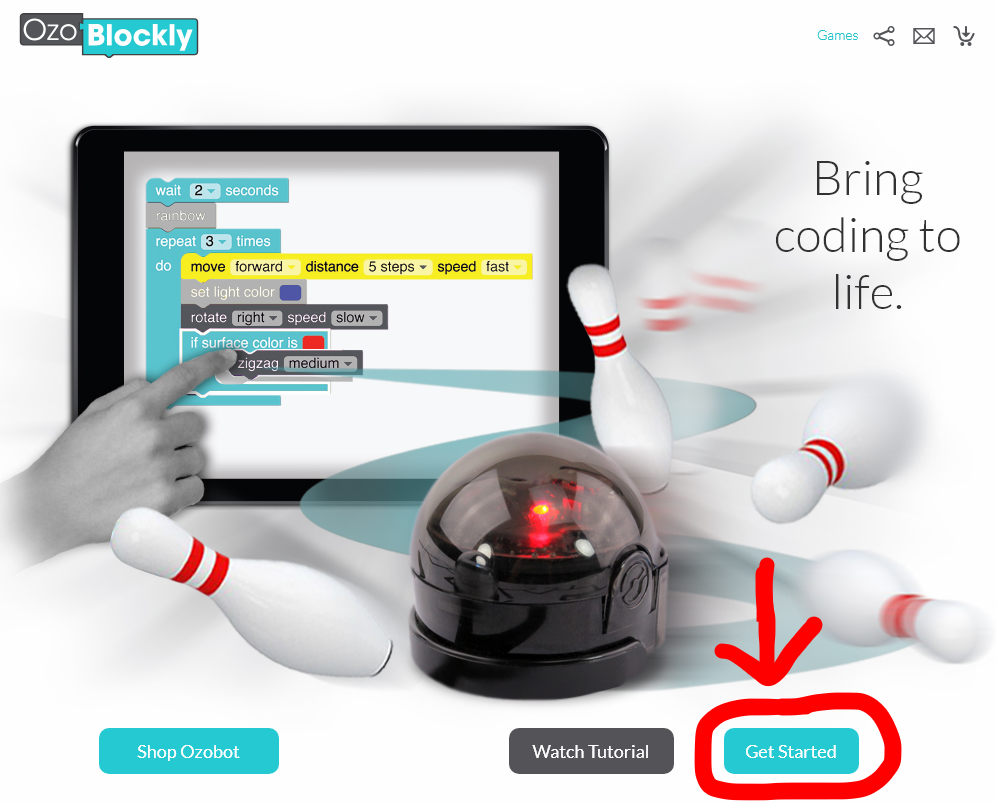 |
d) Click the “start tutorial” on the pop-up | 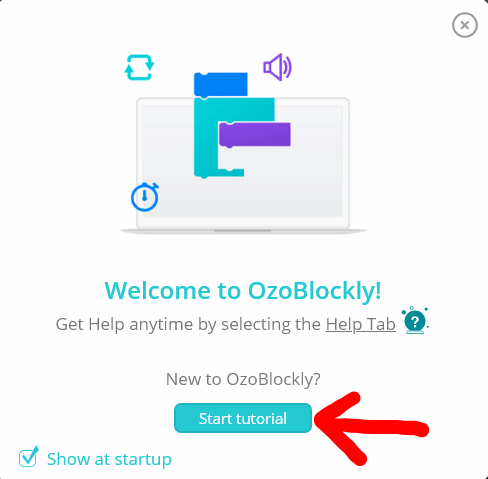 |
e) go through the tutorial steps 1-10 – respond to any questions or misconceptions students have | 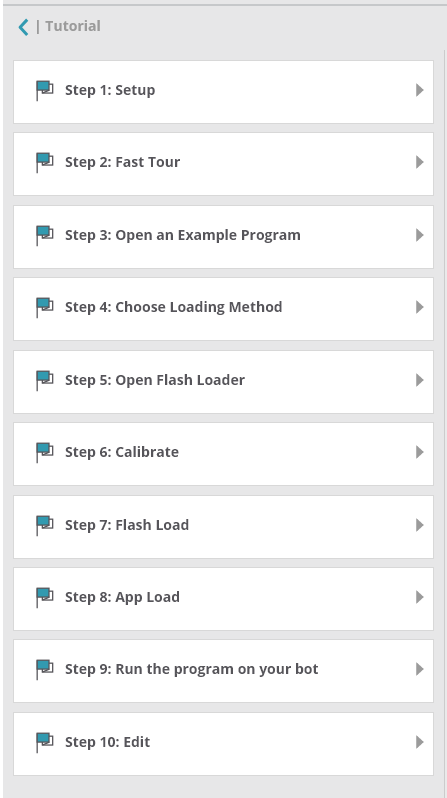 |
10) On the class view, click on the link and show the Flocabulary loops video
11) Have students answer the questions on their computers in the explore section.
1) According to the video, what are loops?
2) According to the video, why are loops useful?
12)Show the next image on the class view (Blockly Programming)
Have students answer the question on their computers: “Predict: What do you think this program is telling Ozobot to do”
13) Facilitate a conversation about their answers. (Answer: Ozobot will walk in a square shape)
14) Upload the "Square Walk" program and run it so the students can see Ozobot following the program. (See directions in the table below)
a) Make sure your screen brightness is at 100% | |
b) Open https://ozoblockly.com/ | |
c) click “Get Started” | |
d) exit out of the Welcome to OzoBlockly“ pop upDO NOT unclick "Show at startup" - you will need this for later | |
e) On the top left of the screen make sure you select which type of Ozobot you have (Bit or Evo) | |
f) Right underneath that, click the number 2 for beginner | |
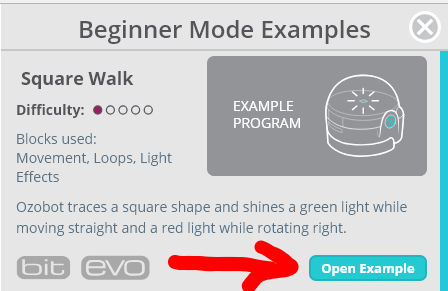
g) On the right hand toolbar, click “examples” | |
h) The first Example is called “Square Walk”, click “Open Example” | |
i) If a pop up that says “There are some blocks already in the workspace. Do you want to delete them and open the example program?” shows up – click yes | |
j) On the bottom left of the screen click the Flashing button (depending on which Ozobot you are using and if the left toolbox is extended or not there are 3 different buttons for flashing) | |
k) Press the power button on the Ozobot for at least 2 seconds and then release the power button | |
l) Place the bottom of the Ozobot on the white calibration circle. | |
m) Your bot will blink GREEN if calibration was successful. If your bot blinks RED, try again. | |
n) Place the bottom of the Ozobot onto the blank white Ozobot shape | |
o) Click the "Load Bit" or "Load Evo" button | |
p) Hold Ozobot still on the loading spot until the loading is complete.Make sure your bot blinks GREEN until the progress bar shows loading is complete. If your bot turns RED, press CANCEL and try again. | |
q) Place the Ozobot on a table or desk and double-click the power button.(as fast as saying 1-one-thousand, 2-one-thousand). If you double click too slow, you might accidentally turn your bot off. If you double click too fast, bot might only sense 1 click. Timing is everything! | |
r) Watch Ozobot. |
15) In the "Square Walk" program, replace the “repeat 4 times” block with a “repeat forever” block. See step by step directions below.
%20Intro%20to%20Programming%20and%20loops/square%20walk%20program.png) | %20Intro%20to%20Programming%20and%20loops/move%20code%205.png) |
a) Move the program inside the “repeat 4 times” loop block outside of the “repeat 4 times” loop block | %20Intro%20to%20Programming%20and%20loops/move%20code%201.png) |
b) select the “repeat 4 times” loop block and hit delete on your keyboard | %20Intro%20to%20Programming%20and%20loops/move%20code%201-469095-edited.png) |
c) on the left side toolbox, click loops | %20Intro%20to%20Programming%20and%20loops/ozoblockly%20level%202%20beginner%20toolbox-562205-edited.png) |
d) Click and drag the “repeat forever do” block to the workspace | %20Intro%20to%20Programming%20and%20loops/move%20code%204.png) |
e) place the rest of the code inside the “repeat forever do” block | |
16) Ask students, “How do you think this changes what Ozobot will do?”. Facilitate a discussion around this question. (Answer: Ozobot will continue moving in a square pattern forever as opposed to just once)
In this section we will learn about using loops in our program.
%20Intro%20to%20Programming%20and%20loops/flocabulary%20loops.jpeg) |
According to the video, what are loops?
According to the video, why are loops useful?”
|

| Predict: What do you think this program is telling Ozobot to do?
|
Teaching Tips:
Show the students’ goals on the class view.
The step by step directions on how to open the "Square Walk" program are both on the class view and the student view. During the design time, walk around and prompt your students with questions to help deepen their learning and thinking process. Some examples of questions are:
Here is an example of a working code for this goal: |
%20Intro%20to%20Programming%20and%20loops/rectangle%20program.png)
Turn out the lights, Play the Pharrell Williams - Happy (Official Music Video) again [it is on the class view] and have students begin their program on the Ozobot.
In this section we will be programming Ozobot to accomplish the following 2 goals:
Edit the square walk program to have Ozobot walk in a rectangle.
Write a program which has Ozobot dance.
Open the Square Walk Program
a) Make sure your screen brightness is at 100% | |
b) Open https://ozoblockly.com/ | |
c) click “Get Started” | |
d) exit out of the Welcome to OzoBlockly“ pop upDO NOT unclick "Show at startup" - you will need this for later | |
e) On the top left of the screen make sure you select which type of Ozobot you have (Bit or Evo) | |
f) Right underneath that, click the number 2 for beginner | |
g) On the right hand toolbar, click “examples” | |
h) The first example is called “Square Walk”, click “Open Example” | |
i) If a pop up that says “There are some blocks already in the workspace. Do you want to delete them and open the example program?” shows up – click yes | |
1) Edit the square walk program to have Ozobot walk in a rectangle. | |
j) On the bottom left of the screen click the Flashing button (depending on which Ozobot you are using and if the left toolbox is extended or not there are 3 different buttons for flashing) | |
k) Press the power button on the Ozobot for at least 2 seconds and then release the power button | |
l) Place the bottom of the Ozobot on the white calibration circle. | |
m) Your bot will blink GREEN if calibration was successful. If your bot blinks RED, try again. | |
n) Place the bottom of the Ozobot onto the blank white Ozobot shape | |
o) Click the "Load Bit" or "Load Evo" button | |
p) Hold Ozobot still on the loading spot until the loading is complete.Make sure your bot blinks GREEN until the progress bar shows loading is complete. If your bot turns RED, press CANCEL and try again. | |
q) Place the Ozobot on a table or desk and double-click the power button.(as fast as saying 1-one-thousand, 2-one-thousand). If you double click too slow, you might accidentally turn your bot off. If you double click too fast, bot might only sense 1 click. Timing is everything! | |

Teaching Tips:
Have students answer the following questions on their computers. Once all the students have finished answering the questions have a class discussion about their answers.
|
Have students plug their Ozobots into their chargers.
In this section we will reflect on our learning.
Plug your Ozobot in so it will be ready for you to use next time. |
 |