Lesson Modules
Teaching Tips:
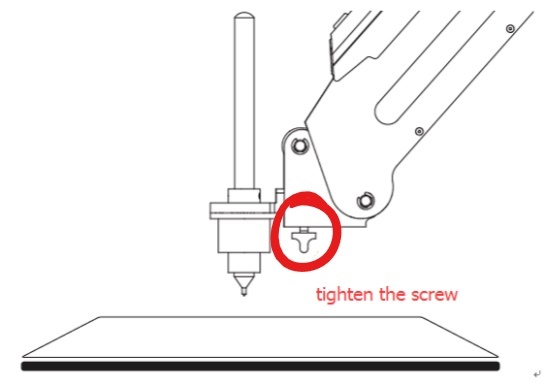
Pen
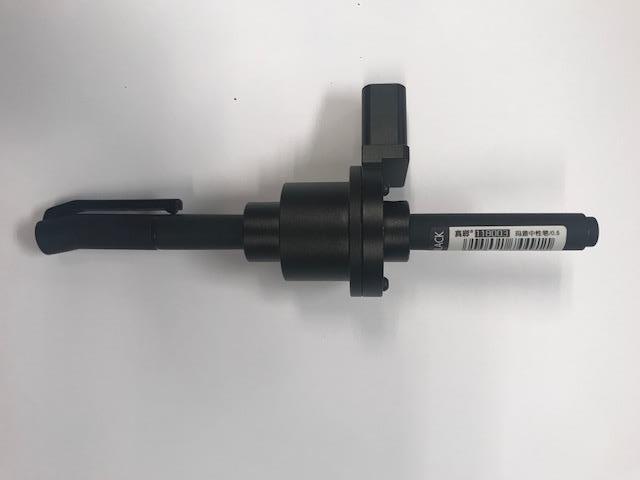
The Pen is the easiest attachment to install because it doesn't have any connections!
Simply insert the attachment and tighten the butterfly screw.
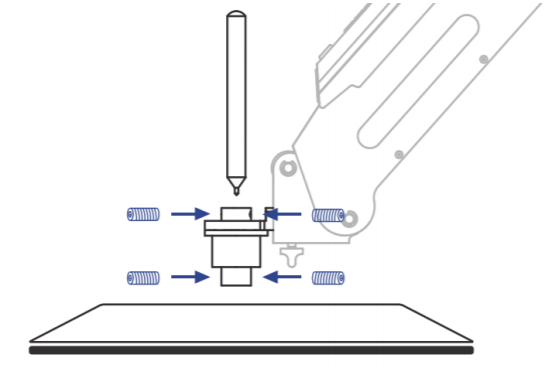
You can remove the pen to replace it with another (of similar width) by removing the four screws holding it in place.
3D Printer
There are several attachments needed to use the 3D printer:
- Before you print, make sure to set up a safe printing environment. Protect your work surface by placing the clear glass plate on the table and securing it with the masking tape provided.
- Keep your own safety in mind too! The 3D printer reaches high temperatures in order to melt the filament. Do NOT touch the hot end attachment or the printed object for 20 minutes after the printing has completed.
- Take out the extruder and hot end. Install the hot end the same way you installed the other attachments.
- Connect the power line labeled SW3 to #5 on the forearm
- Connect the power line labeled SW4 to #4 on the forearm
- Connect the power line labeled ANALOG to #6 on the forearm
Laser
Before you begin installing the laser attachment, ensure that you insert it right-side-up.
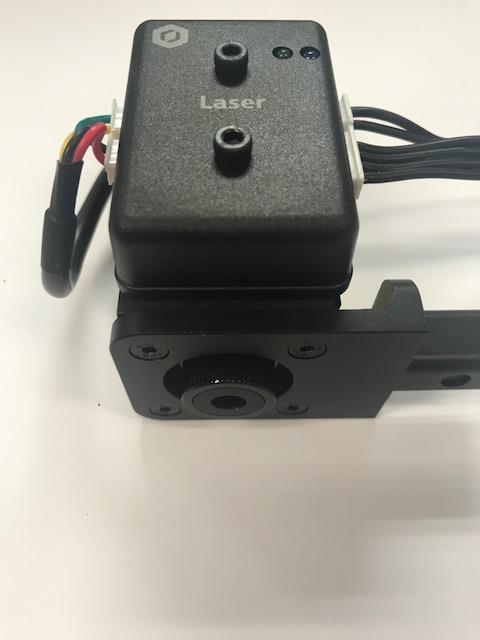
- Insert the attachment and tighten the screw.
- Connect the power line labeled GP5 into port 3.
- Connect the power line labeled SW4 into port 5.

PUT ON YOUR SAFETY GLASSES before proceeding!
Teaching Tips:
General Troubleshooting:
Ensure that your Dobot is:
- Plugged into power
- Powered on
- Connected to your computer via USB
- Connected via DobotStudio
Check the firmware in the Settings menu, and make sure it matches the task you are trying to complete.
If your Dobot is not moving as you expected, press the Home button and allow it to recalibrate.
Attachment Troubleshooting:
Pen
The most common problem with the Pen attachment comes from pressing it too hard to the paper. Make sure that the moveable part of the attachment is in a neutral position with the pen tip touching your paper.

3D Printer
The 3D Printer attachment is not supported by our curriculum due to accuracy issues. For more information on the 3D printer attachment please see:
Laser
If your laser is visibly working but doesn't seem to engrave your surface:
- Try reducing te speed first to allow the laser to spend more time on each line.
- Turn up the max heat to 99.
- Raise the arm by 1 inch.
If neither of these tactics work, turn off your laser, wait a few minutes to let it cool, then reduce the radius of the laser by turning the knob underneath.

Pen
It is possible to program for the pen attachment usingthe Writing and Drawing Lab (see Lesson 2: DobotLab).
3D Printer
Please watch this video for full instructions on how to use the 3D Printer attachment:
Laser
REMINDER: Put on your safety glasses before proceeding, and make sure you use this attachment in an area where others will not be exposed to the laser's light. The laser engraver can burn skin on contact and damage uncovered eyes. Even short-term exposure to the laser's light can damage eyes.
Open the Laser Engraving Lab:
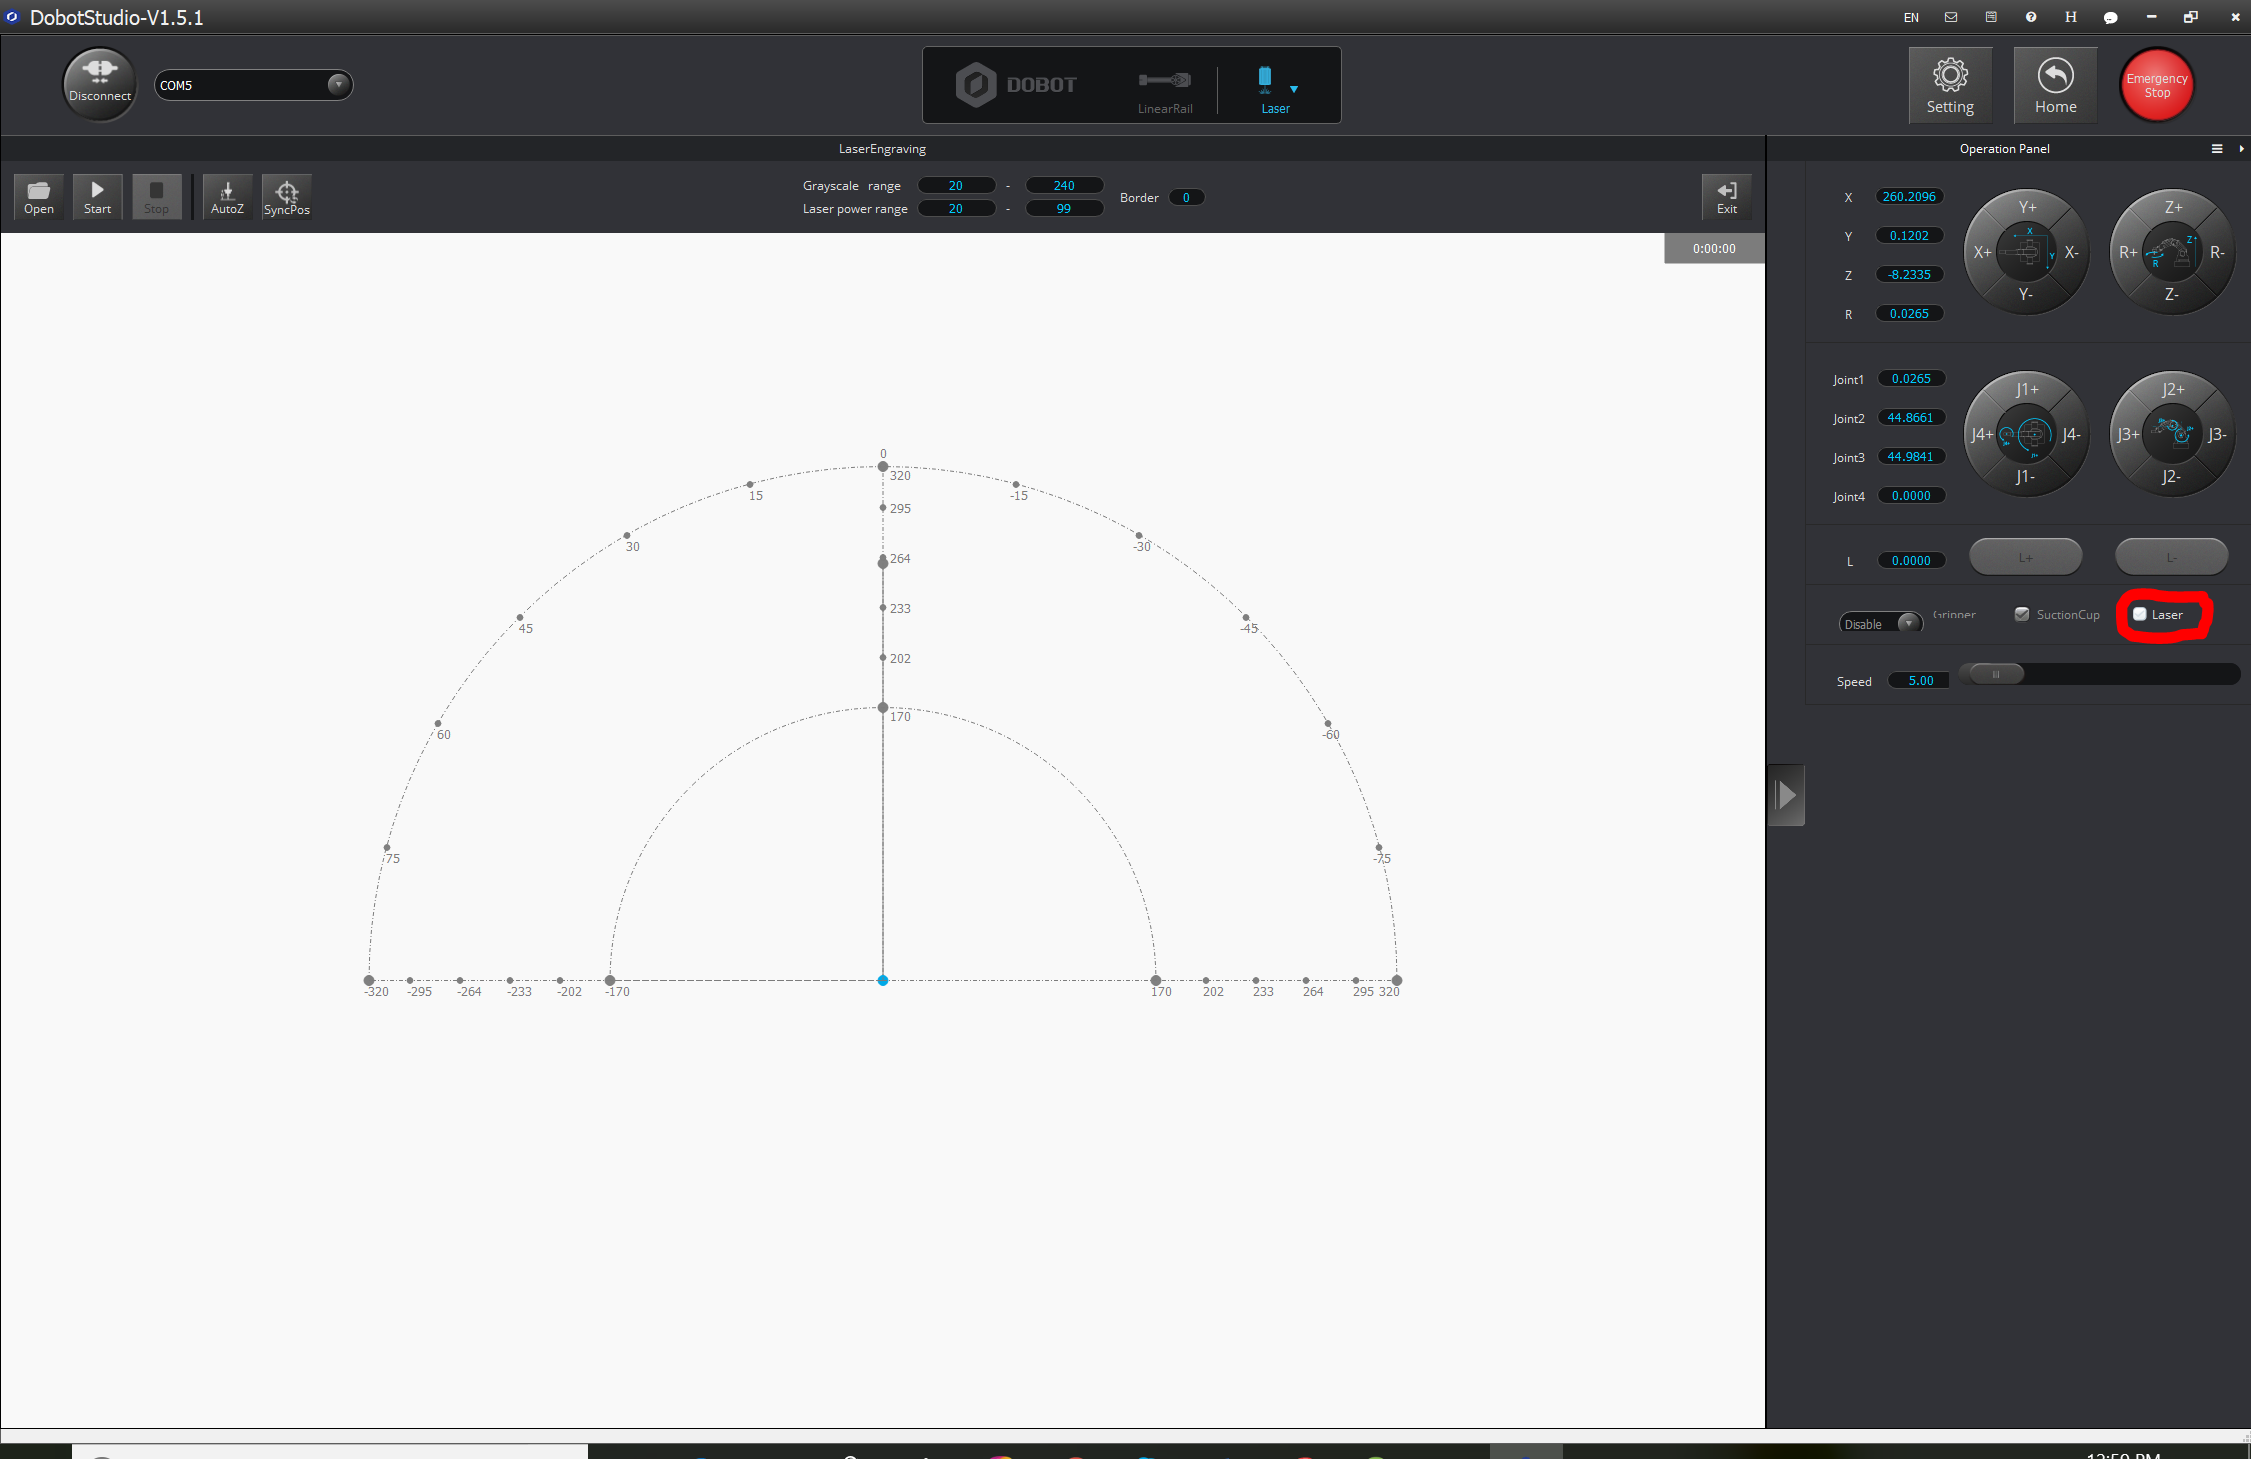
Click the Open button to upload your image.
Move your arm to over the surface you'd like to engrave, and press the Synchronize button to make sure Dobot will print in the correct place.
If Dobot moves somewhere unexpected, either:
- Move Dobot over the object you want to engrave
- Move the image to a different area in the LaserEngraving environment and press SyncPos again.
Move Dobot 4-5 inches above the item you'd like to engrave, then hit AutoZ.
Change the laser power range to 20-99.
Before you are print:
- Set the speed between 5%-20% depending on how intensely you want the material to be burned.
- Turn on the laser.
Press Start to begin printing!