Lesson Modules
Teaching Tips:
We highly recommend that only teachers or trusted upper level students handle conveyor belt installation. We also recommend for a one dobot setup to use the position near the end of the conveyor belt, next to the motor, so the arm can easily pick up from the belt, utilize the sensors, and place off of the belt (the other arm position is best for taking from a surface and placing onto the belt).
Conveyor Belt
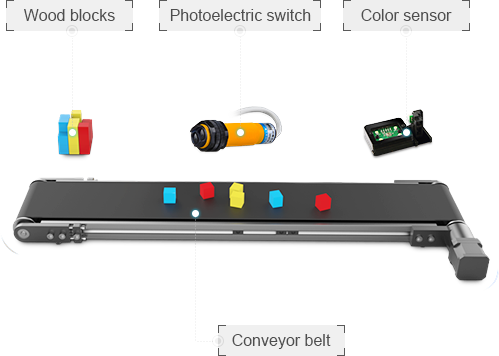
Your conveyor belt kit comes with:
- Conveyor belt
- Photoelectric switch
- Color sensor
- Wood blocks
Make these connections:
Color sensor to GP2 Photoelectric switch to GP4 on forearm Conveyor motor to STEPPER 1 |
Dobot
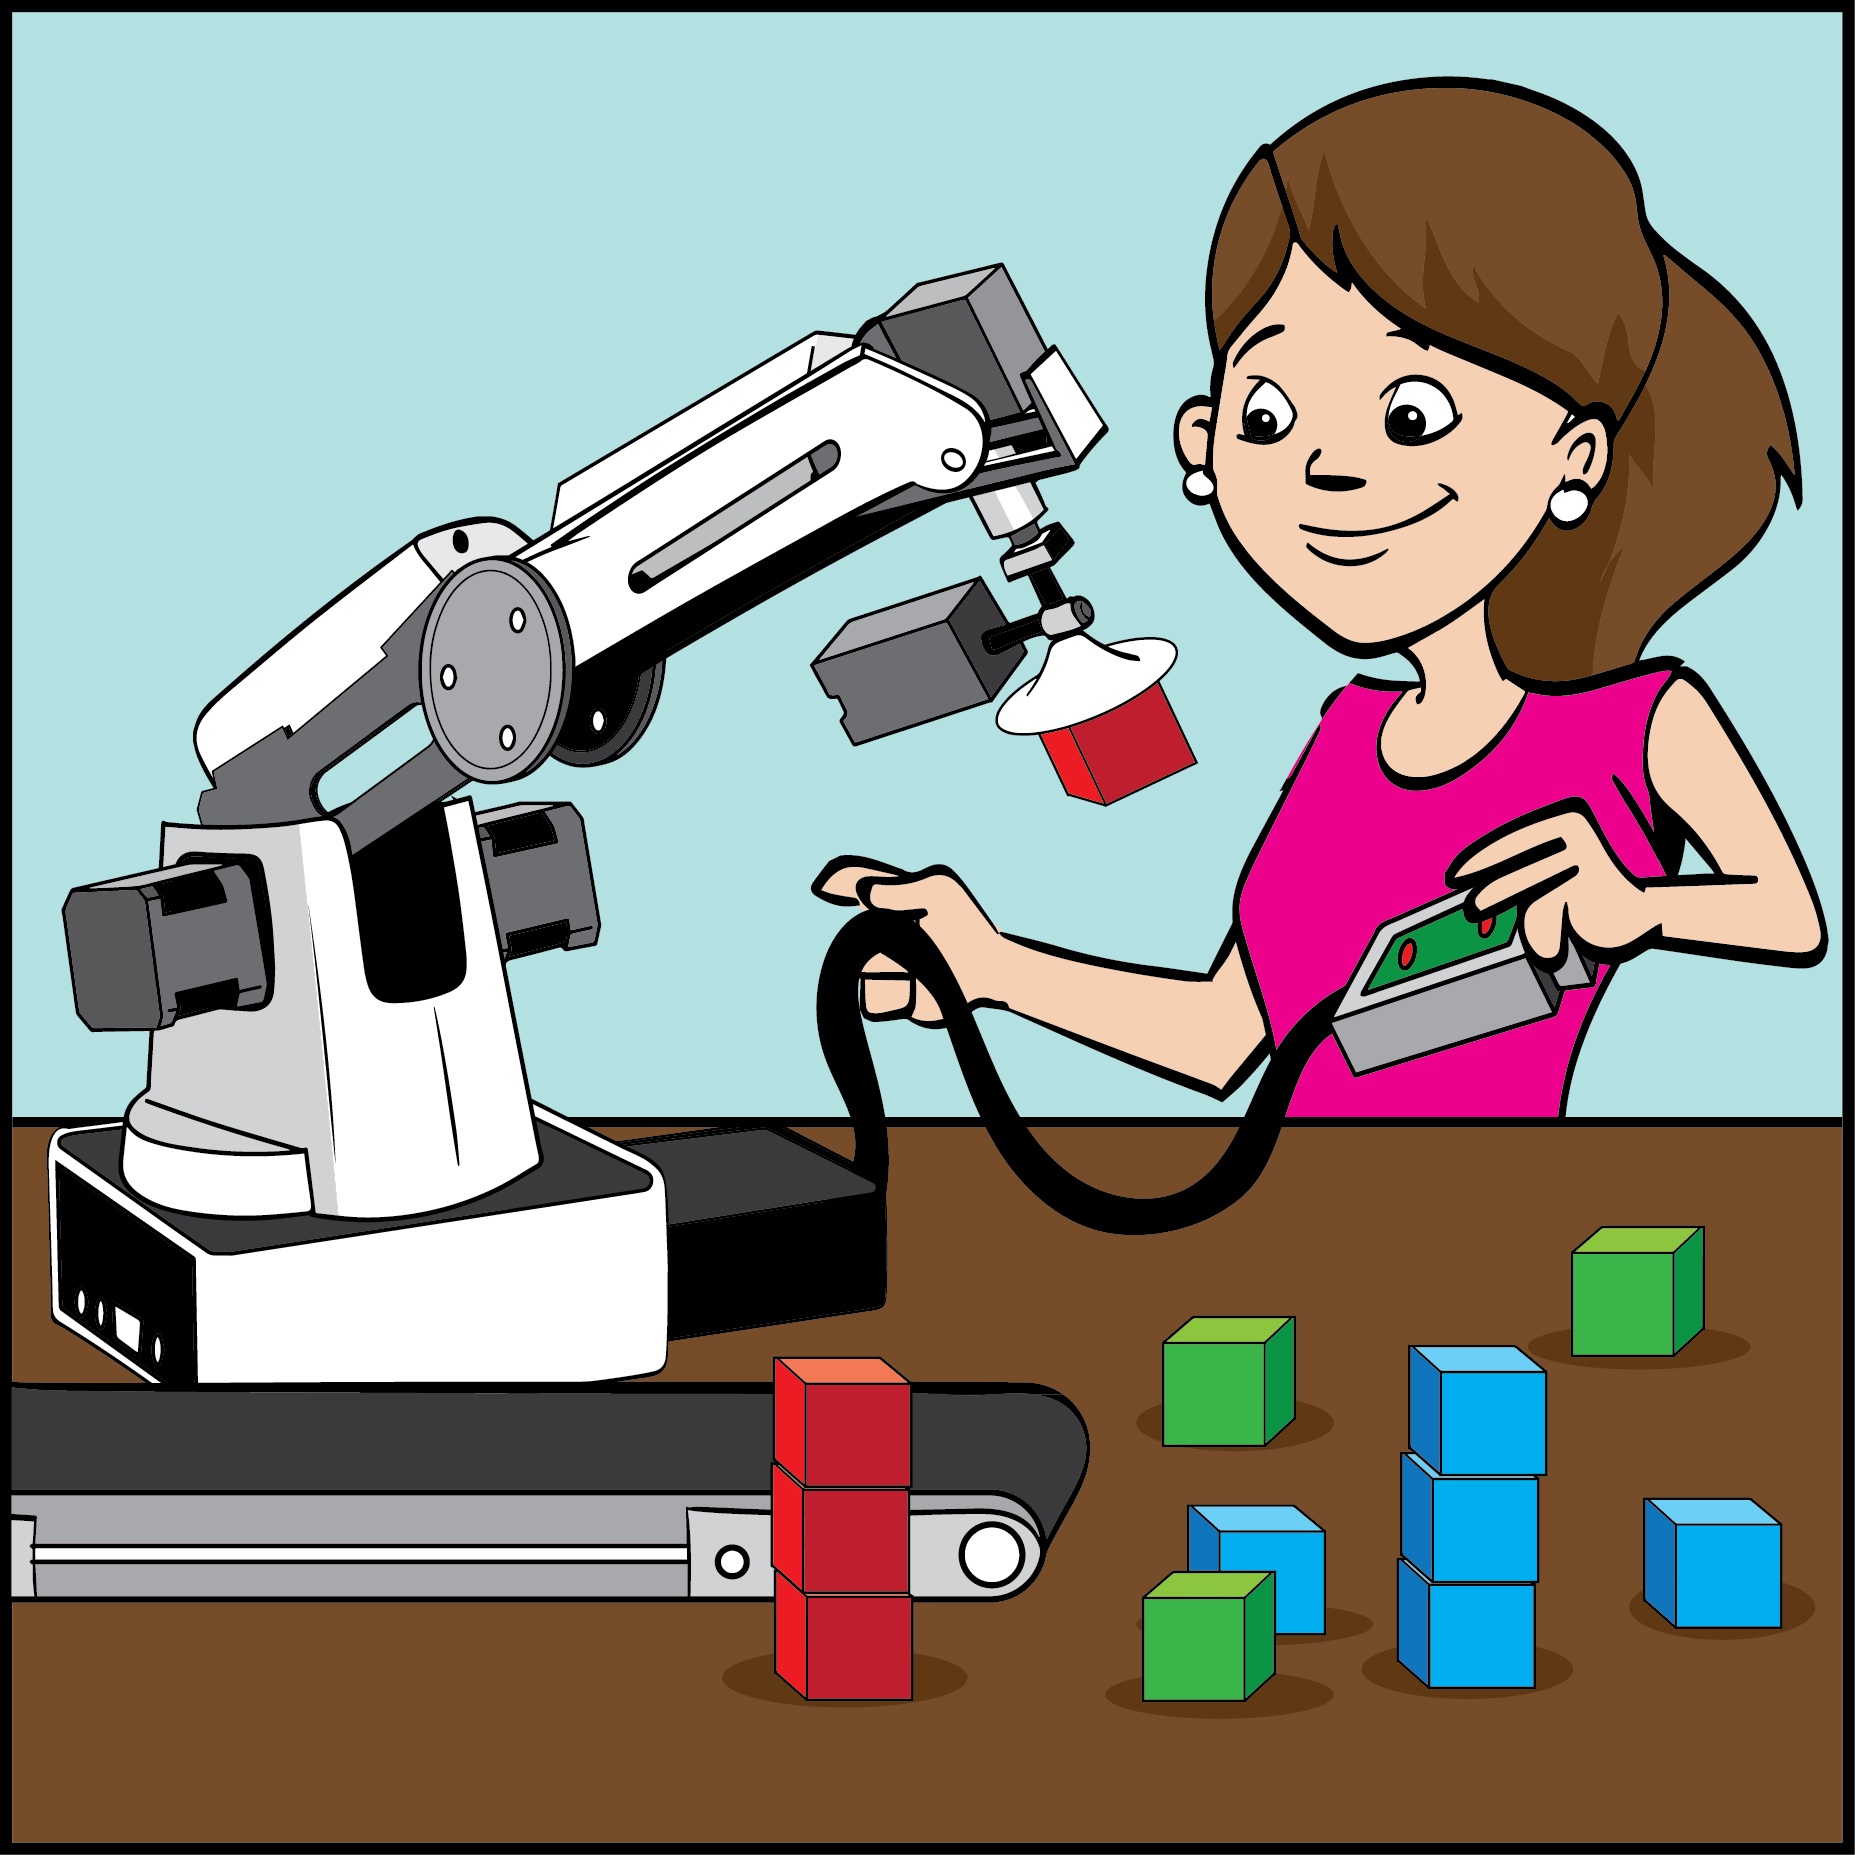
Position Dobot in front of the conveyor belt so it can reach objects on the belt. Using the demo positioning board will help place the Dobot arm. Even though the diagram shows two Dobots, you can use just one and reposition the sensors/blocks as needed.
Teaching Tips:
General Troubleshooting:
Ensure that your Dobot is:
- Plugged into power
- Powered on
- Connected to your computer via USB
- Connected via DobotStudio
Check the firmware in the Settings menu, and make sure it matches the task you are trying to complete.
If your Dobot is not moving as you expected, press the Home button and allow it to recalibrate.
Conveyor belt Troubleshooting:
Everything is plugged in but the conveyor belt won't move.
- Make sure the STEPPER motor you reference in your code is the same one you are plugged into on Dobot.
In addition, be very careful when using the homing calibration with the conveyor belt. It is best to adjust the Z coordinate (height) of the arm to clear the conveyor belt before pressing the homing button so the arm does not collide with the belt. Just like with the end attachments, we recommend you add an emergency stop to your code while testing for the conveyor belt motor. A simple When 'space' is pressed, Set Conveyor Motor to 0 mm/s will ensure that if something goes wrong in a student's code, you can easily turn off the conveyor belt without pressing the emergency stop.
Challenge Solution
Coming Soon!
BlockLab
These blocks control most of the conveyor belt functionality:
Setting > Set stepper motor speed Set the motor the conveyer will use and the speed it will move in by pulses per second. | |
Setting > Set stepper motor speed and number of pulses Set the motor the conveyer will use and the speed it will move in pulses only for a certain number of pulses. | |
SetConveyor Set the motor the conveyer will use and the speed it will move in mm/s. | |
Setting > Set Conveyor Motor Set the motor the conveyer will use and the speed it will move in mm/s. |
To access the blocks that control most of the photoelectric and color sensors functionality, click the Extend button at the bottom of the block list on the far left side of the screen and select the the Photoelectric & Color Sensor extension. Then the following blocks will be available:
Photoelectric Sensor > Set infrared sensor Set Turn the photosensor on/off, tell the program what port the sensor is plugged into. | |
Photoelectric Sensor > Get infrared sensor reading Get the value from the Photoelectric Sensor. | |
Color Sensor > Set color sensor status Turn color sensor on/off, tell the program what port the color sensor is plugged into. | |
Color Sensor > Get color sensor reading Identify a color that has been presented to the sensor. The sensor can recognize red and blue. (green can be recognized but lighting heavily affect the accuracy for this color). |
Program and challenge coming soon!