Lesson Modules
Teaching Tips:
Components
Here are the components that will come included in your Dobot kit.
The laser and 3D printing kits are located at the top of the box. The foamboard they are packed in also protects the Dobot arm below.

The Dobot arm and smaller attachments are located underneath.
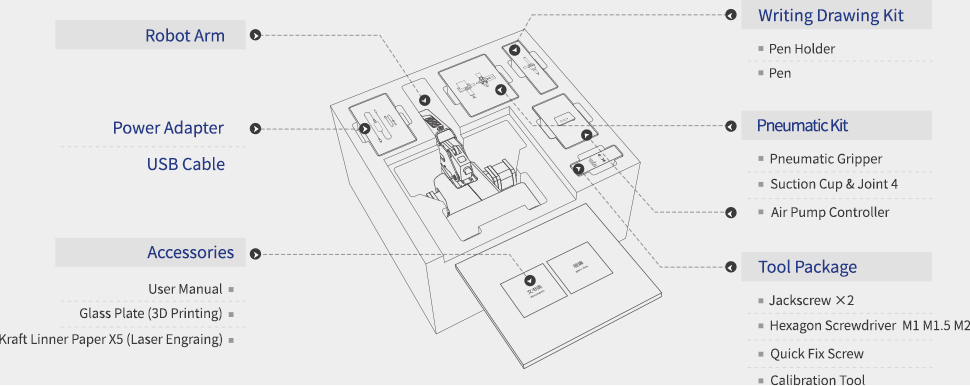
Here is the full list of parts for your reference:
- Robot Arm
- Power Adapter
- USB Cable
- Writing Drawing Kit
- Pen Holder
- Pen
- Pneumatic Kit
- Pneumatic Gripper
- Suction cup and joint
- Air Pump Controller
- Tool Package
- Hexagon Screwdriver M1.5 M2 M2.5
- Quick Fix Screw
- Calibration Tool
- 3D Printing Kit
- Extruder
- Hot End
- 3D Printing Filament Holder
- Filament 200g
- Masking Tape
- Laser Kit
- Laser Module
- Laser Protective Glasses
- WIFI Module
- Bluetooth Module
- Joystick Control Kit
- USB connector Host
- Joystick
Safety Tips
- This kit contains many small parts. moving parts, and parts that create heat.
- Older children should be supervised at all times while using Dobot.
- Do not place your hands in the operating zone of the robot during use, or they may be pinched or burned.
- When using Dobot, be mindful of your surroundings. Do not place Dobot in an area where it may knock over/become entangled with other objects.
- Be careful to not allow Dobot to become entangled in its own cords. Fee free to hold them away from the robot if you feel they may get in the way during a task.
Teaching Tips:
#1 Download the latest version of DobotStudio for your PC: //www.dobot.cc/download-center/dobot-magician.html
#2 Plug your Dobot into the wall using the power supply provided.
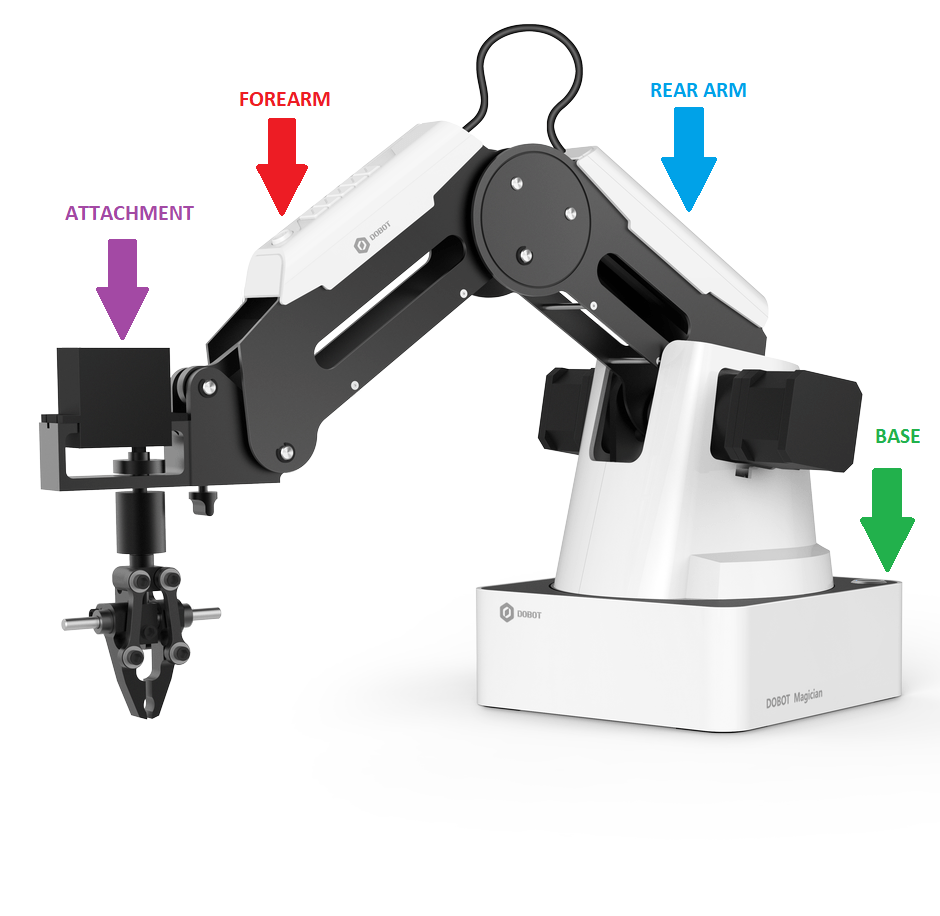
#3 Find the white cover on the forearm of the robot
There you will find a white button with a lock symbol.
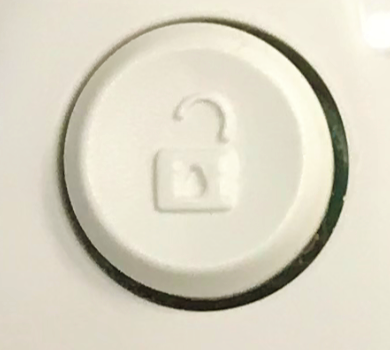
#4 Press the button in order to unlock the arm. While you have the button held down, you can maneuver the arm. Release the button to lock Dobot in place. Do not attempt to move the arm without first pressing down on the unlock button, or it may damage your robot.
#5 Make the angles between the forearm and rear arm about 45°
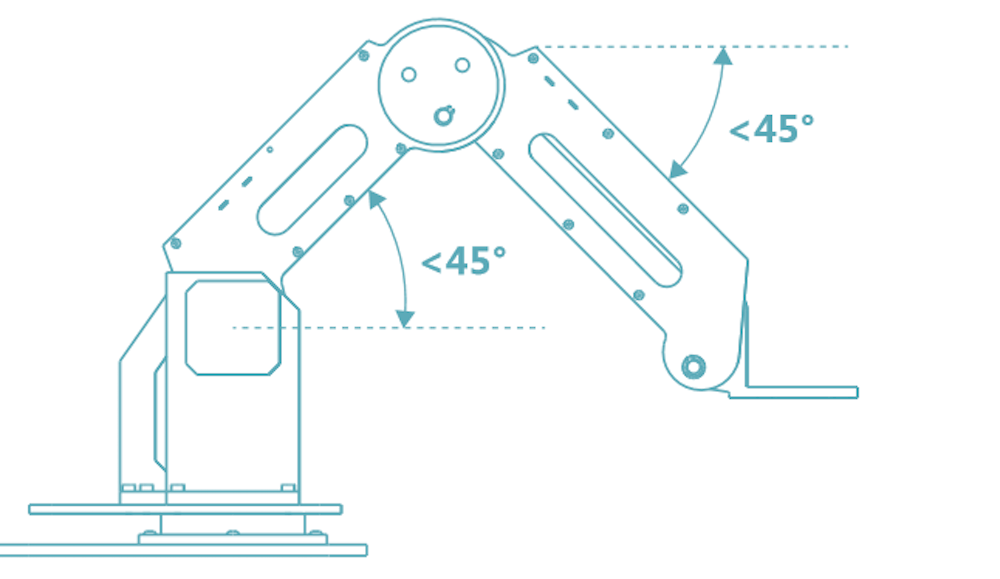
#6 You may now power the robot on using the power button at the top right of the base. Press the button, and you should notice three things:
- The power button turns blue
- After about 10 seconds, there will be a short sound.
- The light at the bottom left of the base controller goes from yellow to green.
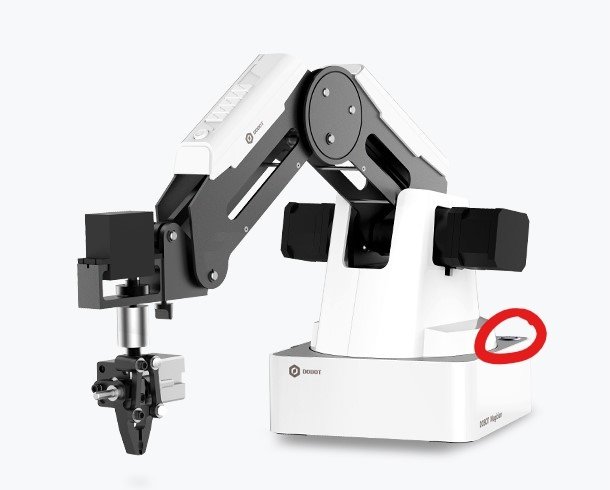
Note that if the light has changed into red, it means Dobot is in a bad position. Press the unlock button and position the Dobot to mirror the picture above.
#7 To connect your Dobot to your PC computer, plug the provided USB cable into your computer, and plug the other end into the port on the back of the base labeled “USB”.
#8 Open DobotStudio, and find this button in the top left corner of the screen:
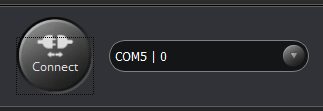
#9 Click connect. You are now connected to your Dobot!
#10 Try pressing some of the buttons on the operation panel to see your Dobot move!
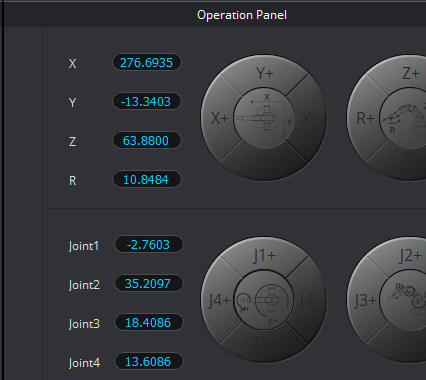
Notice that you can control Dobot by moving it forward and backward on the XYZ axes, or by moving the joints individually.
Teaching Tips:
Do a firmware update as soon as you set up your Dobot for the first time, and whenever you see a popup recommending a new update. The process is simple and takes less than 5 minutes.
#1 Click the settings button at the top right corner of your screen.
#2 Choose Firmware from the menu.
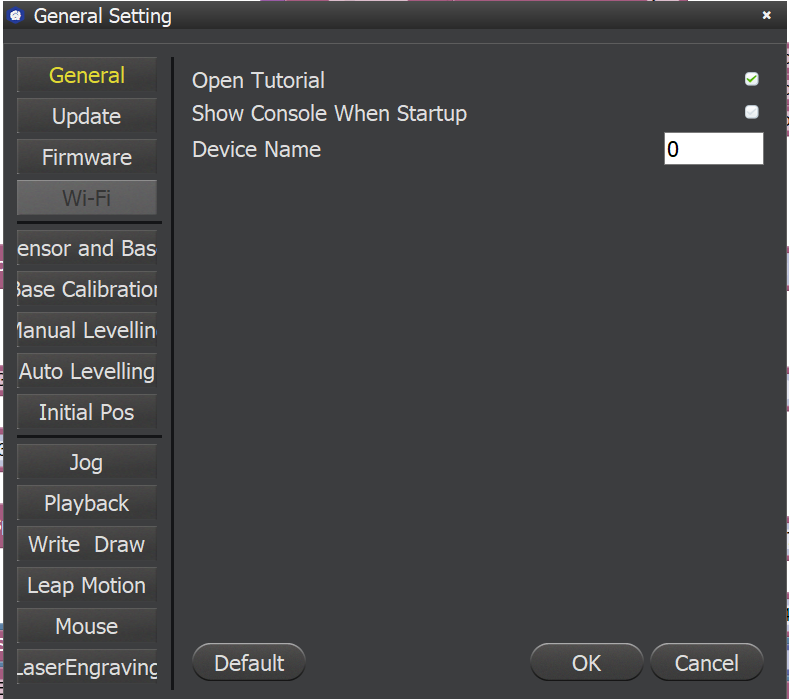
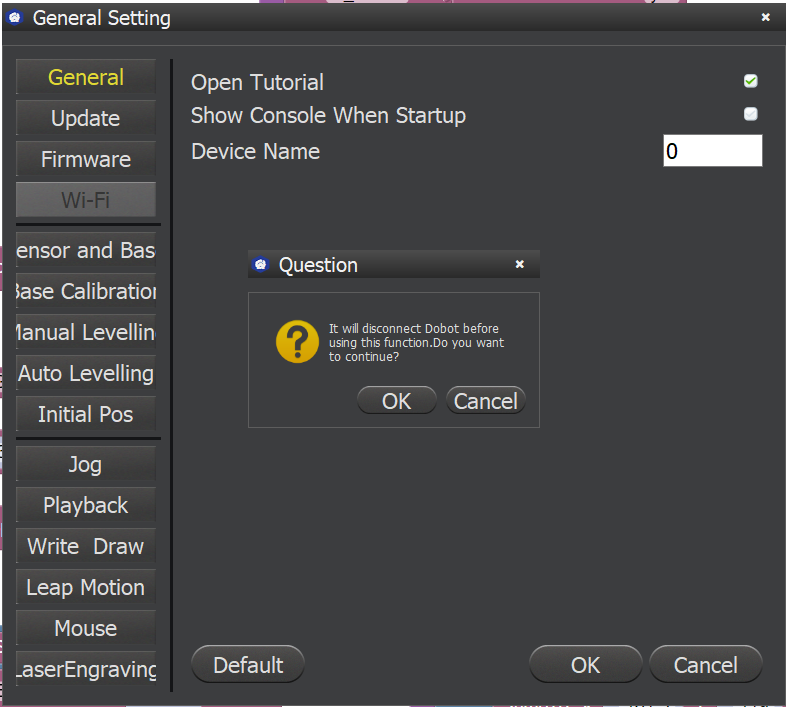
#3 Robot must be disconnected to continue, click OK.
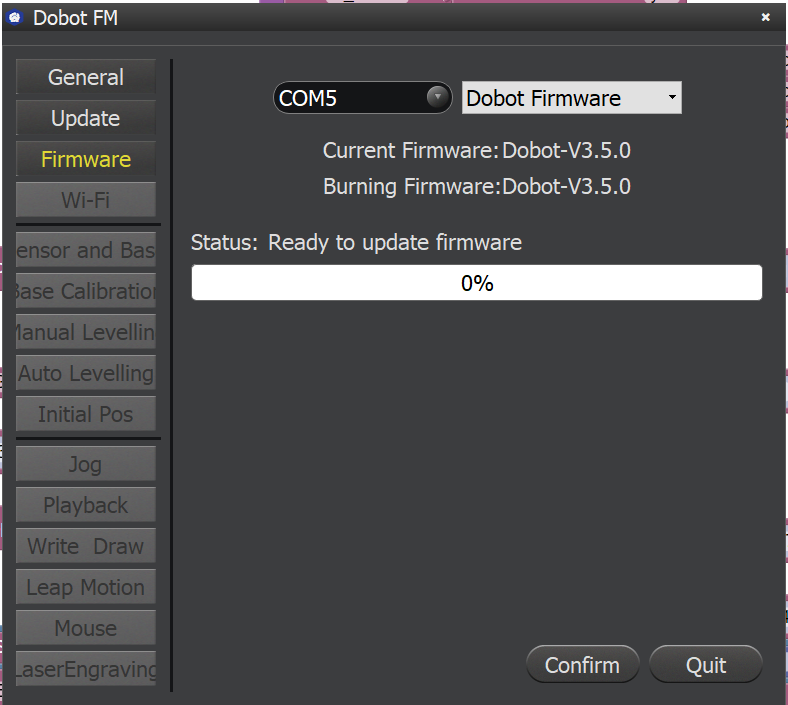
#4 Make sure the COM port you used to connect and Dobot Firmware are selected from the dropdown menus, then press Confirm.
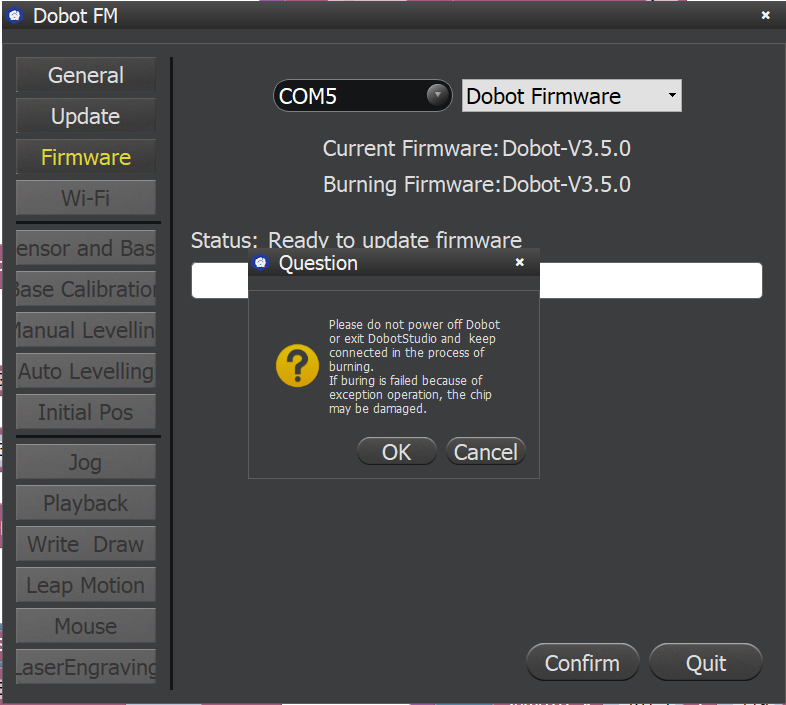
#5 DO NOT power off Dobot during this process.
#6 After the update is complete, press Quit. Then you can continue using Dobot as usual.

