Lesson Modules
Teaching Tips:
Once you open the lesson, you will be presented with a series of items that will need to be completed before you continue onward to the lesson.
The first step is to position the tablet and mat properly. The Mat has three brightly colored shapes that must be matched up with colored silhouettes found on the tablet screen once the lesson has begun. The Tablet should be clipped into the Mount included in your BOX, with the screen facing up and the camera on the back of the Tablet facing down toward the Mat. Clamp the Mount to your BOX or a nearby table – somewhere solid and secure.
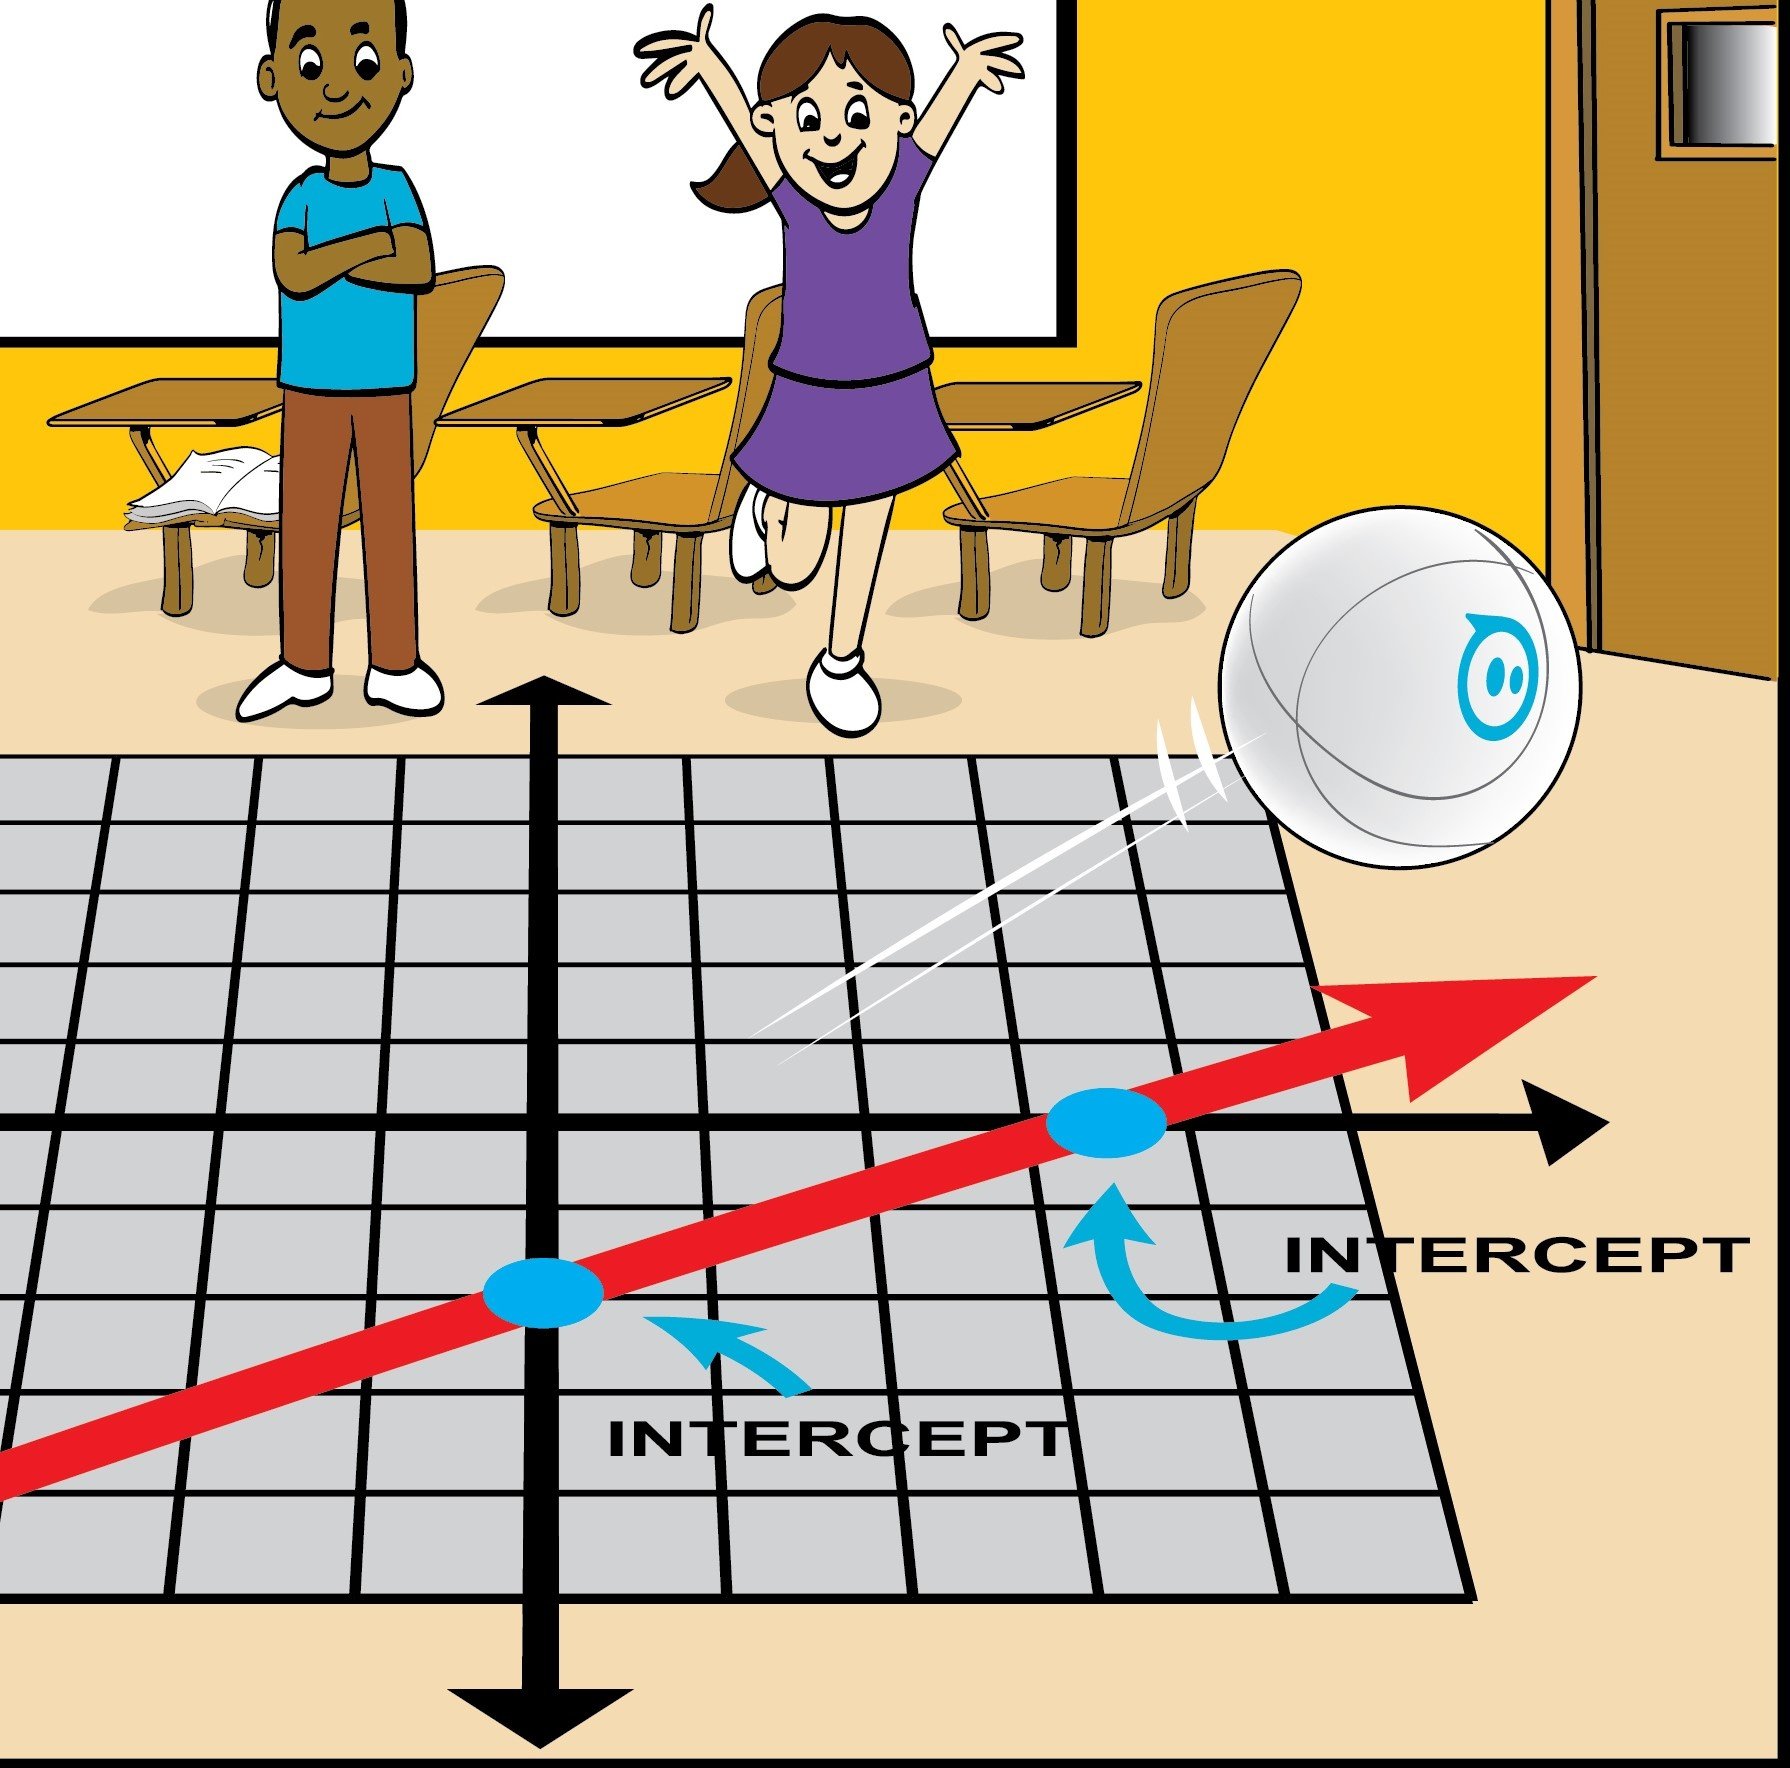
This lesson takes the square, circle, and triangle and generates an augmented reality coordinate system that fits within the area of the mat.
This coordinate system is necessary to see the path that the robotic ball is moving along.
Next, we need to make sure Sphero is charged and turned on. To charge Sphero, you simply place it in the cupped charging receptacle.
It takes three hours to fully charge Sphero, but many times you can get through the lesson with less than a full charge.
Once Sphero is charged, you can shake the robot to turn it on. The ball will briefly light up - signaling it is on.
When you have connected and positioned Sphero properly it is important to treat Sphero somewhat gently. If you bump Sphero too hard or shake it too quickly it can throw off the internal calibration and the lesson must be restarted.
Lastly, we need to position Sphero in the correct orientation before beginning the lesson. To do this, place Sphero in the proper location signified on the mat.
The initial rotation of the ball is also very important. This orientation is used to internally calibrate the robot.
When you first connect to Sphero, a small blue dot will appear on the surface of the ball. Align this dot with the arrow on the mat.
The ball should be placed on the mat as illustrated in the image below. Note the location of the arrow and blue dot.
Once you have continued through the selections successfully and Sphero is positioned properly, press the green start button to begin the lesson.
Sphero will now use its orientation as the initial calibrated position and from this point onward you are free to move the ball around as you wish. Sphero will maintain this calibration as long as you don't move the robot too rapidly.
__________________________________________________________________________________
Check this video for a better explanations of the main concepts of this lesson. Go through them with the students, guide them through the main concepts and answer their questions.
Teaching Tips:
Now that the lesson has started, you need to adjust the position of the tablet (height and angle) until the colored shapes on the Mat appear inside their matching silhouettes on the tablet image. Once all the shapes are shown inside their silhouettes, clamp the tablet into its final position. The tablet grid is now calibrated and you can move on with the lesson.
In this first screen, we have a column on the left along with an image of the working mat in the center, and positional data on the far right. The data on the right displays information about where Sphero should be placed, along with formulas of how the intercepts are calculated. In this initial screen, Sphero should already be resting at the origin - which is a point A.
Going back to the gray column on the left - at the top displayed in bold, we have the equation of the path of the line that is displayed on the graph.
Directly below are three tabs: Prepare, Demonstrate, and Investigate.
The Prepare tab (which is the default mode that the lesson starts in), allows us to quickly familiarize ourselves with the lesson to see how it operates. By pushing on the vertical bars in the left column, we can adjust the characteristics of the linear path that Sphero will move along.
The bar on the left is used to adjust the slope of the line (e), and the bar on the right.
It is used to adjust the y-intercept of the line (b).
As we adjust the value of each slide-bar, we can see the path of the line change in the diagram.
Keep in mind that in this ''preparation'' mode, Sphero does not actually move.
This is just a virtual mode to illustrate how the lesson operates.
Additionally, there is an orange tab called ''GRAPH'' located to the immediate right of the gray column. You can drag or click this tab to display a graph of the path that you have chosen for Sphero to drive along.
You can switch back and forth between the two displays. Note how this linear relationship is nearly identical to what is shown on the mat. The starting location of where Sphero should be placed is listed on the right in bold.
Markers (shown in yellow and red) displays the location of the x and y intercepts along the path.
Once you are comfortable with how the lesson operates, we are ready to move onward with Sphero movement. To begin, click the ''demonstration'' tab. In demonstration mode, the screen appears almost identical to that of the ''prepare'' tab except that we now have the addition of a large green button in the lower right corner of the screen. This button initiates Sphero movement. Initially it appears green signifying that Sphero is ready to move. When pressed this button will turn red, and Sphero will move along the path chosen by the slide bars.
Sphero will move along the slope that you have entered, however if you change the intercept of the ball, you will need to physically re-position the ball prior to movement. The location as to where you need to place Sphero will update in the column on the right.
Again, in the demonstration mode, you can pull out the ''GRAPH'' tab to display the linear path of Sphero.
Once Sphero has completed its movement, the button will turn green again and you may re-position the ball back on the mat and run again. This can be done as many times as you wish.
The next tab titled ''Investigate'' challenges the students to guide Sphero along the proper path.
The target intercepts are listed on the right.
The slope and intercept values need to be adjusted to properly to synchronize the path of Sphero with the given intercepts.
When an answer is determined, adjust the entry values...
Move Sphero to the proper starting position and press the green play button.
Sphero will move, and observe to see if the ball moves along the intended path. For more intercept values, hit the ''shuffle'' button to continue with different scenarios. You may repeat this investigation as many times as you wish.
When you are done with the lesson, press the blue back button in the upper right corner of the screen. This will return you to the lessons selection menu.
___________________________________________________________________________________
Go through Sphero with the students, explore the linear equation components, analyze the graphs and let students to explore the equation through the robot. Do not forget to respond their questions, and ask more to guide their curiosity.
Teaching Tips:
Guide the students through these exercises, but let them solve the problems on their own.
Work through the following activities.
Quiz Answers- Linear Intercept Movements (Positive Numbers)
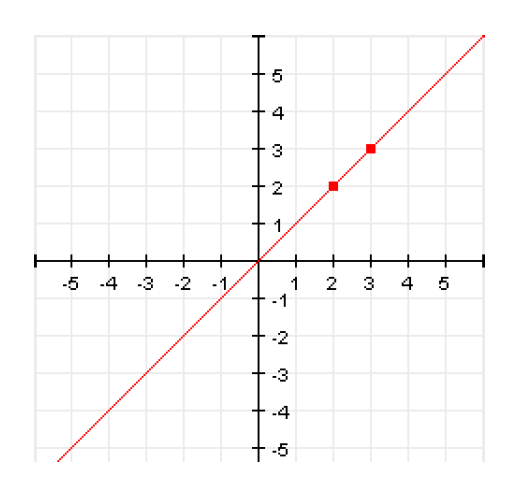
1) Y = mX + b is called the slope-intercept form, which represents the relationship between the slope and intercepts.
2) In the equation Y = mX + b, if we set X = 0, then we can find the y-intercept of the equation. In like manner, if we set Y = 0 and solve for X, then we can find the x-intercept of the equation.
3) D
4) B
5) C
6) A
7) D
- Y = bX + m
- Y = mb + X
- Y = mX + c
- Y = mX + b
- 4
- 10
- 3
- All of the above
- 10
- 2
- 0
- None of the above
- Y = X
- Y = 3X + 3
- Y = 2X + 3
- Y = 4X + 5
- m = 3; b = 25
- m = 3; b = 5
- m = 6; b = 7
- m = 2; b = 5
Teaching Tips:
Ask for volunteers to sketch their results on the board. Ask for a student to summarize these on the boards for students to write down.