Lesson Modules
Teaching Tips:
Goal: Engage curiosity by contrasting pre-trained recognition vs. unknown objects. Hold up a few objects NAO might not recognize (e.g., a stapler). Ask students to predict whether NAO will identify them correctly.
Concept Hook: Introduce the term fine-tuning as “teaching an already smart robot new tricks.” Use a relatable analogy: “It’s like updating your phone’s photo recognition so it can identify your pet.”
Class Setup: Have NAO connected and the Deep Learning app open. Demonstrate recognition of a familiar object (like a bottle), then a new one it doesn’t know. This sets the stage for why fine-tuning is needed.
Discussion: Ask: “Why do you think NAO didn’t recognize this one?” Guide them toward the idea that AI needs examples of what we want it to know — and we’ll create those today.
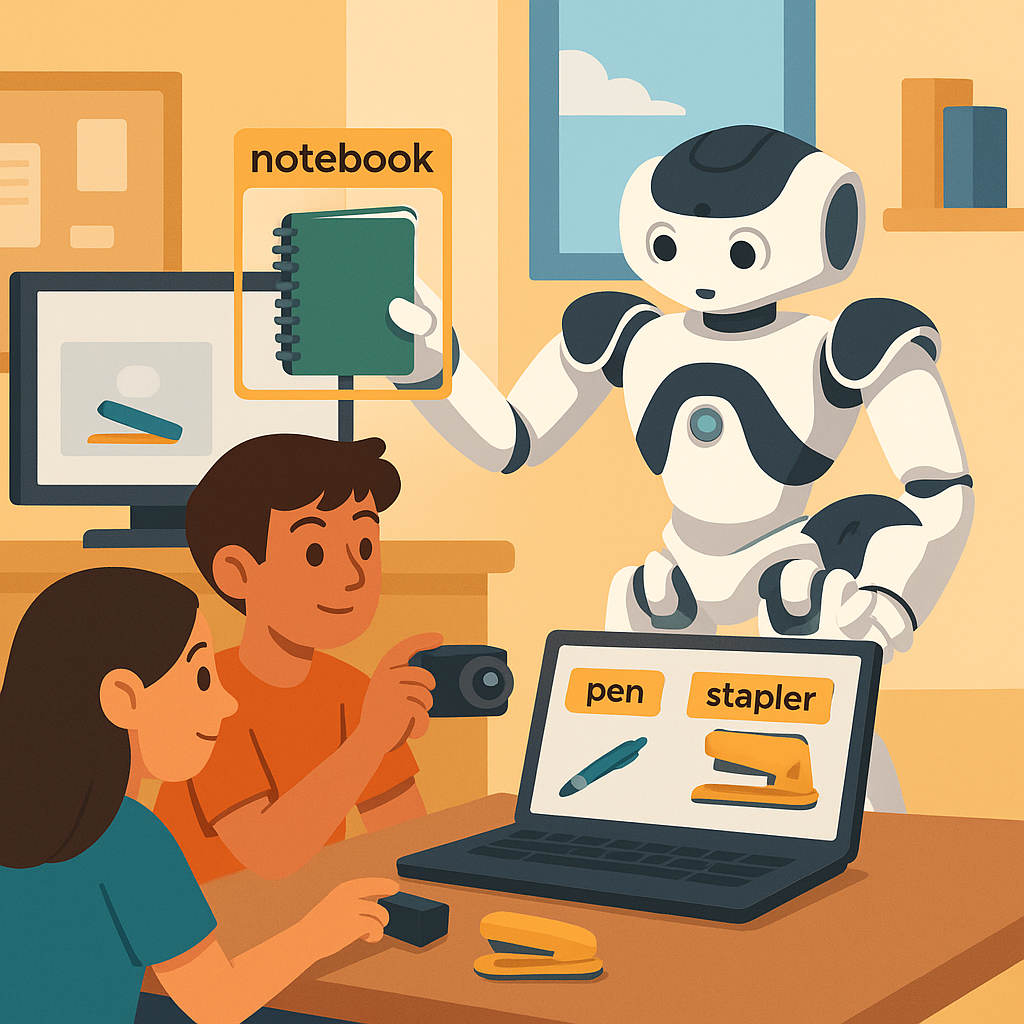
NAO already knows how to recognize many common objects — bottles, books, phones, and more. But what happens when NAO sees something completely new, like your favorite pencil case or the stapler on your desk?
Today you’ll learn how to teach NAO new objects by fine-tuning its AI model. That means we’ll take a model that already knows many things and help it learn a few more — faster and smarter than starting from scratch.
Think of it this way: if you already know English, it’s easier to learn Spanish because you understand language patterns. Fine-tuning works the same way for AI. NAO already understands shapes, colors, and patterns, so we just need to show it new examples to expand its knowledge.
What kinds of new objects do you think NAO should learn?
Teaching Tips:
Key Analogy: “Fine-tuning is like a musician tuning their instrument — it already works, we’re just adjusting it to sound perfect for our needs.”
Visualization: Show a simple diagram: pre-trained model → new data → fine-tuned model. Reinforce how data connects to learning.
Vocabulary Focus: Pre-trained model, dataset, labeling, bounding box, inference. Write these on the board and reference them as you go.
Discussion: Ask students: “Why not just program NAO to recognize a stapler?” Help them conclude that rule-based code would be too rigid, while AI can adapt from examples.
Fine-tuning means taking a pre-trained model and training it again — but only a little — using new, specific data. This helps the model learn new concepts faster because it already understands general features like shapes, edges, and colors.
Here’s what happens when we fine-tune an AI model:
- We collect new data — for example, photos of a stapler from many angles.
- We label each image, drawing boxes around the objects we care about.
- We train the model again on this smaller dataset, adjusting its knowledge.
- We test the updated model to see if it can now recognize those new objects.
Fine-tuning is common in real-world AI projects. For instance, a company might take a general object detector and fine-tune it to detect factory parts, or a medical researcher might fine-tune a model to identify a specific kind of cell.
NAO’s brain already knows hundreds of objects — but with fine-tuning, you’ll help it learn a few more of your choice!
Teaching Tips:
Setup: Prepare groups (2–3 objects total). Review photo-taking safety: NAO stays still, students handle objects gently. Confirm Wi-Fi and the Deep NAO app are active.
Guided Steps:
- Image Capture: Use Choregraphe’s Video Monitor or a photo capture script from Lesson 3. Save ~10 varied images per object.
- Labeling: Demonstrate labeling on the projector. Reinforce accuracy: tight boxes, correct labels.
- Fine-Tuning: Use the Colab notebook with minimal code editing. Focus on conceptual understanding — students don’t need to read every line.
- Deployment: Upload the model via NAO’s Deep Learning upload page. Toggle “Use custom model.”
Time Management: Keep the class moving: 10 min for images, 10 for labeling, 10 for training, 10 for testing, 5 for discussion.
Engagement Tip: Celebrate small successes — “We just taught a robot something new!”
Now you’ll actually teach NAO new objects using data you collect yourself!
Step 1 – Collect Images
In small groups, choose one object (like a pen, notebook, or stapler). Each group will take about 10 pictures of their object using NAO’s camera. Make each photo slightly different — change the angle, lighting, or background. This variety helps the AI learn better.
Step 2 – Label the Images
After taking pictures, move them to your computer. Open the labeling tool and draw boxes around your object in each image. Label each box with the correct name. For example, draw a rectangle around the pen and label it “Pen.”
Step 3 – Fine-Tune the Model
Upload your labeled dataset to the training notebook (Google Colab). Run the training cell to fine-tune NAO’s model on your data. Watch the progress bar — that’s the robot learning!
Step 4 – Upload and Test
When training finishes, download your new model files and upload them to NAO using its web interface. Then test NAO! Show it the objects and see if it recognizes them now. Record the results on your worksheet.
Teaching Tips:
Observation Focus: Encourage analytical thinking: “What patterns do you notice about when NAO succeeds or fails?”
Data Table: Have students mark success rates for each object (e.g., 3/3 correct for Pen). Use this as evidence for class discussion.
Extension: Try a stress test — show NAO an object it was not trained on. Does it mistakenly label it as one of the new ones?
Class Insight: Reinforce the concept of overfitting: “If NAO only saw blue pens, it might not recognize a red one.” Connect this to the need for diverse data.
Now it’s time to test how well your fine-tuned model works and think like AI engineers.
- Hold up your object in front of NAO and see if it recognizes it.
- Record each attempt — correct or incorrect.
- Try different angles and backgrounds. What happens when part of the object is hidden?
- If NAO misses an object, discuss why. Did it see too few examples? Were your photos similar?
AI engineers test models this way to find weaknesses and improve them. More diverse data often leads to smarter AI.
Teaching Tips:
Wrap-Up Discussion: Lead reflection with real-world examples — “Companies fine-tune models for factories, hospitals, and even self-driving cars.”
Assessment Ideas:
- Use the quiz to assess vocabulary and concept retention.
- Have students complete a short written reflection: “What was the most surprising thing about teaching NAO?”
Peer Review: Invite groups to share how their object performed and what they’d do differently next time. Encourage positive feedback and analysis of data variety.
Extension: Challenge advanced students: “Could you add one more object and repeat the process?”
Closing Message: “You didn’t just program NAO — you helped it learn. That’s what real AI training looks like!”
Let’s reflect on what we accomplished!
- How was teaching NAO new objects different from programming it in Choregraphe?
- Why did we need to label our images?
- What made some objects easier to recognize than others?
- If NAO still made mistakes, how could we improve the model next time?
- Where else do you think fine-tuning is used in real life?
Mini Quiz
- 1. Fine-tuning means training an existing model with new data. (True)
- 2. Labeling helps the model know what’s in each image. (True)
- 3. More varied data usually leads to better learning. (True)
- 4. We wrote manual rules to detect each object. (False)