Lesson Modules
Teaching Tips:
This lesson will take about 2 hours to complete. You may have to split the lesson into multiple classes.


Materials:
• One Ozobot per student/group (suggestion: 2-3 students per group)
• One computer for each student/group
• Teacher computer
• Internet connection
• Projector
• Colored pencils
• Ozobot markers
• Plan white paper (multiple pieces for each student/group)
Observation activity:
1) Show the directions on the class view. Have students respond to the question.
2) Once the students have finished responding, facilitate a class discussion about function blocks.
Answer: This block defines a function. You can place a sequence of blocks in a function in order to perform a specific task. You can then use this function elsewhere in your program whenever that task should be performed. This can be done as often as you like by simply calling the function.
In this section we will review how function blocks work.
| Explain how function blocks work.
|
Teaching Tips:
1) Show the students’ goal on the class view
2) Show the Mario Kart video
3) Show the next section on the class view which has the question: Which blocks do you think you will use to create your racing game?
4) Once the students have finished submitting their responses, click the “show results” button under the question on the class view. This will show the students’ responses.
5) Facilitate a conversation about the most commonly selected blocks and how they could be used in a program. (ex: “I see a lot of people think they will use line navigation blocks. Who can explain how they think they will use line navigation blocks in their program.”)
In this section we will begin brainstorming which blocks we wil use in our program to reach the goal.
 | Create a racing game which…
|
%20Video%20Game%20Design/ozoblockly%20level%204%20blocks%20menu.png) | Which blocks do you think you will use to create your racing game? (Click ALL that apply)
|
Teaching Tips:
Show the students’ goal on the class view.
Create a racing game which…
• Uses function blocks
• Has a start and end (use exit game over code for the end)
• Has at least 4 different inputs/outputs
• Has a key which indicates the input and output
During the design time, walk around and prompt your students with questions to help deepen their learning and thinking process. Some examples of questions are:
• Why did you make that design decision?
• What do you predict your code will do?
Here is an example of a working code for this goal and the board game.%20Video%20Game%20Design/working%20program%20video%20game%20design%20with%20functions.png)
%20Video%20Game%20Design/20180820_120617-692929-edited.jpg)
Encourage students to make a rough draft game and revise as needed. Then create a final draft with décor (hint: make sure the students use colored pencils for the decorating as this will reduce the changes of messing up their codes).
In this section we will design our game.
Teaching Tips:
Have students answer the following questions on their computers. Once all the students have finished answering the questions have a class discussion about their answers.
1. Explain how your racing game works.
2. What was your 1st idea for your racing game – did it work? Why or why not?
3. What do you want to make Ozobot do next?
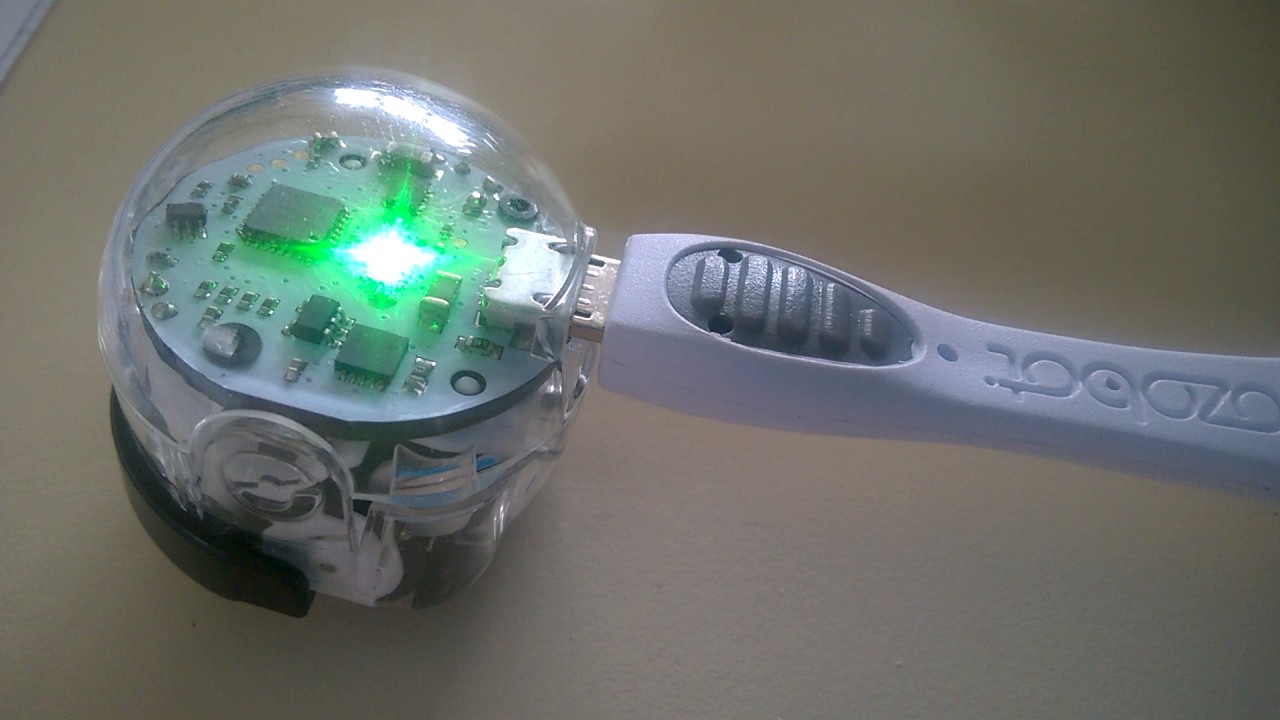
Have students plug their Ozobots into their chargers.
In this section we will reflect on our process.
 | Plug your Ozobot in so it will be ready for you to use next time. |

%20Video%20Game%20Design/rainbow%20lights%20function.png)
