Lesson Modules
Teaching Tips:
This lesson will take about 2 hours to complete. You may have to split the lesson into multiple classes.
Many of the activities in these lessons exist in the tutorial section of the LittleBits Code Kit App. These tutorials show the students EXACTLY how to set up their code. If students do this then they are not problem solving and learning how to program. Try to reduce the risk of students using the tutorial page to build their program. You can tell if the students are using the tutorials or not by looking at the top left of their screen. If it says “Blank Canvas” they are most likely doing it themselves. If it says anything else, it is likely they are using the tutorial.
| If this is what is shown on the top left of the students' screen then they are making their own project. | If there is any other name in the upper left hand of the students' screens then they are using a tutorial and are likely not creating their own project. |
%20Hello%20World/other.png) |
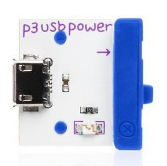
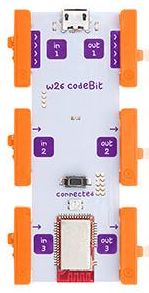
Since this project includes the speaker LittleBit, be aware if any of your students have sensitivities to loud and unexpected noises and make appropriate accommodations.Materials:· One LittleBits Code kit per group (suggestion: 2-3 students per group)· One computer for each student group· Teacher computer· Internet connection· Projector |
Twist ties
%20Soccer%20Goal/twist%20tie%201.jpg)
%20Soccer%20Goal/twist%20tie%202.jpg)
Scissors
Hole puncher
Ruler
Cardboard
Markers
Tape or glue
Paper
Preparation: |
Set up a place to have materials (paper, cardboard, markers, etc.) so students can easily access them during their building process.
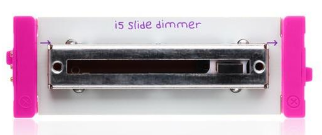
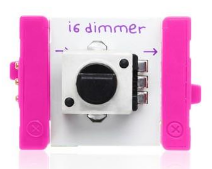
Observation activity:Have students go to their computers and answer the following questions1) Which input(s) have more than 2 values (NOT just ON/OFF)?Answer: dimmer, slide dimmer, pressure sensor, sound trigger2) Explain what it means for an input to have more than 2 values (NOT just ON/OFF)?Answer: Inputs compute levels from 0 to 255. Thus an input that has more than 2 values has 256 (counting 0 as an input) possible inputs.3) Explain the purpose of the round block in this code.Answer: Inputs that have more than 2 values have 256 possible input levels. Since it is likely that the programmer will not want to program 256 possible outcomes the rounding block allows the program to group levels of inputs in order to create less possible outcomes.Once all of the students have submitted their responses, on the class view click the button “show results” for question #1 ( Which input(s) have more than 2 values (NOT just ON/OFF)?) Facilitate a conversation with your students based on their responses and clarify any misconceptions if necessary. |
Then facilitate a conversation about the students’ responses to questions 2 & 3.
In this section we will review inputs and the rouding block.
Sound Trigger | Slide Dimmer | Dimmer | Button | Pressure Sensor |
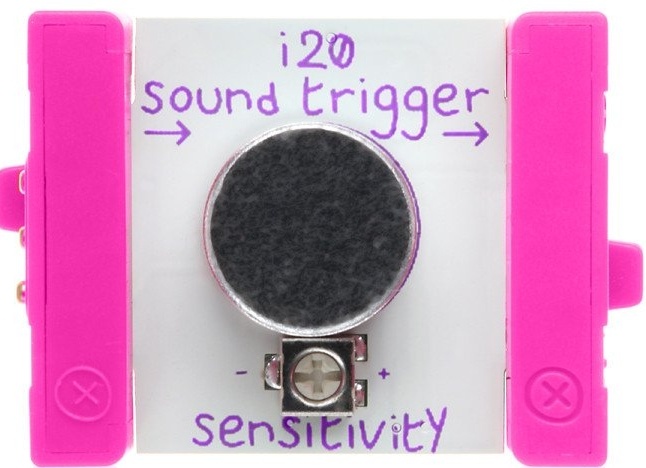 |  |  |  |  |
- Sound Trigger
- Slide Dimmer
- Dimmer
- Button
- Pressure Sensor
%20Logic/logic%20code%202%20choose%20your%20own%20emoji.png)
Teaching Tips:
1) Show the students’ goal on the class view. 2) Show the next section on the class view and discuss how to use the speaker. 3) Set up a quick LittleBit project
4) Open the LittleBits Code Kit app and play a simple sound to model its volume and model how to very very carefully tap the volume slider up to slowly increase the volume. Example:
5) Show the next section on the class view (Sound block – octave and tone) 6) Sound exploration activity Students are going to open a blank canvas on the LittleBits Code Kit App and test out changing the octave and tone to answer the following questions on their computer. |

%20Guitar/example%20sound%20program.png)
When changing the octave in the sound blocks, the sound the speaker makes gets more/less ________. (answer with only one word) | %20Guitar/sound%20tone.png) |
When changing the tone in the sound blocks, the sound the speaker makes gets more/less ________. (answer with only one word) | %20Guitar/sound%20octave.png) |
The # symbol makes the octave more/less _______. (answer with only one word) | %20Guitar/sound%20tone-688394-edited.png) |
7) Once the students have finished experimenting and answering the questions, on the class view you can click the button “show results” under each question and the students’ responses will show up as a word cloud with the words used more often displayed as larger than words used less often. Facilitate a discussion about the students’ responses.
In this section we will explore the sound blocks.
When changing the octave in the sound blocks, the sound the speaker makes gets more/less ________. (answer with only one word)
| |
When changing the tone in the sound blocks, the sound the speaker makes gets more/less ________. (answer with only one word)
| |
The # symbol makes the octave more/less _______. (answer with only one word)
| |
Teaching Tips:
Show the students’ goal on the class view. |
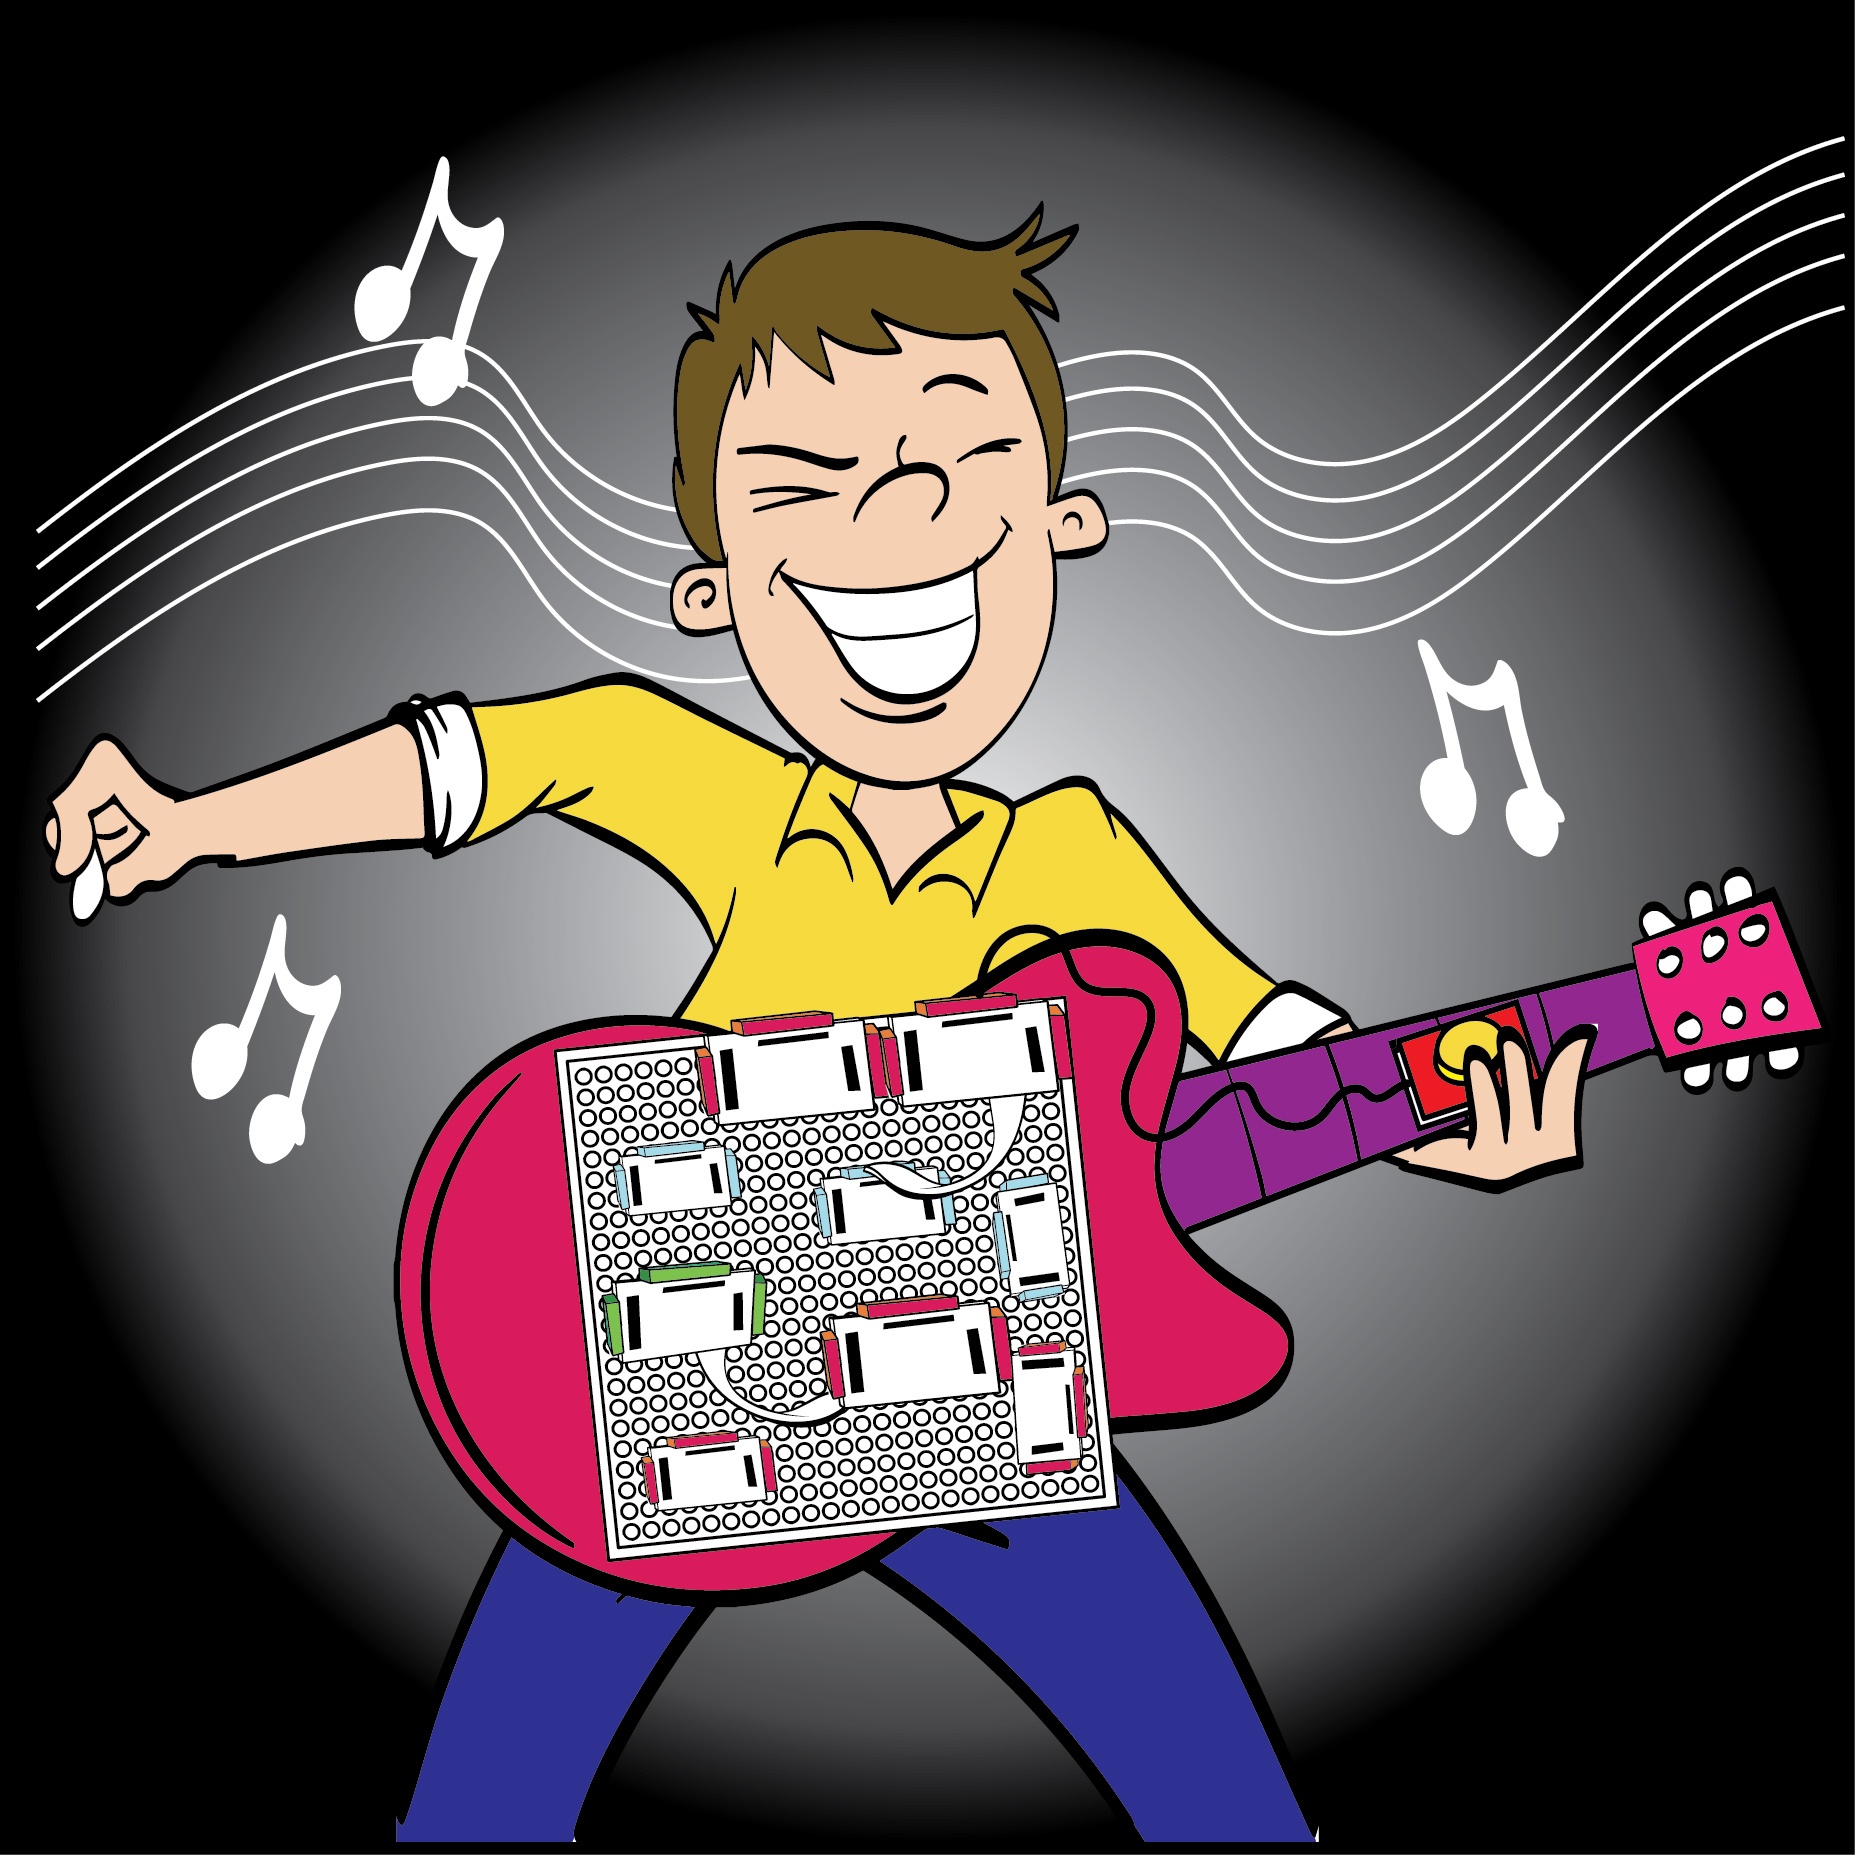
Design a guitar that has at least 8 different notes, and for each note a different image is displayed.
During the design time, walk around and prompt your students with questions to help deepen their learning and thinking process. Some examples of questions are:
Here is an example of a working code for this goal:
|
%20Guitar/guitar%20code%20part%201.png)
%20Guitar/guitar%20code%20part%202.png)
In this section we will design a guitar that has at least 8 different notes, and for each note a different image is displayed.
Teaching Tips:
Have students answer the following questions on their computers. Once all the students have finished answering the questions have a class discussion about their answers.
|
In this section we will reflect on our process.