Lesson Modules
Teaching Tips:
At the start of class, the teacher should run the demo code provided a program that drives towards a wall, but stops before it hits!
//www.robotlab.com/hubfs/Education.Robotlab.com/Autonomous%20Car/Scratch/lesson2demo.sb2
(Be sure to run the demo code with the car on the ground so that it does not accidentally fall off of a high surface.)
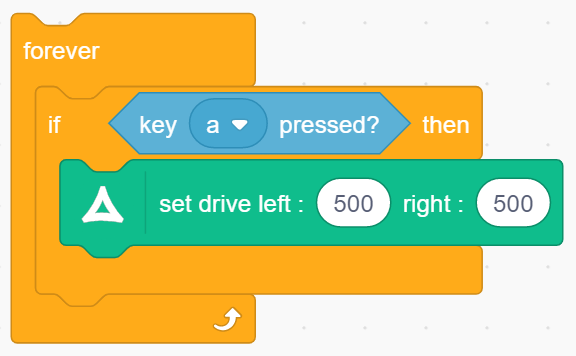
The car approaches a wall, but stops before it hits! Look at the blocks and answer the following question.
These blocks are necessary:
2, 3, 5, 6, 7, 8, 9, 10
What does your autonomous car need?
What does your autonomous car need to do to keep from running into things while it is driving? When you are at the wheel, you can avoid the obstacles you see, but the RobotLAB Autonomous Car does not see like you do. How can we help it “see” its environment?
The car approaches a wall, but stops before it hits!
- 1. key A pressed
- 2. when A key pressed
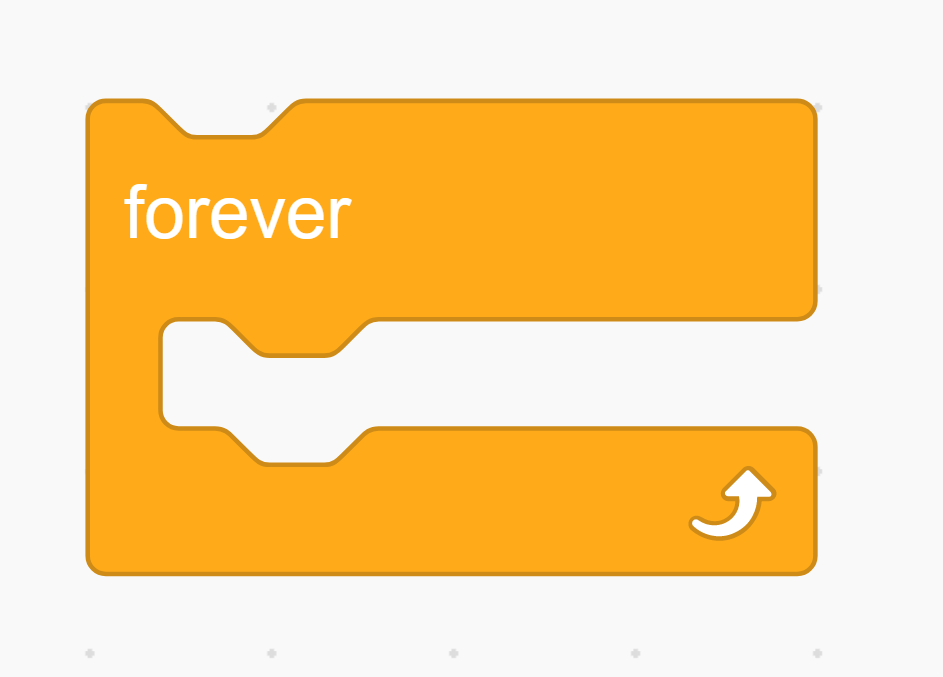
- 3. forever
- 4. Steering
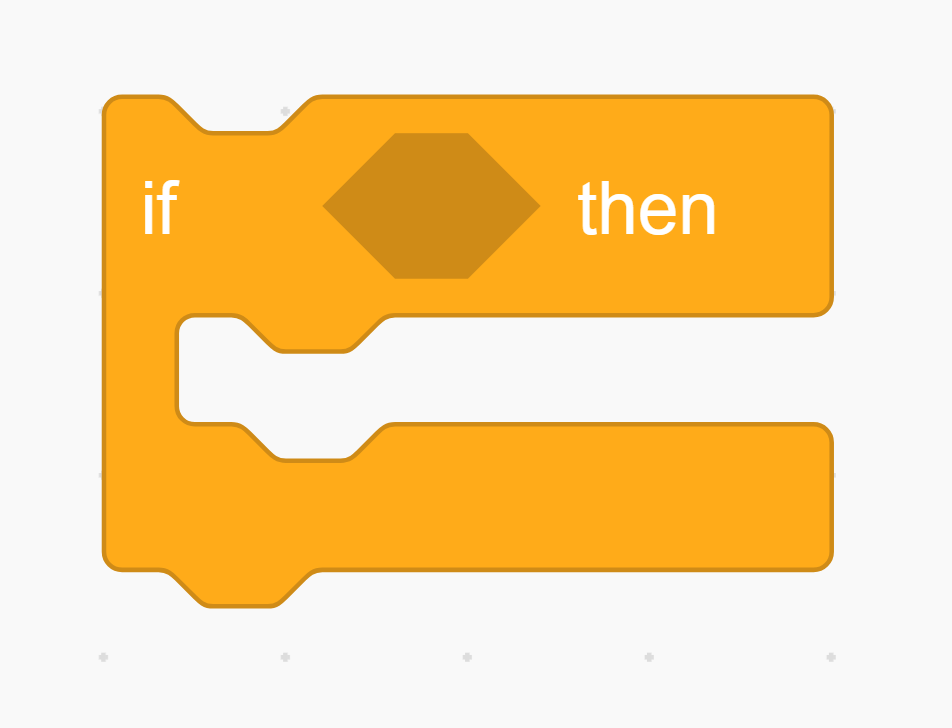
- 5. if ____ then
- 6. Go L: 500 R: 500
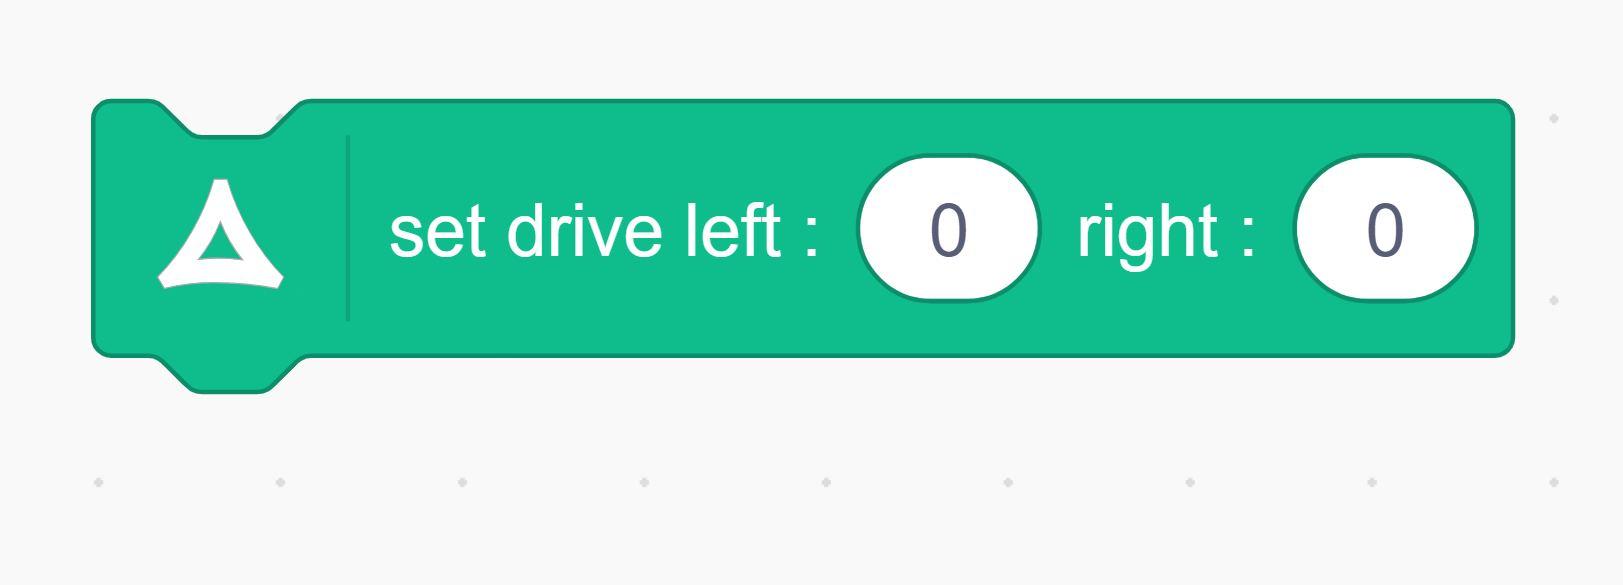
- 7. Go L: 0 R: 0
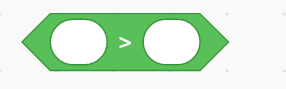
- 8. ___ > ___
- 9. ___ < ___
- 10. Sensor IR-2
Teaching Tips:
//www.robotlab.com/hubfs/Education.Robotlab.com/Autonomous%20Car/Scratch/lesson2demo.sb2
The correct answer is provided here for teachers:
Variable exercises
- Make a variable that starts at 10, then in increments of 3- once per second until it reaches 25.
Make a variable that starts at 100, then decreases by 5 every 1/2 second until it reaches 0.
Bonus: Make a variable that starts at 50, then decreases by half its value until the value is less than 1.
//www.robotlab.com/hubfs/Education.Robotlab.com/Autonomous%20Car/Scratch/lesson2exercise.sb2
What kind of algorithm do you need?
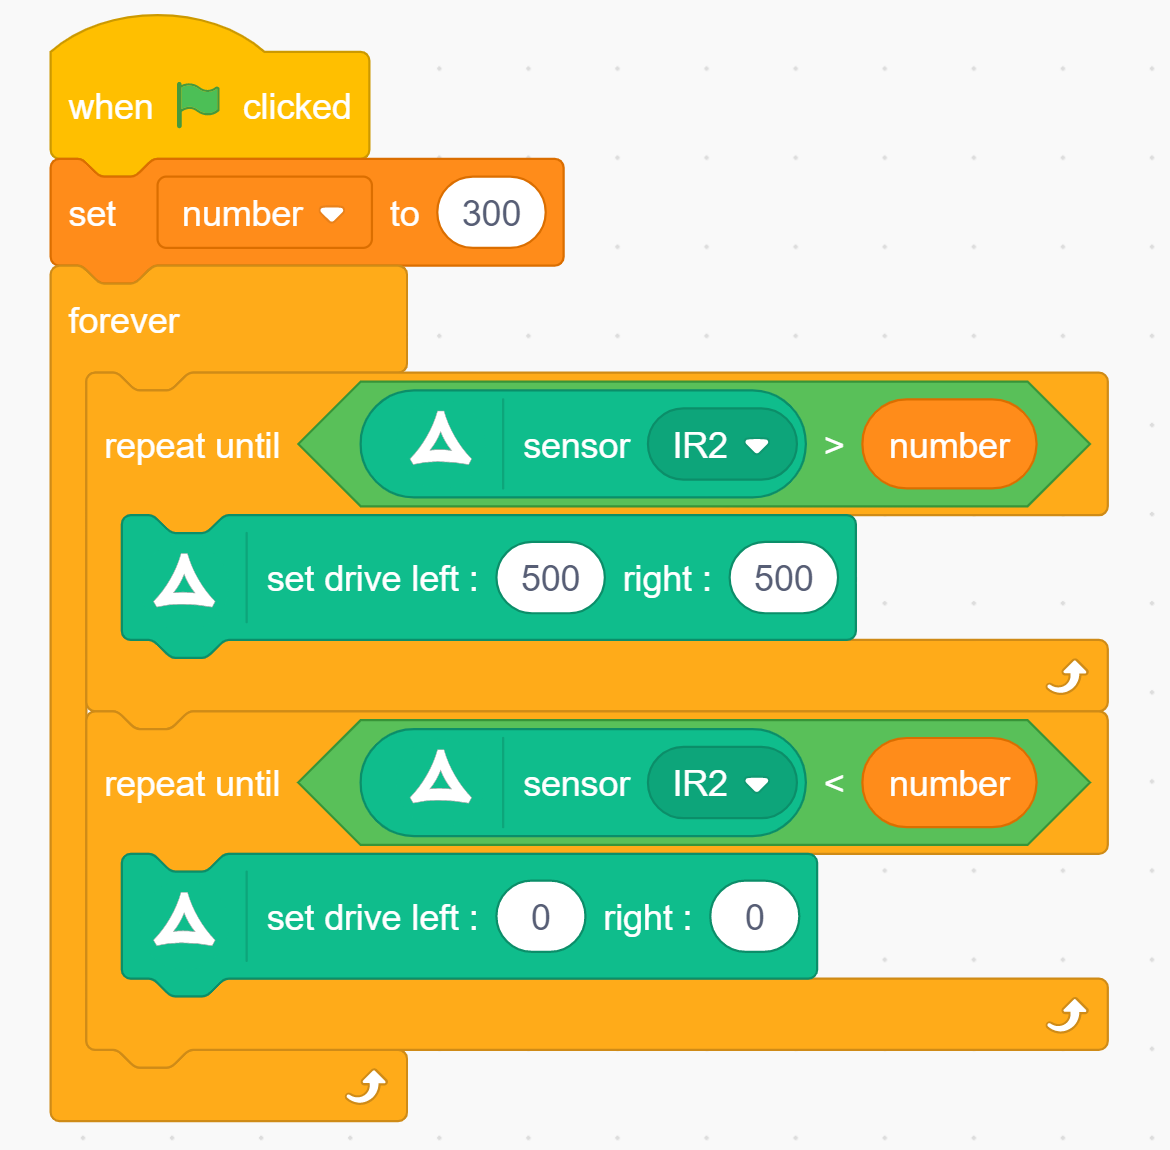
Imagine you are driving your car through the classroom, and you’re heading toward the wall. What kind of algorithm do you need to write to make the car stop on its own and avoid the obstacle? Look at your code from the last lesson, and see if you can modify it to perform this new function.
Here is one answer to the code from your last lesson to get you started.
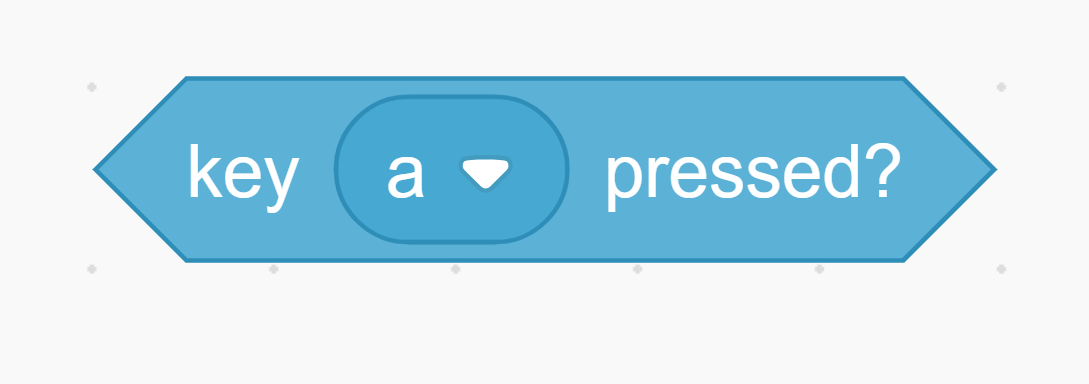
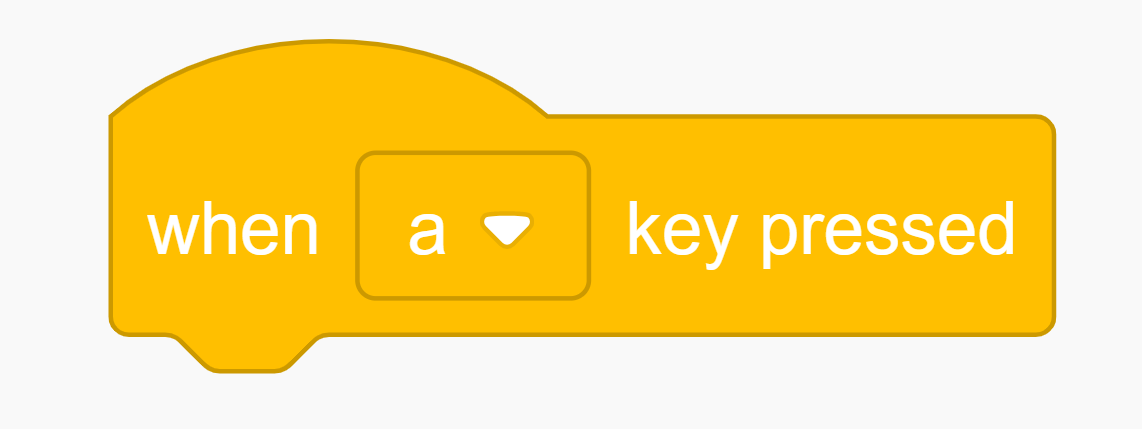
And some more blocks to choose from:
![]()

![]()
![]()
Variables
Here is a brand new block called a variable! Later on in the lessons you will need one in your code.
You can make one like this: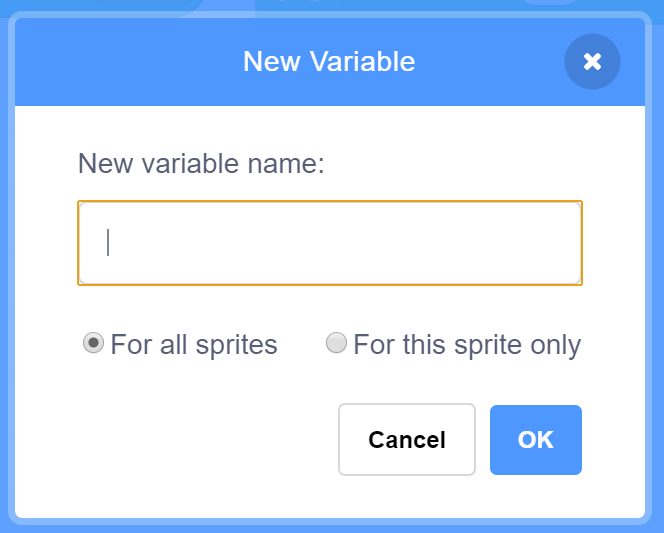
Look in the variable section of Scratch, and click ‘Make a Variable’. You can name it whatever you like. For this example, the variable is named number.
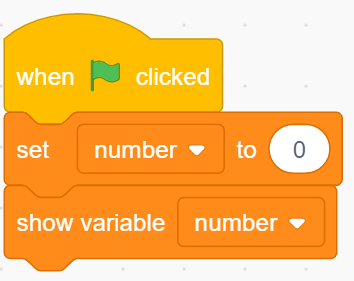
Try this and you’ll see your variable appear on the screen next to your code.
Now add these blocks to the bottom.
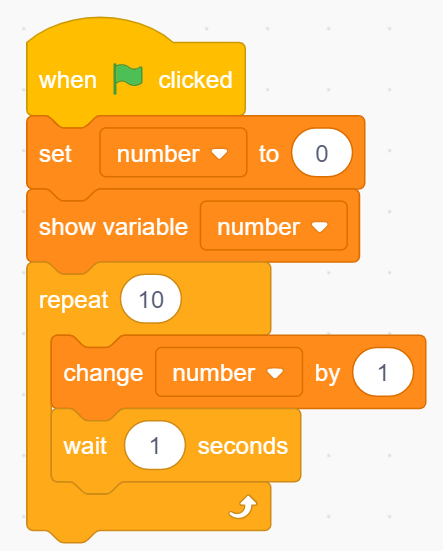
This code counts to ten, adding 1 to the variable every second.
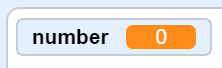
Click the green flag, and after ten seconds you’ll see that your variable looks like this:
![]()
Variable exercises
- Make a variable that starts at 10, then in increments of 3 - once per second until it reaches 25.
Make a variable that starts at 100, then decreases by 5 every 1/2 second until it reaches 0.
Bonus: Make a variable that starts at 50, then decreases by half its value until the value is less than 1.
Teaching Tips:
Here is the code: Lesson 2 Code
Here is a Step-by-Step guide to complete the code: Lesson 2 Code Instructions
At this point, take two student volunteers (or two groups)- one that used a number in their code, and one that used a variable. Ask them to explain how their code works and their reasoning behind what their choices.
If time permits, discuss the benefits of using variables in your code.
- Looks kind of silly now, like it might be a waste of time, right? But imagine if you had 100 repeat-until statements.
- Changing each of them individually would be a real pain. A variable is much more convenient.
Teaching Tips:
Question 1: Check the concepts you understand.
This is the students' self-assessment for understanding of the material. You will see a bar graph once all the poll answers are submitted.
Question 2: What is a variable? What does it do?
A variable is a way to save a number (or even a letter or word) using a name. you can use it over and over again without having to type it in.
Question 3: What was the most challenging part of this lesson?
Any answer will do here. If time permits have a short discussion with students about their answers.
Question 4: What was the coolest thing you learned today?
Any answer will do here. If time permits have a short discussion with students about their answers.
AFTER CLASS
Store Student Files
Put the student files on a thumb drive or store them in some way so that the students can continue working on their project in the next lesson.
Pack Up Hardware
Turn off the robots and computers and pack the robots in the box accordingly.
You learned a lot today!
Today was the first step in making a real autonomous car. You learned what an IR sensor is, and how to use the data from the sensor to tell your car when to drive and when to stop. You also learned how to save a number as a variable, and make your code loop over and over.
Now you have a car that stops to avoid hitting obstacles and goes when the path is clear.
Don’t worry, this isn’t for a grade, it’s just so your teacher can check the classes’ understanding.
- IR sensors
- Variables
- Forever loop