Lesson Modules
Teaching Tips:
Teacher Demo
Run this code on a robot (or simulation) for the students to see.
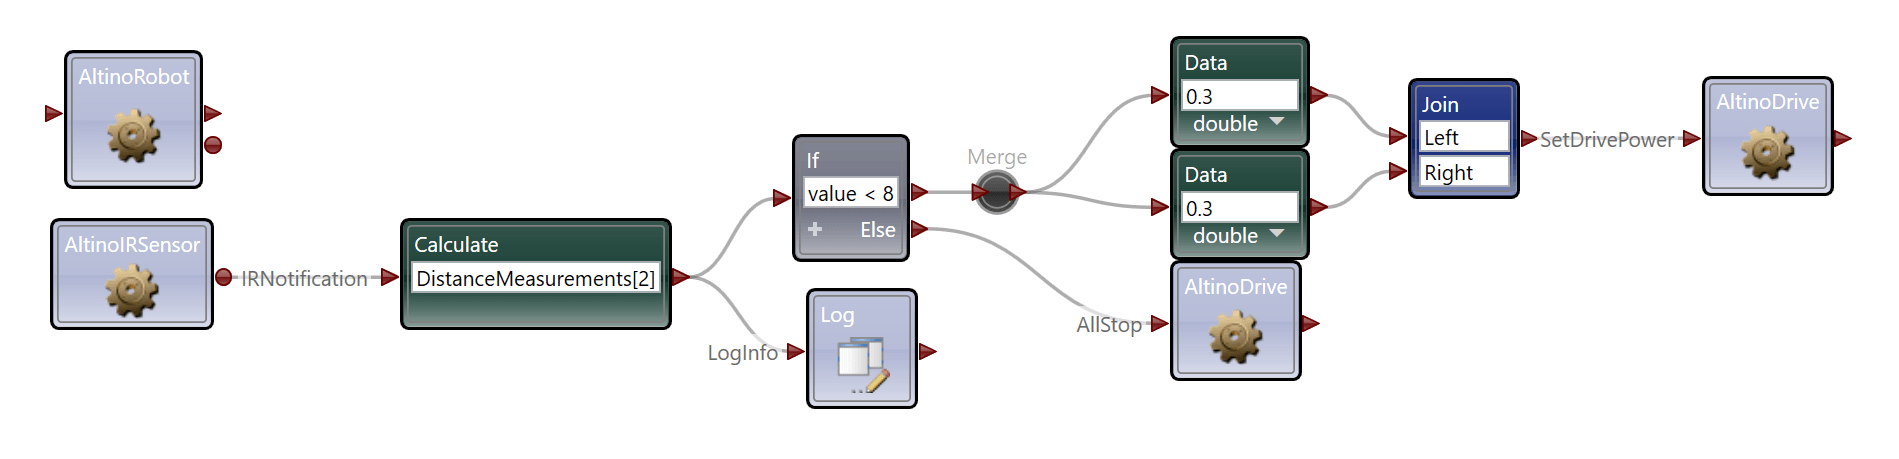
Here is the demo code: Lesson 3 Demo Code
Before we begin, let’s try this experiment:
Start by opening your code from the last lesson and running it the same way you did last time.
Try changing the speed from 0.3 to 0.8
Run your code again and note what happens
Take this time to have a discussion about what happened to their cars/simulations and why they think that was the case. If none of the students guess correctly, explain that when the car is driving too fast, by the time the IR sensor reads a value that causes the car to stop, the car has already moved too far, and maybe even hit something.
Before we begin, let’s try this experiment:
Start by opening your code from the last lesson and running it the same way you did last time.
Try changing the speed from 0.3 to 0.8
Run your code again and note what happens
Imagine you're driving along and you see an obstacle in the distance (like a road block, debris, or even a stop light). Would you slowly come to a stop or slam on the breaks?
How about when you're driving along and a puppy darts in front of your car?
Or when you're driving along the road and see a little old lady driving under the speed limit?
We encounter all kinds of scenarios while driving, and successful drivers can quickly determine how to react by assessing their situation. So far, our autonomous car has only one speed and only one possible reaction, i.e. stop when it senses an obstacle nearby.
In this lesson we will try to make our RobotLAB Autonomous Cars behave more like human drivers by making them more responsive to their environment.
Teaching Tips:
Question 1: When you set the car to drive faster, did your code still work as intended? Why do you think that happened?
Students will likely find that their code didn't work and the car ran into a wall.
Question 2: How could you solve this problem?
This question is open-ended, but one possible solution is to increase the distance from an obstacle at which the car stops.
Another option is to change the car's response from stop to turn when the speed is over a certain number.
Question 3: If you were designing a real autonomous car, would you design it to only drive at the legal speed limit?
This question is open-ended, and can be used as a starting point for a discussion about design.
Teaching Tips:
Here is the code solution for the teacher:
Sometimes beginning to write a program can feel daunting, and you don't know where to begin. During those times it's always helpful to describe what you want to accomplish.
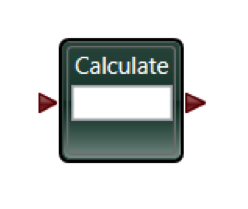
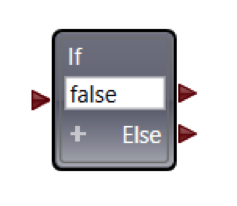
Based on what you need to do, what tools do you think you’ll need? Look at these blocks and choose the ones you think you’ll need to put in your code.

It may also be helpful to look at your code from the last lesson:
What will you need to add to:
- Determine how long it takes for the car to accelerate to the speed you set it.
- Determine how long it takes for the car to deccelerate down to zero after you apply the brakes.
Try your code out on the simulation and see how it works!
{{simulation
Now it's time to translate the pseudocode into real code!
Here's something to get you started:

Remember, writing code is like writing a poem, there are many correct answers. Maybe you answered differently. If so, I encourage you to convert your pseudocode into code and see how it works!
Hint:
Remember there are multiple workable solutions. Some of them include:
- Turning to the left when the distance sensor senses an obstacle on the right
- Turning to the right when the distance sensor senses an obstacle on the left
- Making a U-turn rather than stopping if the car is maving above a certain speed.
Teaching Tips:
Question 1: Descibe the solution you designed and how it works.
Answers will vary.
Question 2: Check the concepts you understand. Don’t worry, this isn’t for a grade, it’s just so your teacher can check the classes’ understanding
This is the students' self-assessment of their understanding of the material. You will see a bar graph once all the poll answers are submitted.
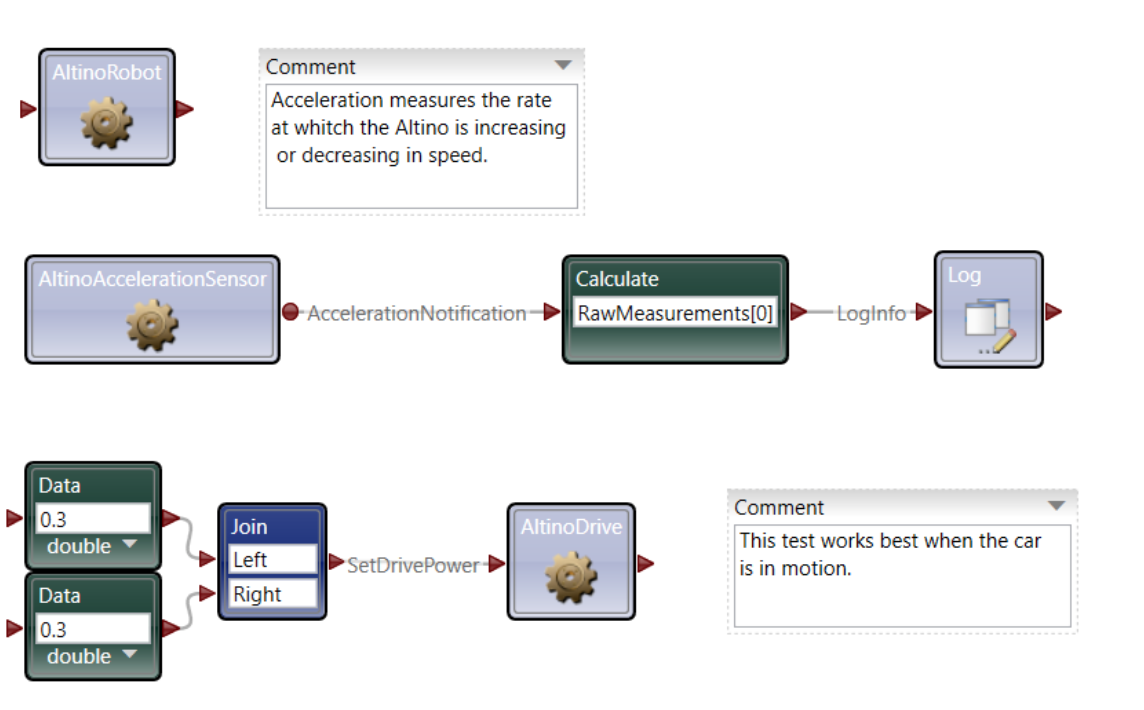
- AltinoDrive
- AltinoAccelerationSensor
- Data block
- Calculate block